Categories
Dorie ice cream

Tuesdays With Dorie: Chocolate Ganache Ice Cream

Homemade ice cream equals happiness, pure and simple.

It’s like anything else, I guess — making something at home that most people think can come only from a store is incredibly satisfying. But ice cream is so simple, and so quick to transform itself into heaven, that it has a special place in my heart.

So when I saw a few weeks ago that Katrina of Baking and Boys had chosen this recipe, I put it on my must-make list, which is considerably shorter now than it used to be.

And then I forgot about it.

So when I remembered at 3:30 on Friday afternoon — knowing that we’d be out Saturday, Sunday, and Monday and therefore not be able to have the ice cream then — I sprang into action. No cream; very little half-and-half. Too damned lazy to go to the store.

Wait! What’s this? Coconut milk!

Who says I’m not brilliant?

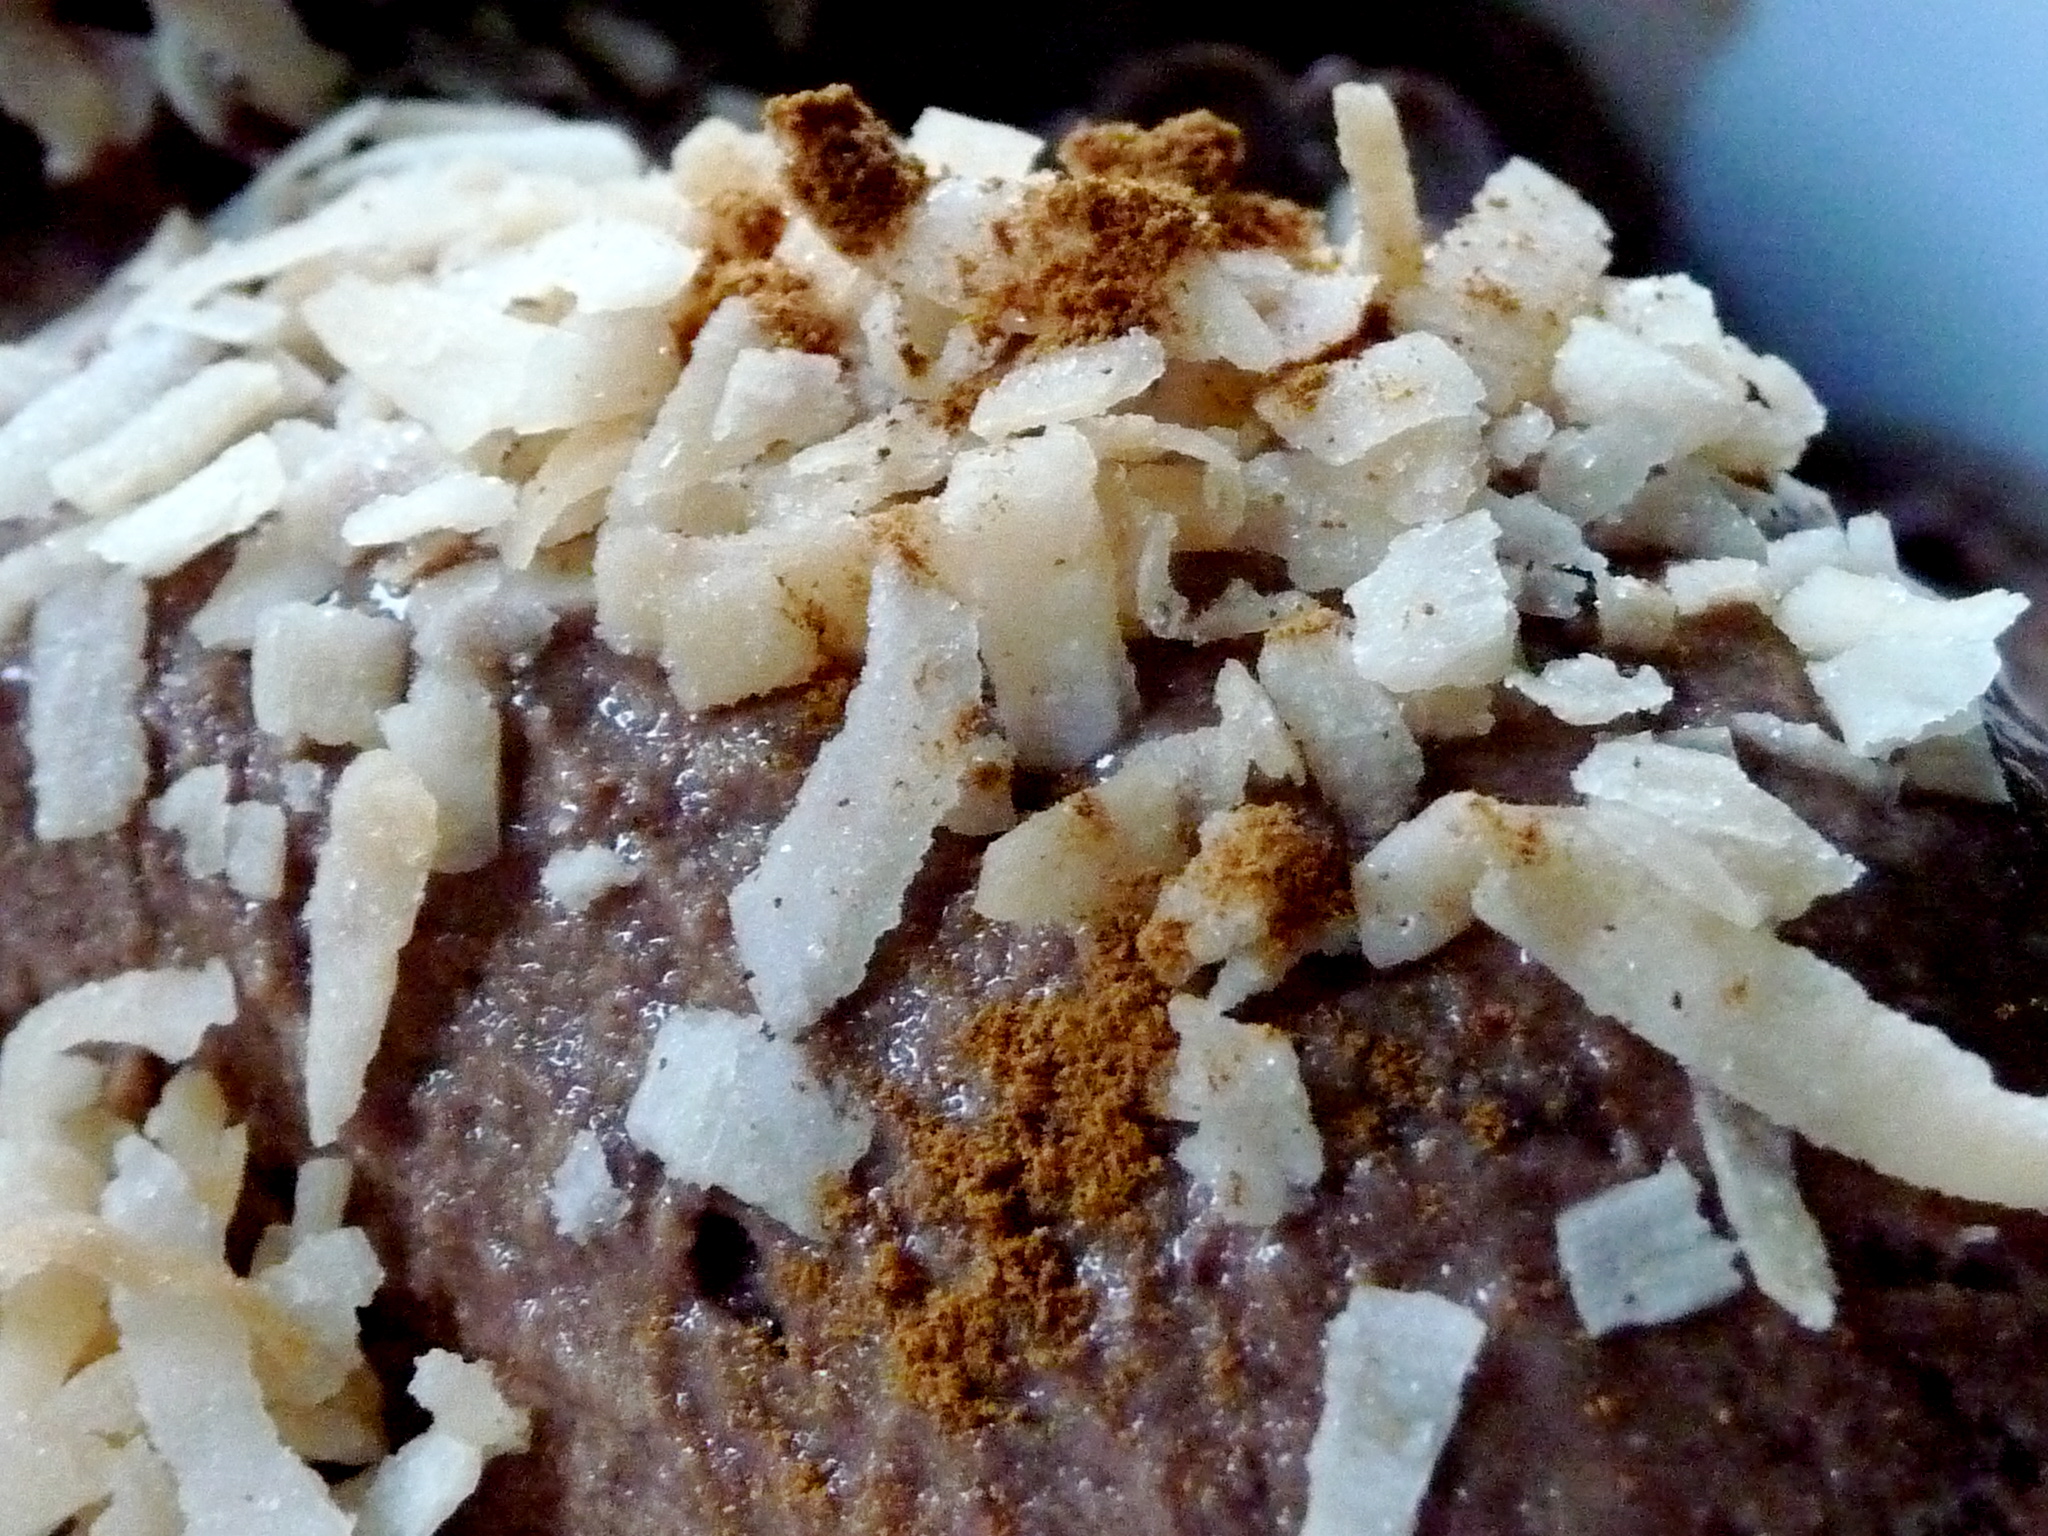
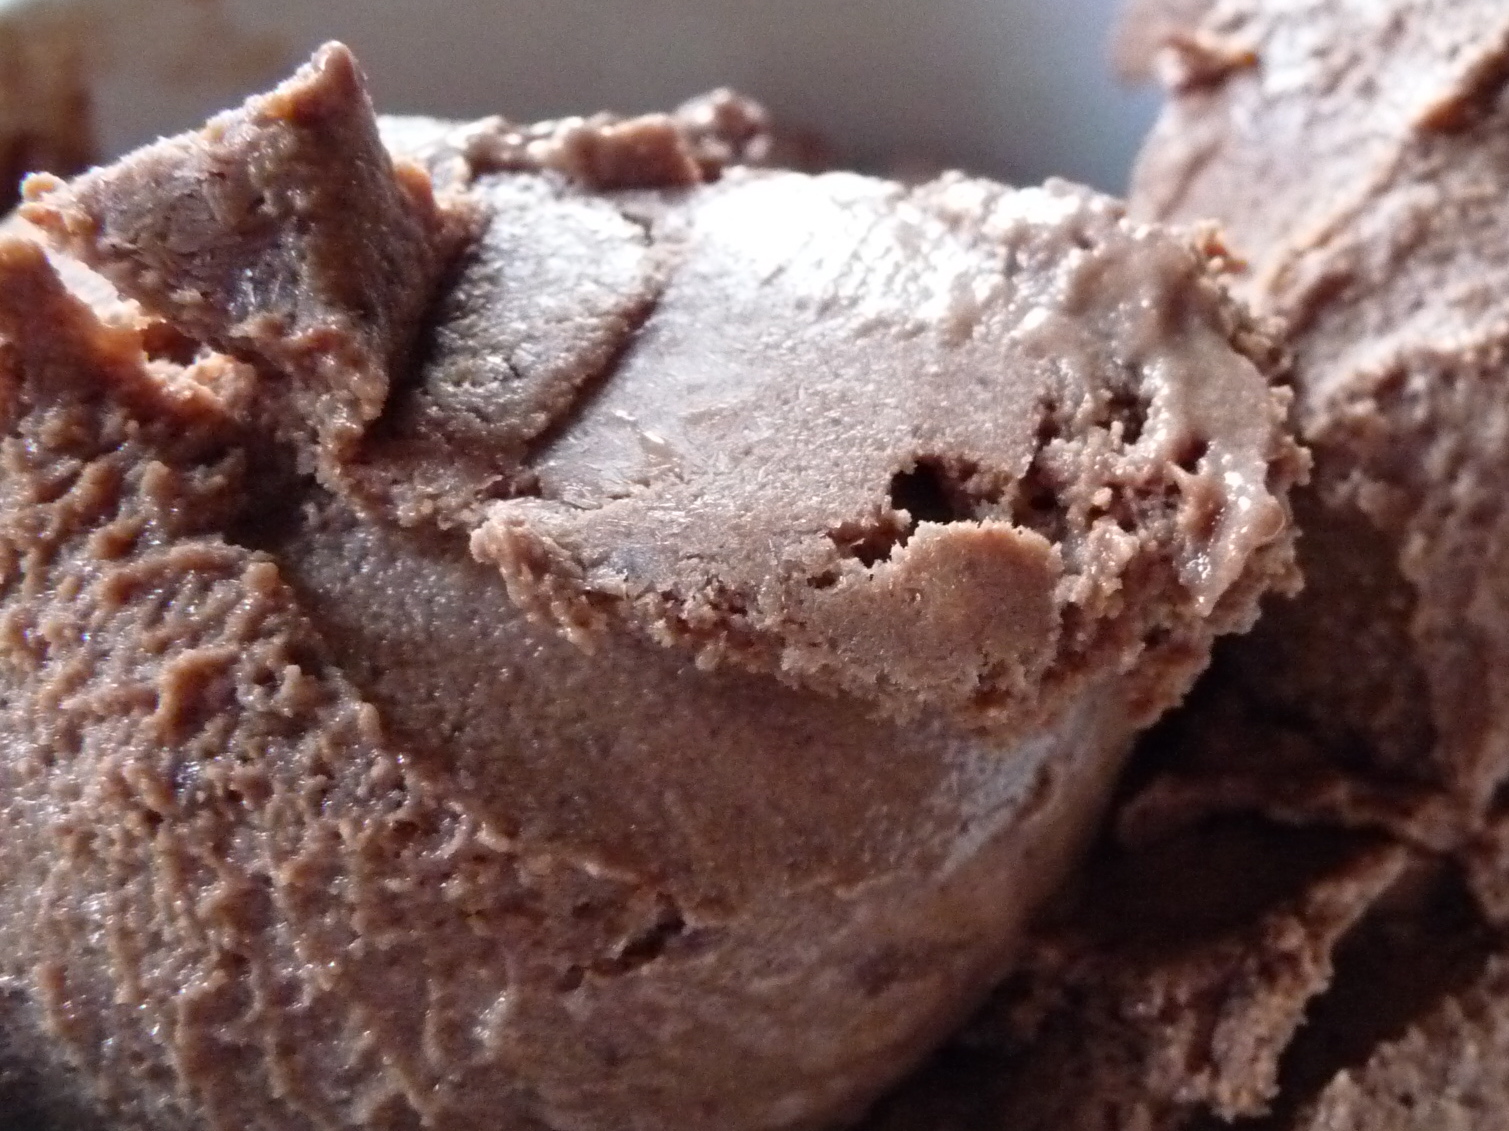
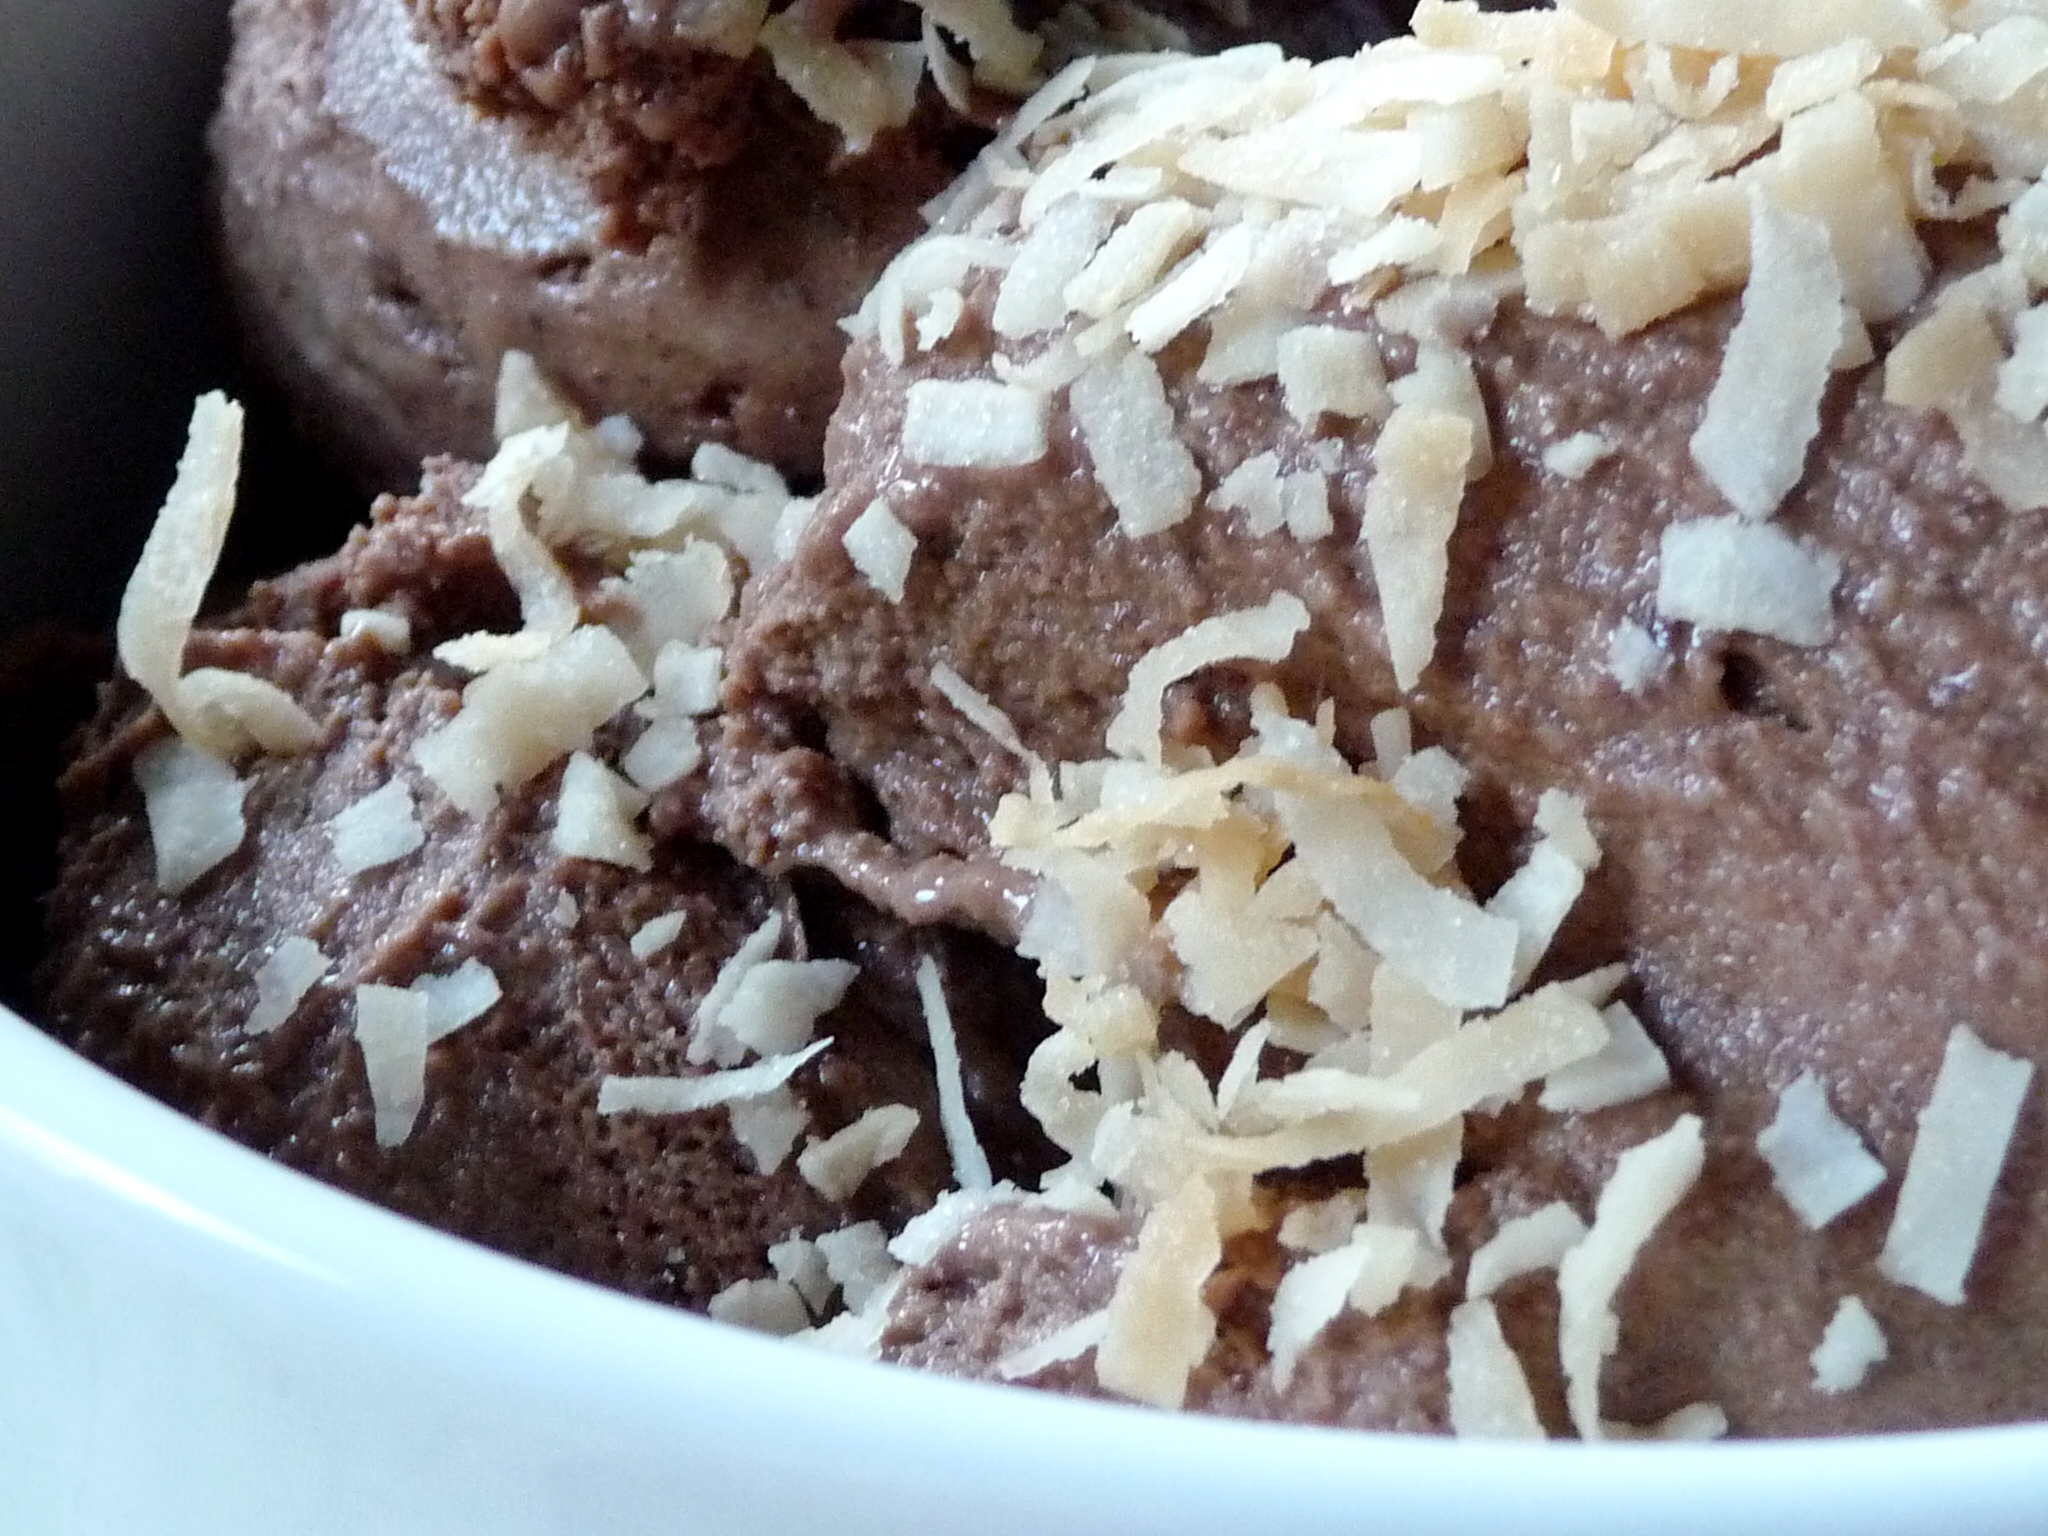
So, I made the chocolate ganache ice cream with 14 ounces of coconut milk — light coconut milk, even, because Trader Joe’s doesn’t sell the regular stuff — and 6 ounces of half-and-half. I used TJ’s dark chocolate despite my usual inclination to substitute milk, because Dorie said I should. (She was right. She’s almost always right.)

Generally when I make ice cream (which used to be a lot more frequently, of course), I make Philadelphia style: cream, sugar, something yummy; no eggs. But occasionally I’ll make a David Lebovitz blow-out; if you want to make ice cream at home, you must get his Perfect Scoop.

This recipe calls for egg yolks, but only four. Using yolks certainly makes for a creamier custard, but we’re generally happy without them. They sure were good this time, though.

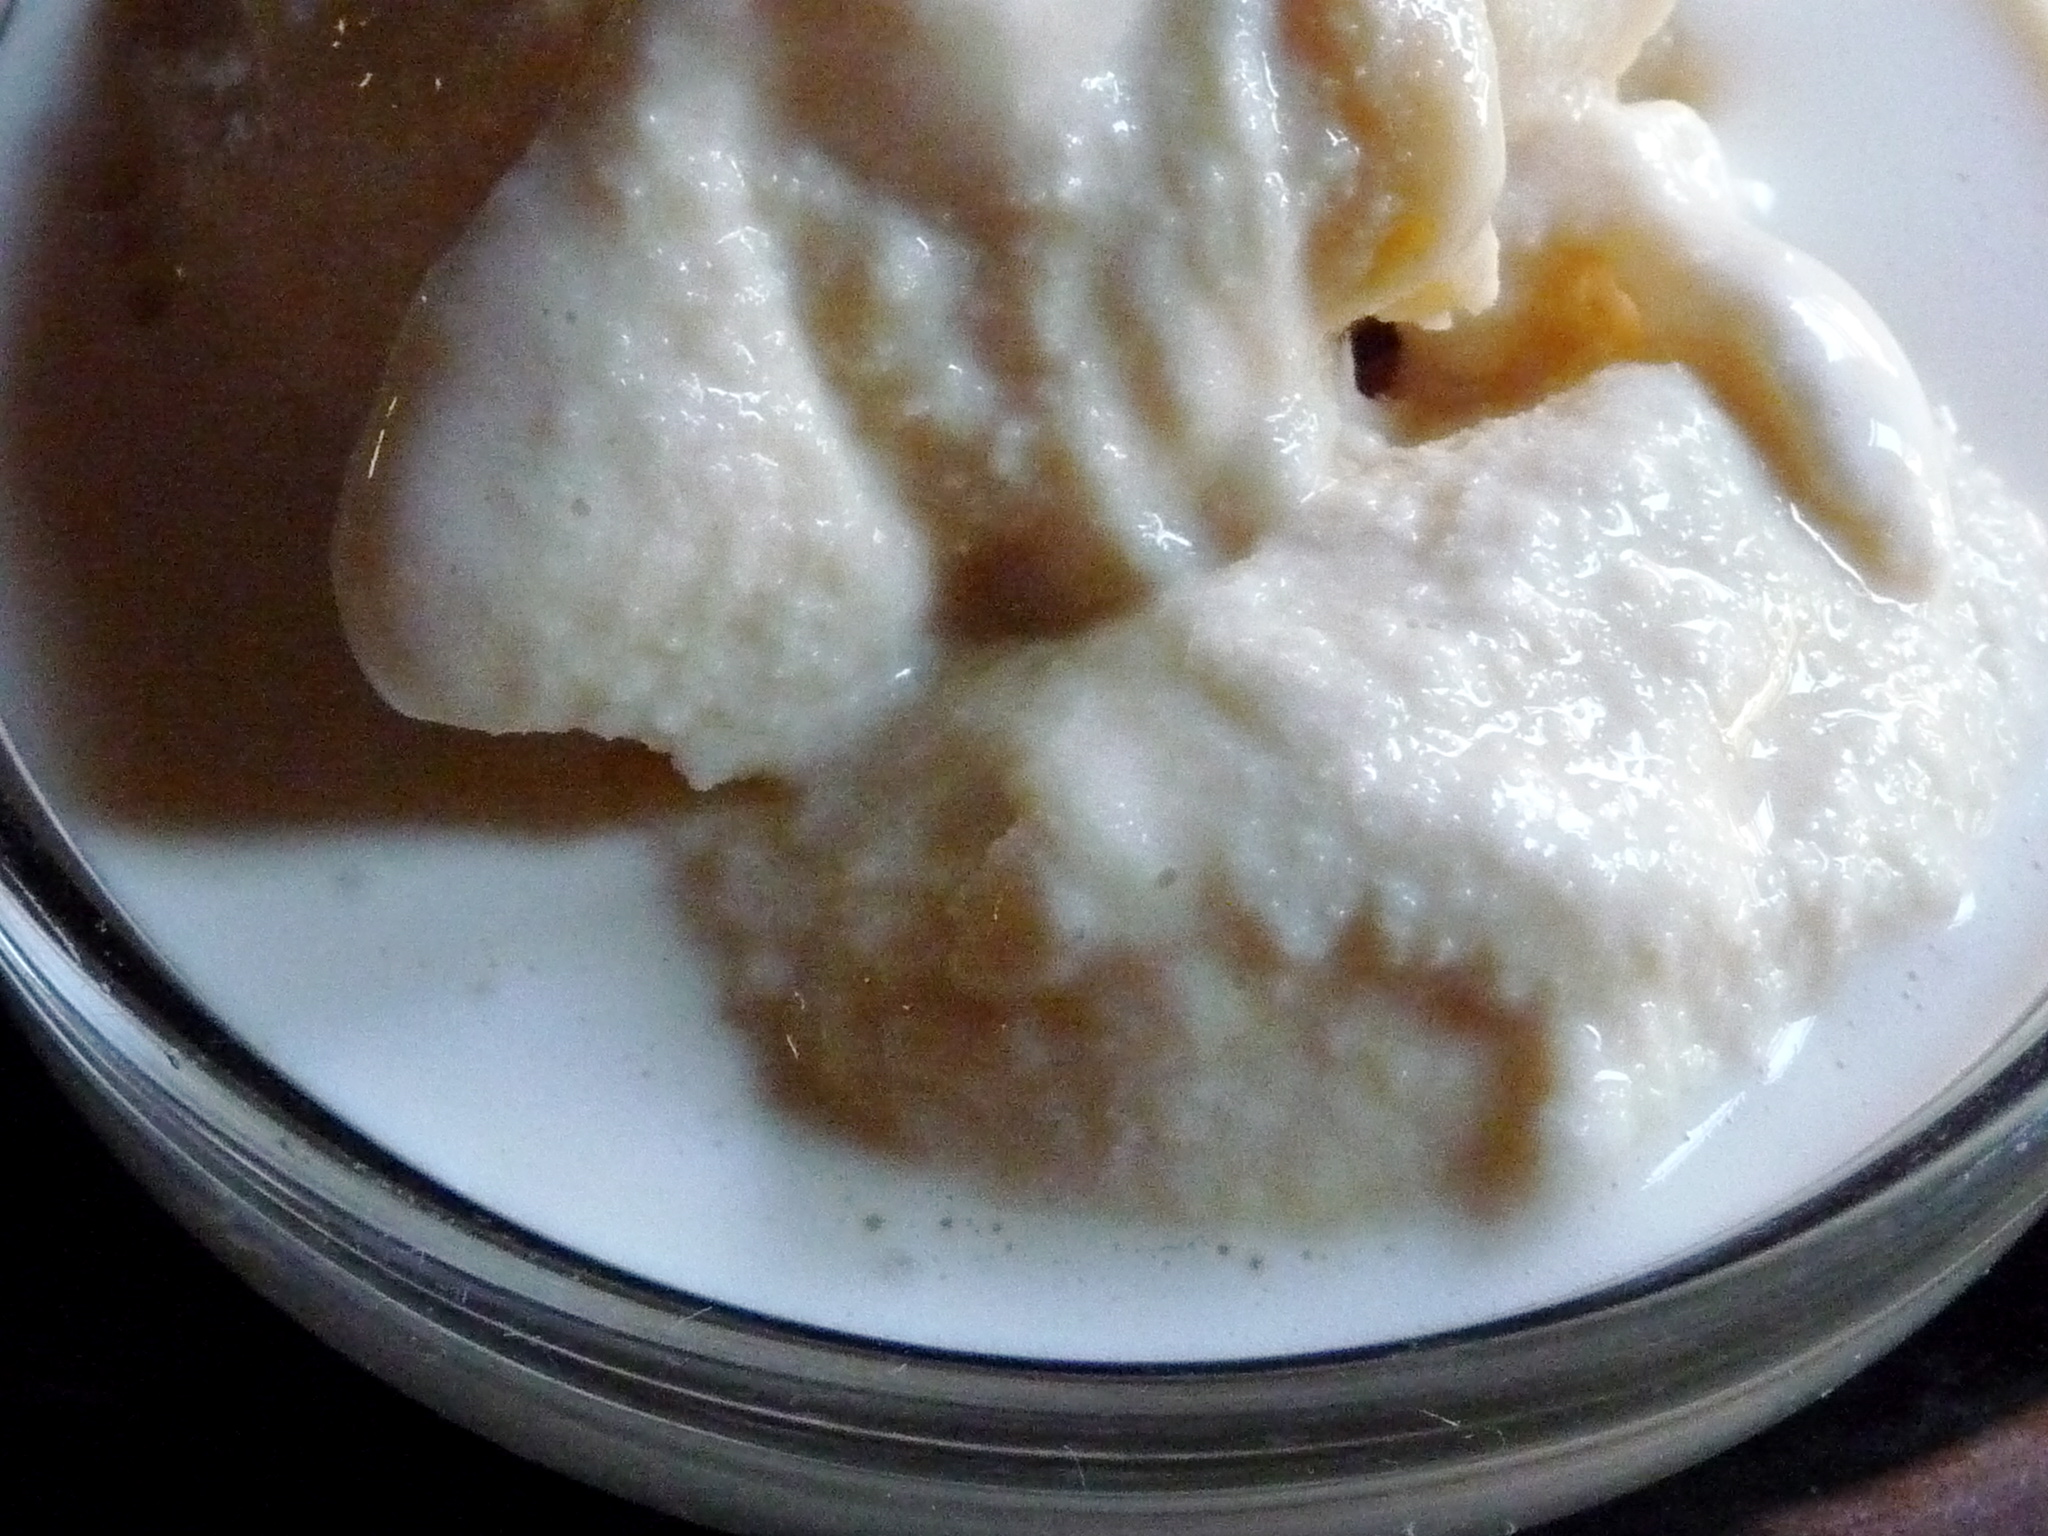
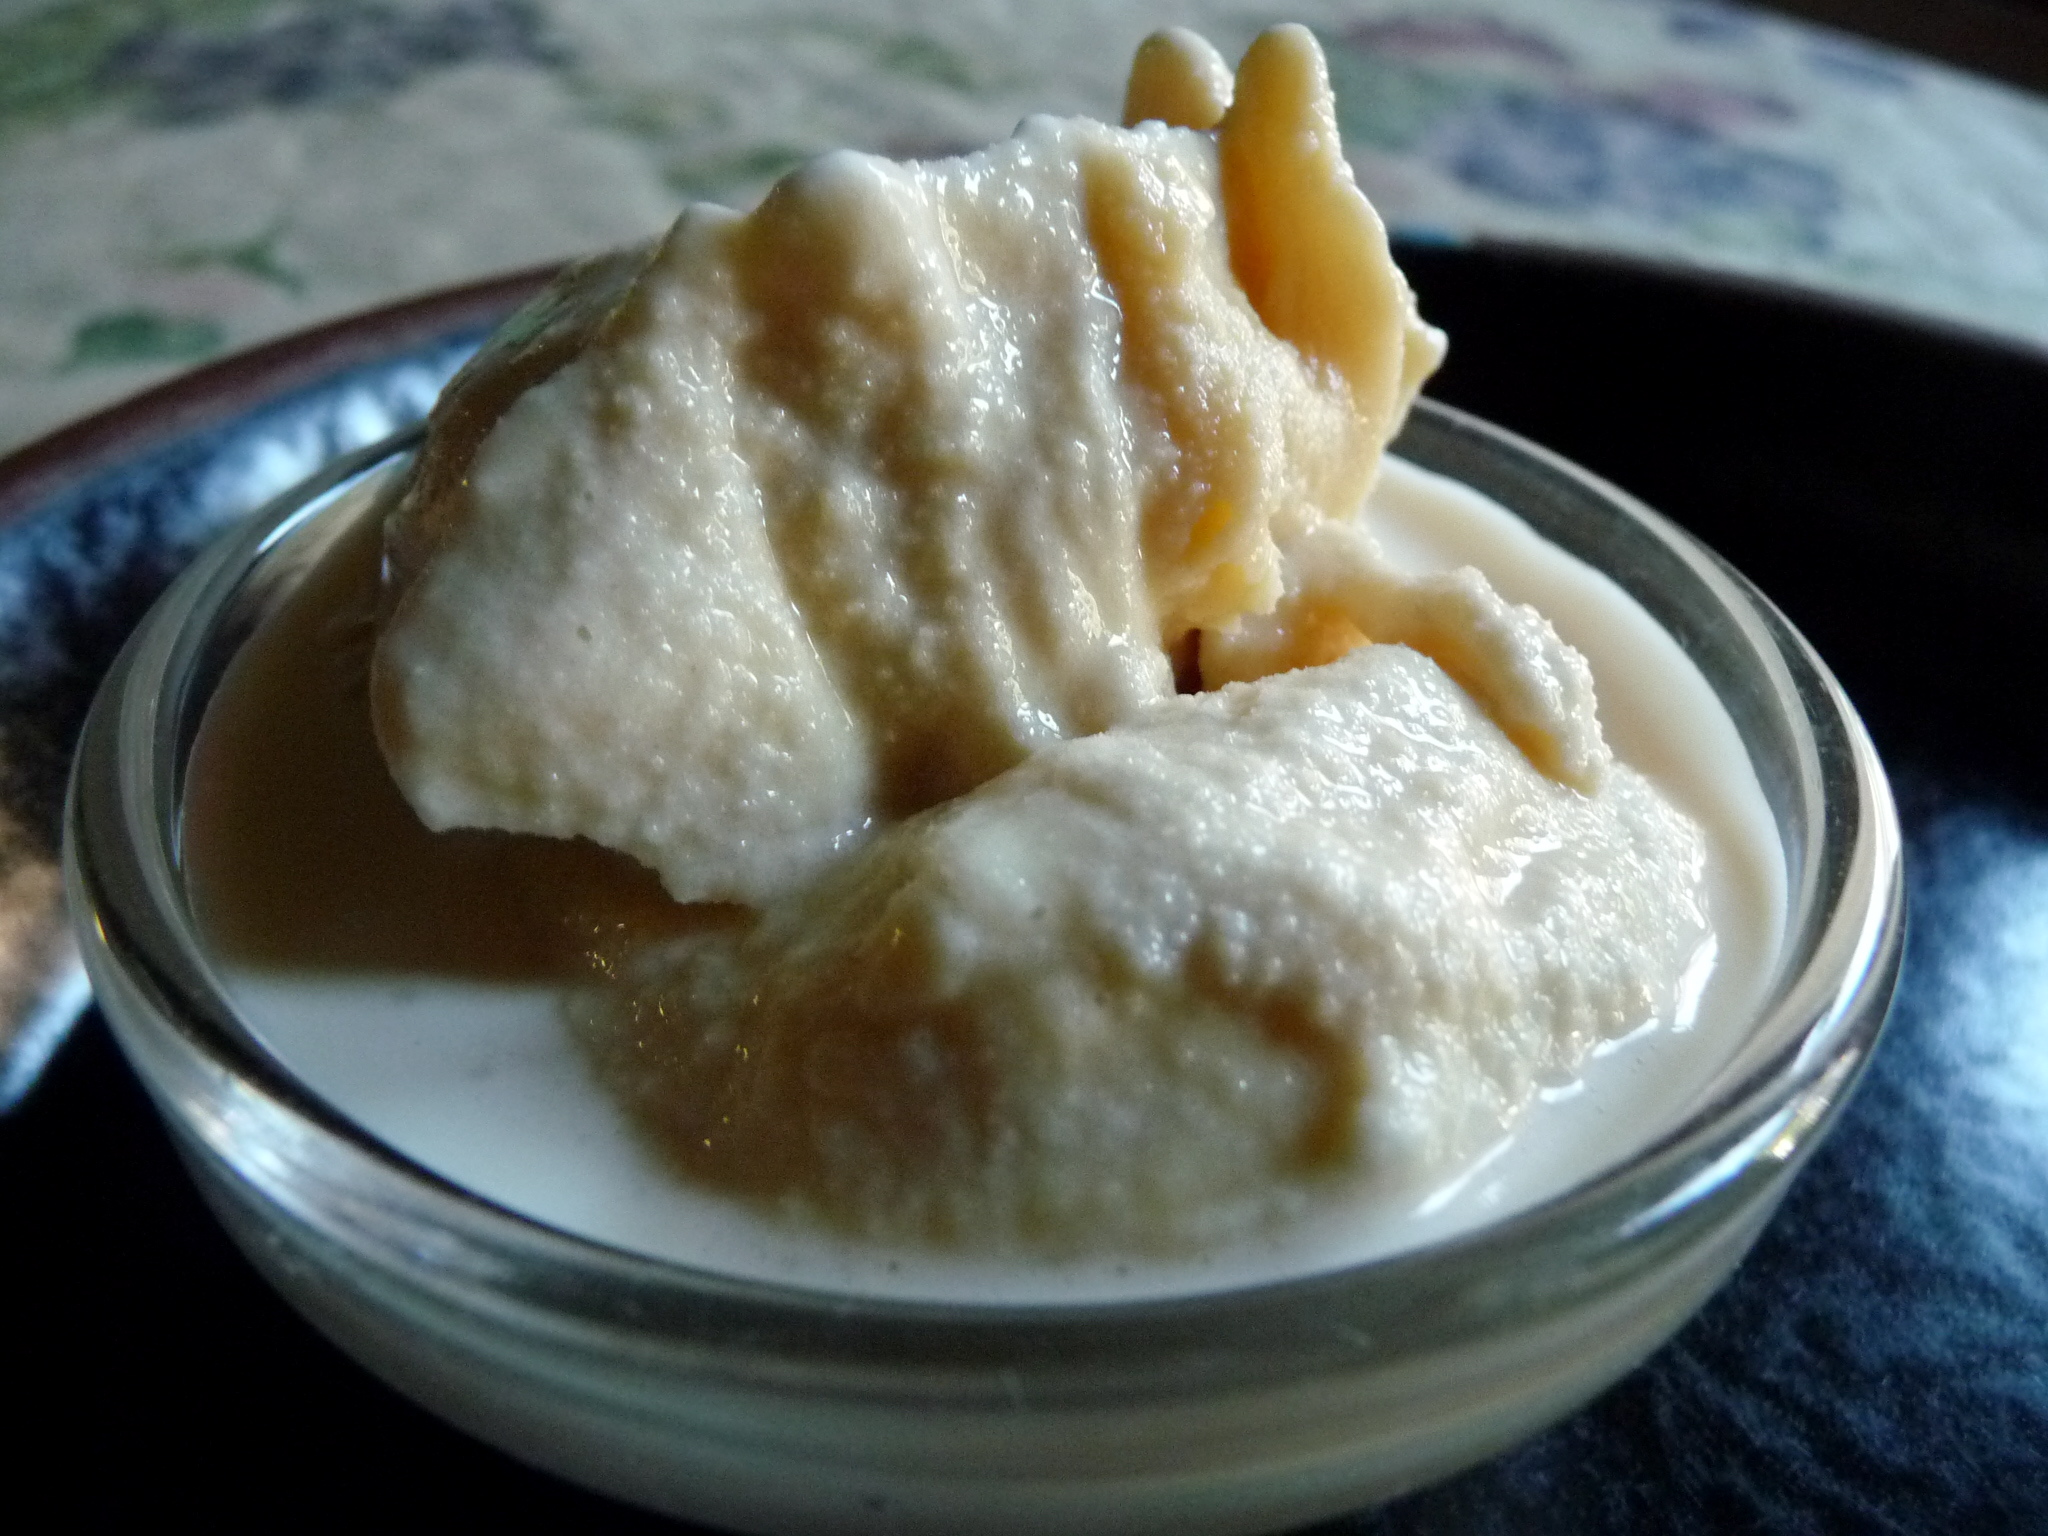
Just like the last time Tuesdays With Dorie made ice cream, this stuff is marvelous. Dorie sure knows her way around an ice cream maker. What took this ice cream (can I call it ice cream if I used mostly coconut milk?) over the top is the ganache: The chocolate is chopped and melted in hot cream, and then the custard is added. Oh, yes.

Because I used coconut milk, the obvious topping was toasted coconut. Alex added cinnamon and peanuts too, and I think next time I’ll chop some macadamias and toss them in while it’s churning. Yum.

I don’t like chocolate ice cream as a rule. I don’t like chocolate cake, either; I prefer my chocolate straight. But I loved this ice cream: It’s dark and rich and creamy and amazing. Trust me. And trust my family:

Tim [the guy who gave up carbs]: I have not enjoyed ice cream this much in seven months. It was like letting a chocolate half-and-half cloud melt on my tongue.

Alex [the guy who cut way down on carbs]: I don’t like chocolate and I don’t like ice cream, but this is really good. It’s especially good with cinnamon and peanuts.

Ben [the guy who eats anything and everything]: It was good with the mix-ins, but plain I think the coconut milk overpowered the chocolate.

So give it a shot — it’s totally worth your time. You can find the recipe in Baking: From My Home to Yours by Dorie Greenspan or at Baking and Boys. And a plain-jane recipe like this will inspire all kinds of variations from the other Tuesdays With Dorie bakers, so check them out too.
Categories
boys recipes

Pancakes! (And a Special Guest Blogger!)

Ben did something cool this morning, and I made him write about it. I’m such a mean mom.

Herewith, my second-born:

I’m writing this post because this morning, I made pancakes. But not just any pancakes — special pancakes. They feel like popovers, but they aren’t.

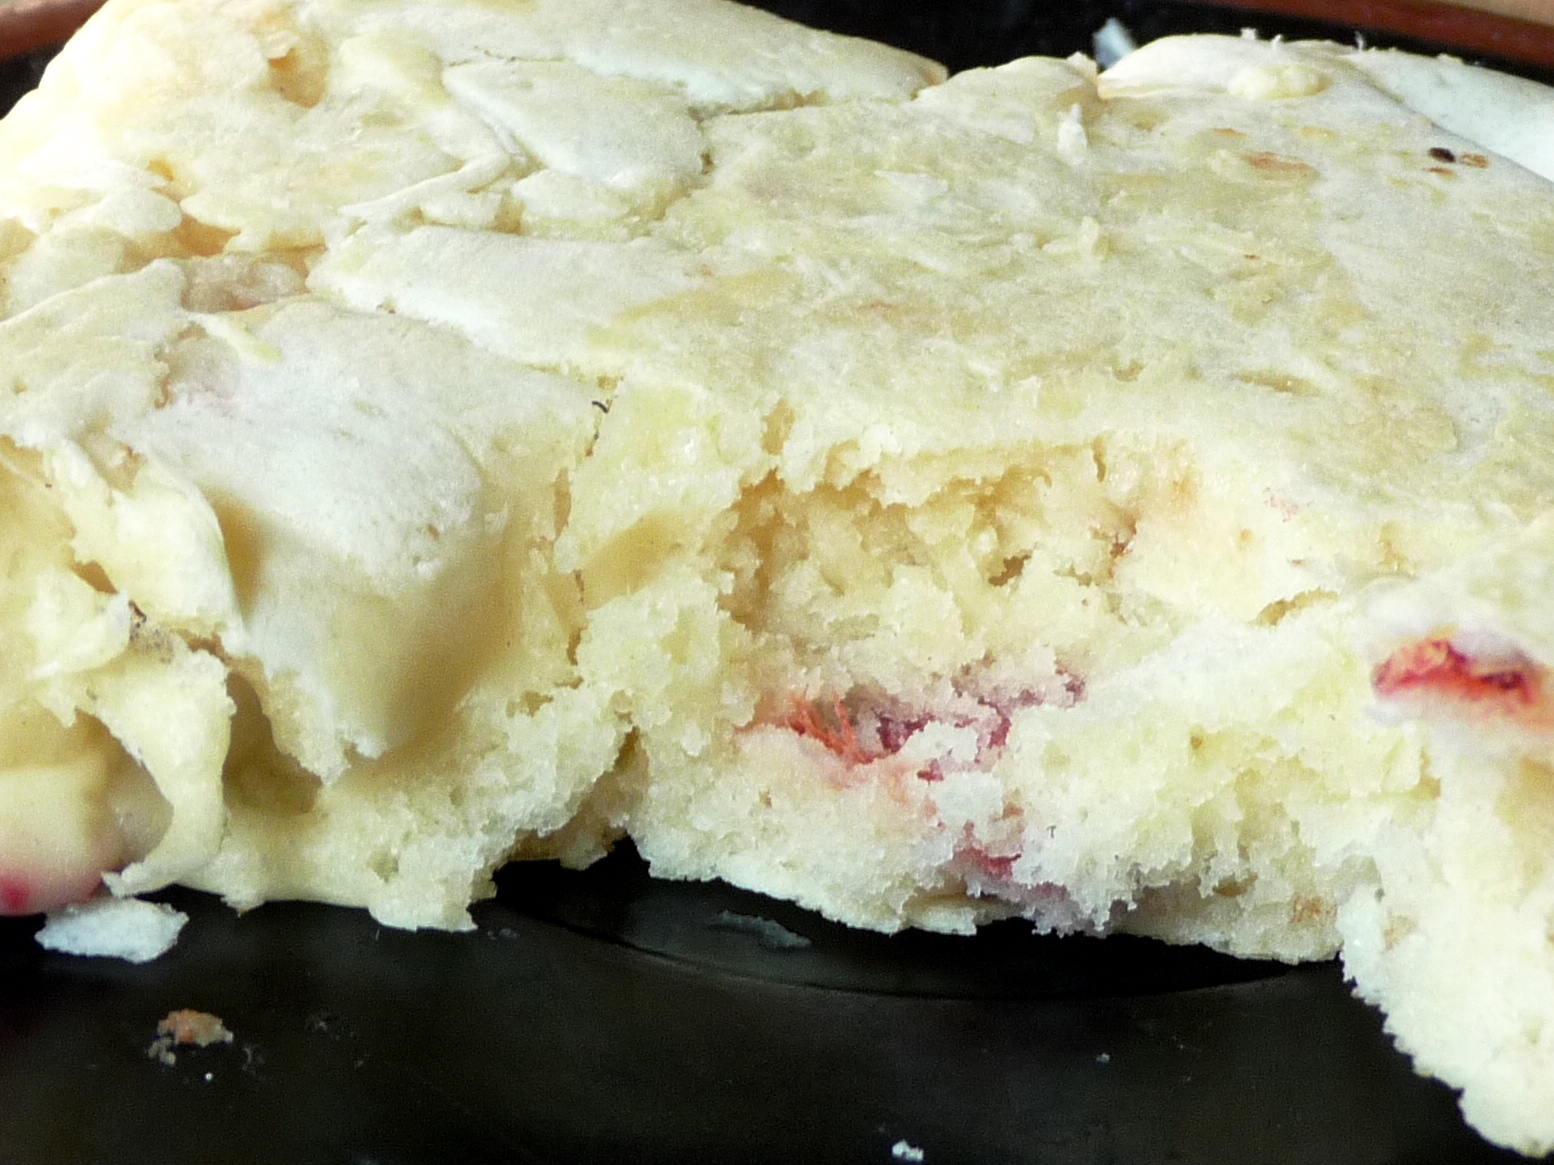
I made one with toasted coconut, the flavor of which was overpowered by the pancake flavor. The next one that I made didn’t work, because it had freeze-dried strawberries in it. It didn’t work because the strawberries absorbed the moisture from the pancake batter, and it didn’t brown.

The sad strawberry pancake

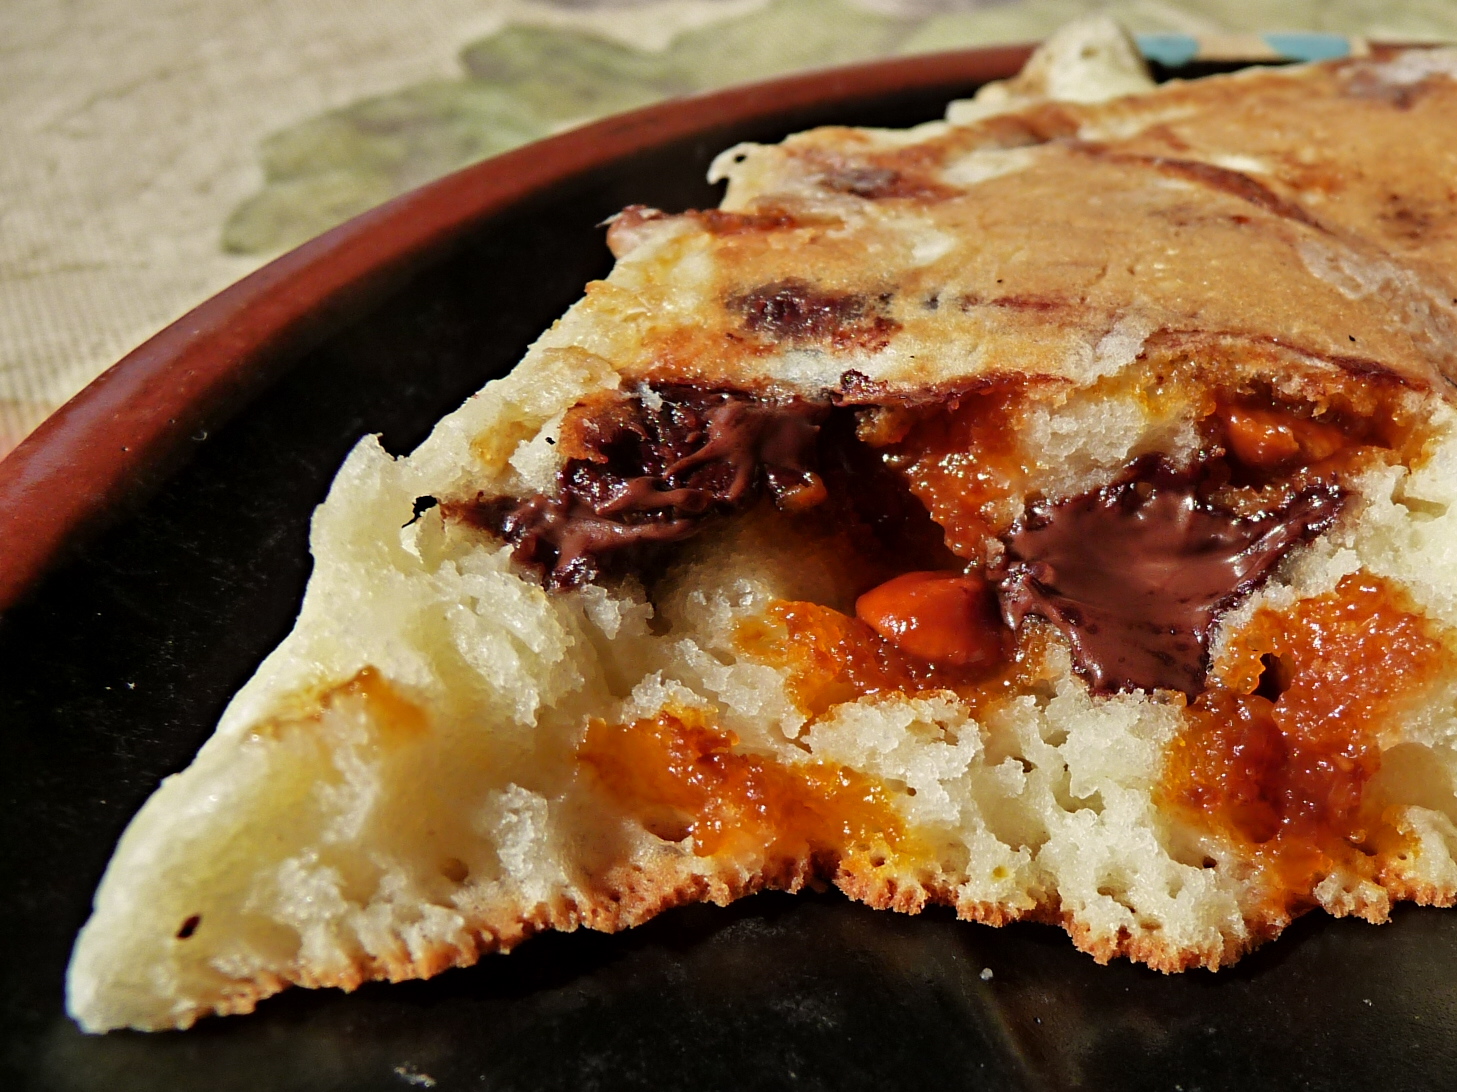
I then chopped up a Reese’s peanut butter cup, and put that in one of them. It was gone shortly after it finished cooking.

The very happy Reese’s pancake

Then, I made some with cinnamon chips and chocolate chips in them. I still have two of these, simply because I had already eaten half a batch of pancakes, and figured I shouldn’t have any more.

The equally happy cinnamon-chocolate chip pancake

The strawberry one and some of the second Reese’s I made are going to have strawberry butter put on them fairly soon. Oh, right, and I’m also making the strawberry butter.

Basic Pancakes (from How to Cook Everything®, Simple Recipes for Great Food, by Mark Bittman)

Makes 4 to 6 servings [fewer if you’re a 13-year-old boy]

Time: 20 minutes

Americans must have been sadly alienated from the kitchen for pancake mixes to ever have gained a foothold in the market, for these are ridiculously easy to make.

  • 2 cups all-purpose flour
  • 1 tablespoon baking powder
  • ½ teaspoon salt
  • 1 tablespoon sugar
  • 1 or 2 eggs
  • 1½ to 2 cups milk
  • 2 tablespoons melted and cooled butter [optional, but I used it]
  • unmelted butter for the griddle, if you don’t have nonstick

1. Preheat a griddle or large skillet over medium-low heat while you make the batter.

2. Mix together the dry ingredients. Beat the egg(s) into 1½ cups of the milk, then stir in the 2 tablespoons melted cooled butter (if you are using it). Gently stir this into the dry ingredients, mixing only enough to moisten the flour; don’t worry about a few lumps. If the batter seems thick, add a little more milk.

3. If your skillet or griddle is nonstick, you can cook the pancakes without any butter. Otherwise, use a teaspoon or two of butter or oil each time you add batter. When the butter foam subsides, or the oil shimmers, ladle batter onto the griddle or skillet, making any size pancakes you want. Adjust the heat as necessary; usually, the first batch will require higher heat than subsequent batches. The idea is to brown the bottom in 2 to 4 minutes, without burning it. Flip when the pancakes are cooked on the bottom; they won’t hold together well until they’re ready.

4. Cook until the second side is lightly browned and serve, or hold on an ovenproof plate in a 200ºF oven for up to 15 minutes.

And remember, you can do anything with this recipe, but I do recommend Reese’s.

Categories
baking cookies Dorie

Tuesdays With Dorie: Chewy, Chunky Blondies

Oh, yum.

That’s pretty much my post for this week’s installment of Tuesdays With Dorie. It really encapsulates my feelings about these little nuggets of joy, and the feelings of everyone I shared them with.

So thanks for stopping by.

Oh, OK — I’ll be more specific. I made these a couple of summers ago, shortly after I got Dorie Greenspan’s Baking: From My Home to Yours. I took them to an outdoor concert (the Philadelphia Orchestra at the Mann Music Center; coincidentally enough, I was just there again last night, which is why this post is late), where they provided a marvelous dessert for our al fresco dinner.

And then I never made them again for some inexplicable reason.

So when I saw them in the rotation for July (thanks to Nicole of Cookies on Friday for choosing them!), I knew I couldn’t pass up the opportunity, despite the fact that we just don’t eat things like this (marvelous, delicious, life-affirming things) anymore.

For those who don’t know, my husband has pretty much dumped carbs. This has made my life (at least the baking/eating part of it) sad and empty, although that’s balanced by the fact that he has lost a ton of weight, has way more energy, and feels great. But cookies!

But a bunch of people from my high school class were getting together in a park for a picnic, and the timing was just superb. I made a double batch of Chewy, Chunky Blondies.

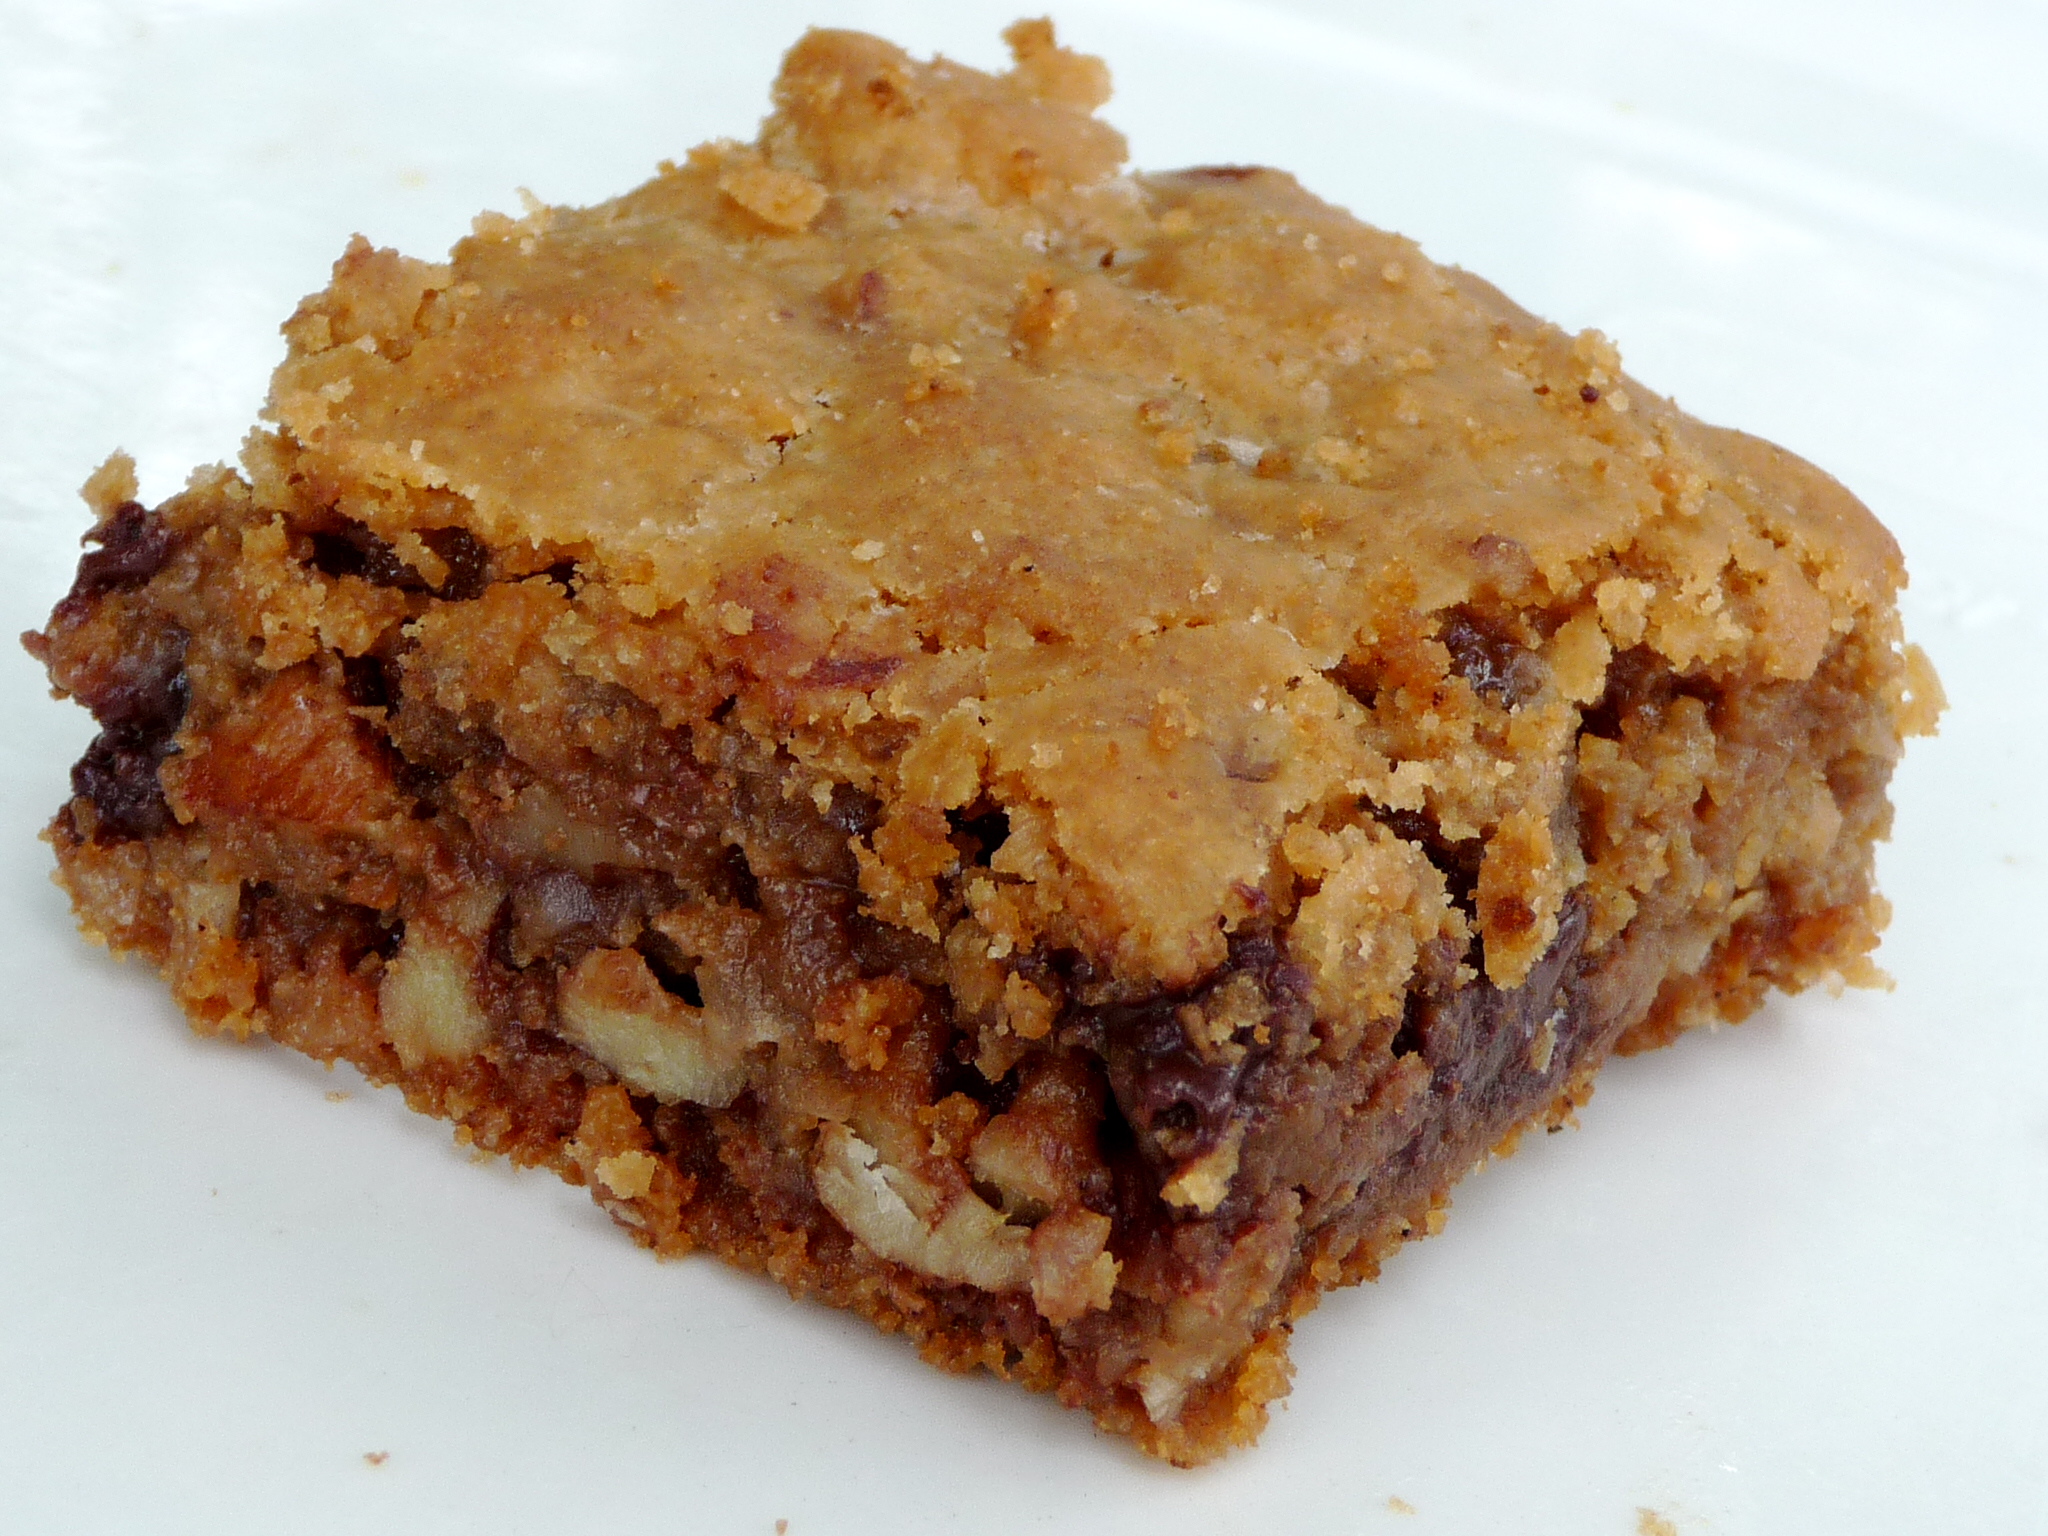
I used chocolate chips and toffee chips and toasted pecans and coconut. Oh.

And for some reason, they didn’t all get eaten. And so I brought them home. And so we ate them. And they were good. (I had intended to save the leftovers for Alex’s going-away party next month, but, um, no.)

Tim fell off of his otherwise-rigorous eating regimen (he really is good; I have no idea how he manages to be as disciplined as he is). He popped about eight of them over two sessions (the day I made them and the day of the picnic). I ate way, way more than I had intended to. Ben — well, Ben would have eaten hundreds of them whether they were good or not. And Alex, finding fault as always, prefers his blondies without chocolate.

I’m sure there will be many awesome variations among the TWD bakers; go check them out. And if you want to try them yourself (and you really, really should), Nicole has the recipe for you.

Enjoy!

Categories
baking Dorie

Tuesdays With Dorie: Brrrr-ownies

Back in December when it was my turn to pick the recipe, these brownies were way up near the top of the short list. But Dorie talks about how good they are on a steamy summer’s day, and so I sadly left them for someone else to choose.

This week, Karen of Welcome to Our Crazy Blessed Life did so. Thank you, Karen.

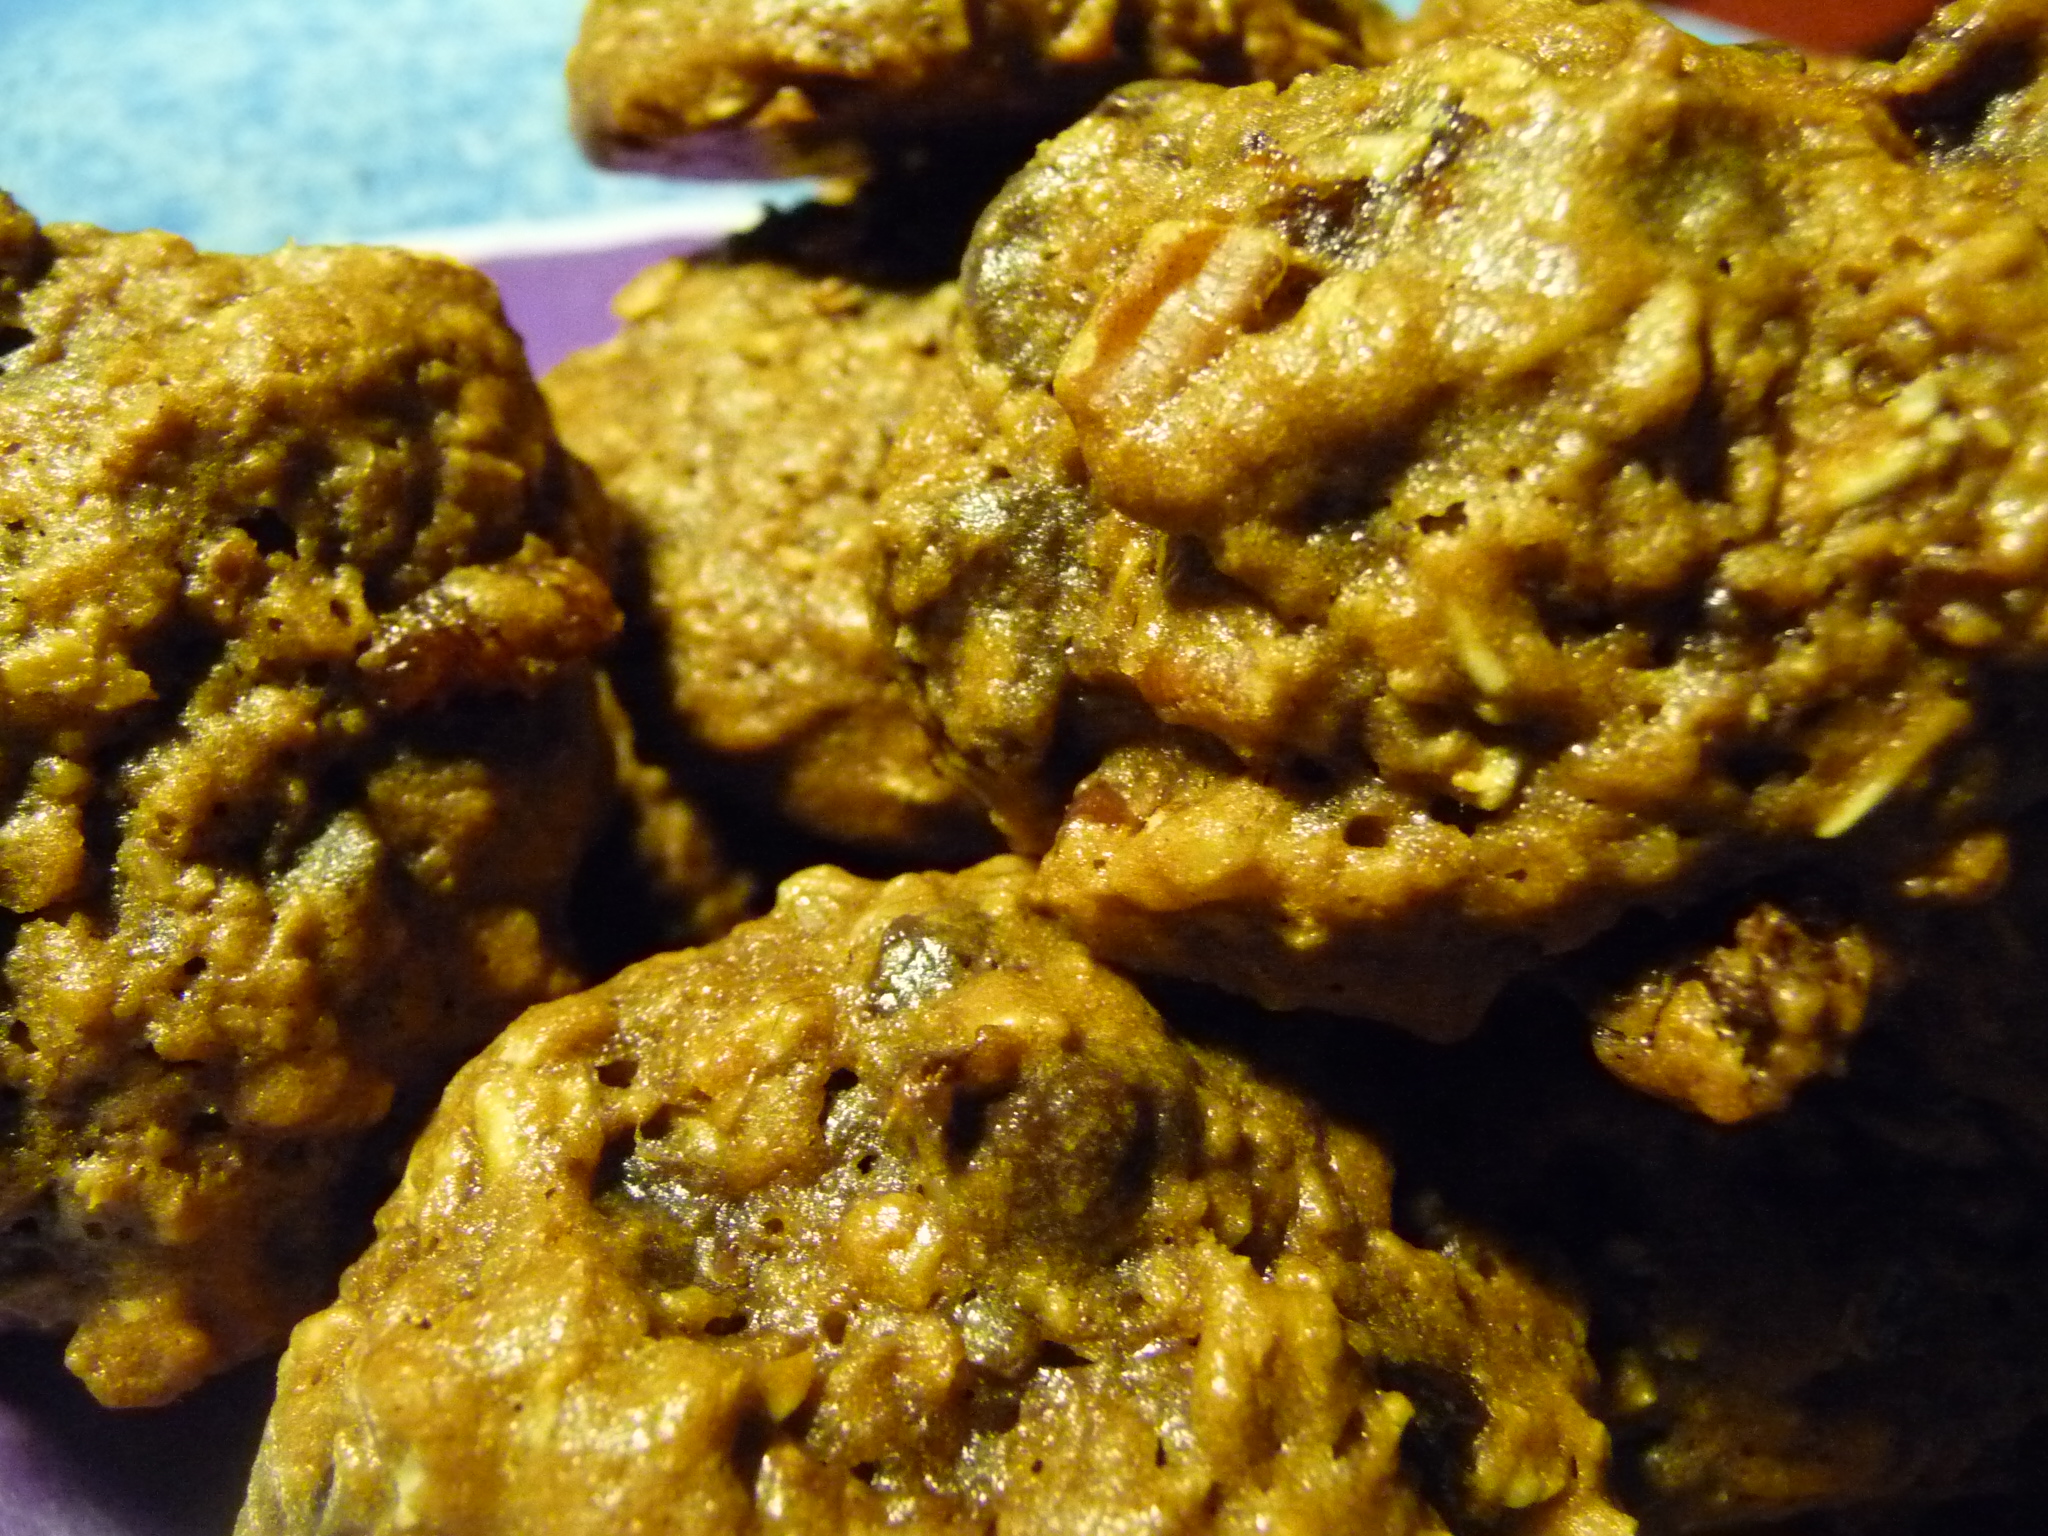
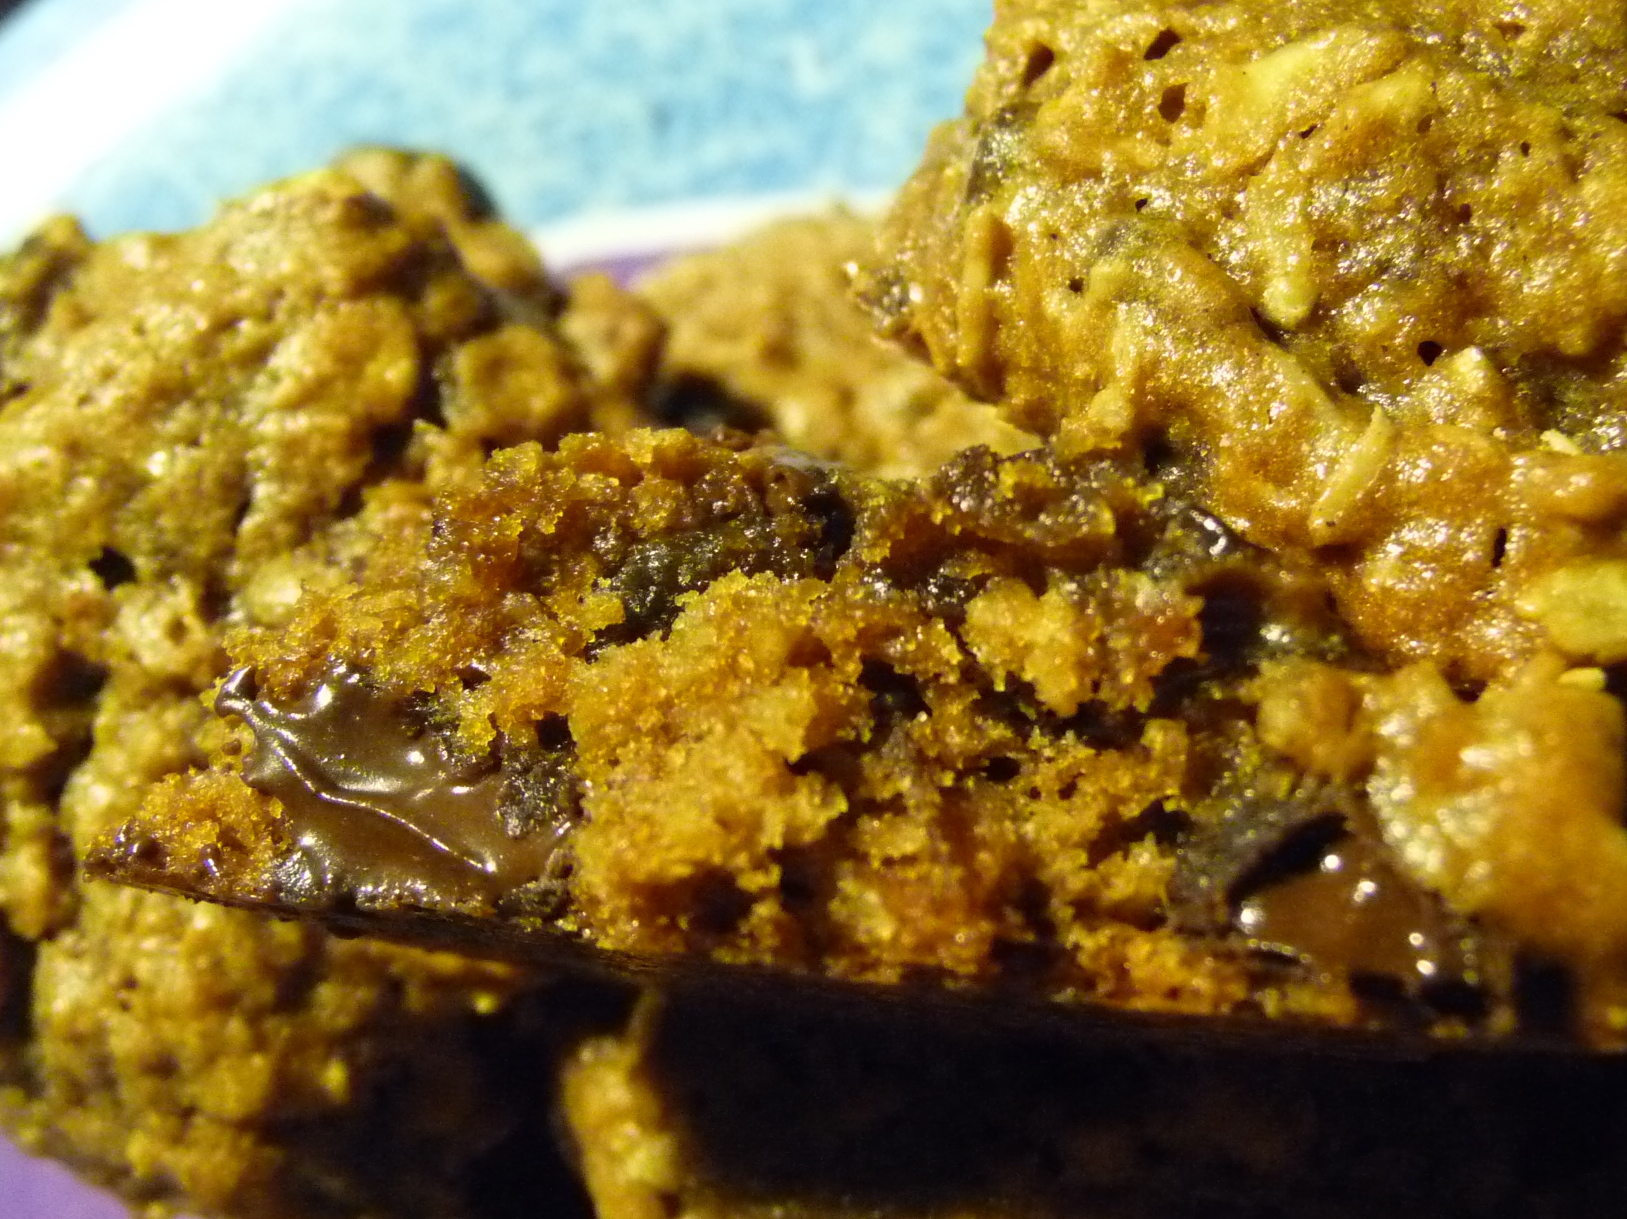
(I went with Chocolate Oatmeal Almost-Candy Bars. They were delicious.)

So even though I almost never bake anymore, and 75 percent of my family is trying to lose weight, I had to make these brownies. And I’m glad I did.

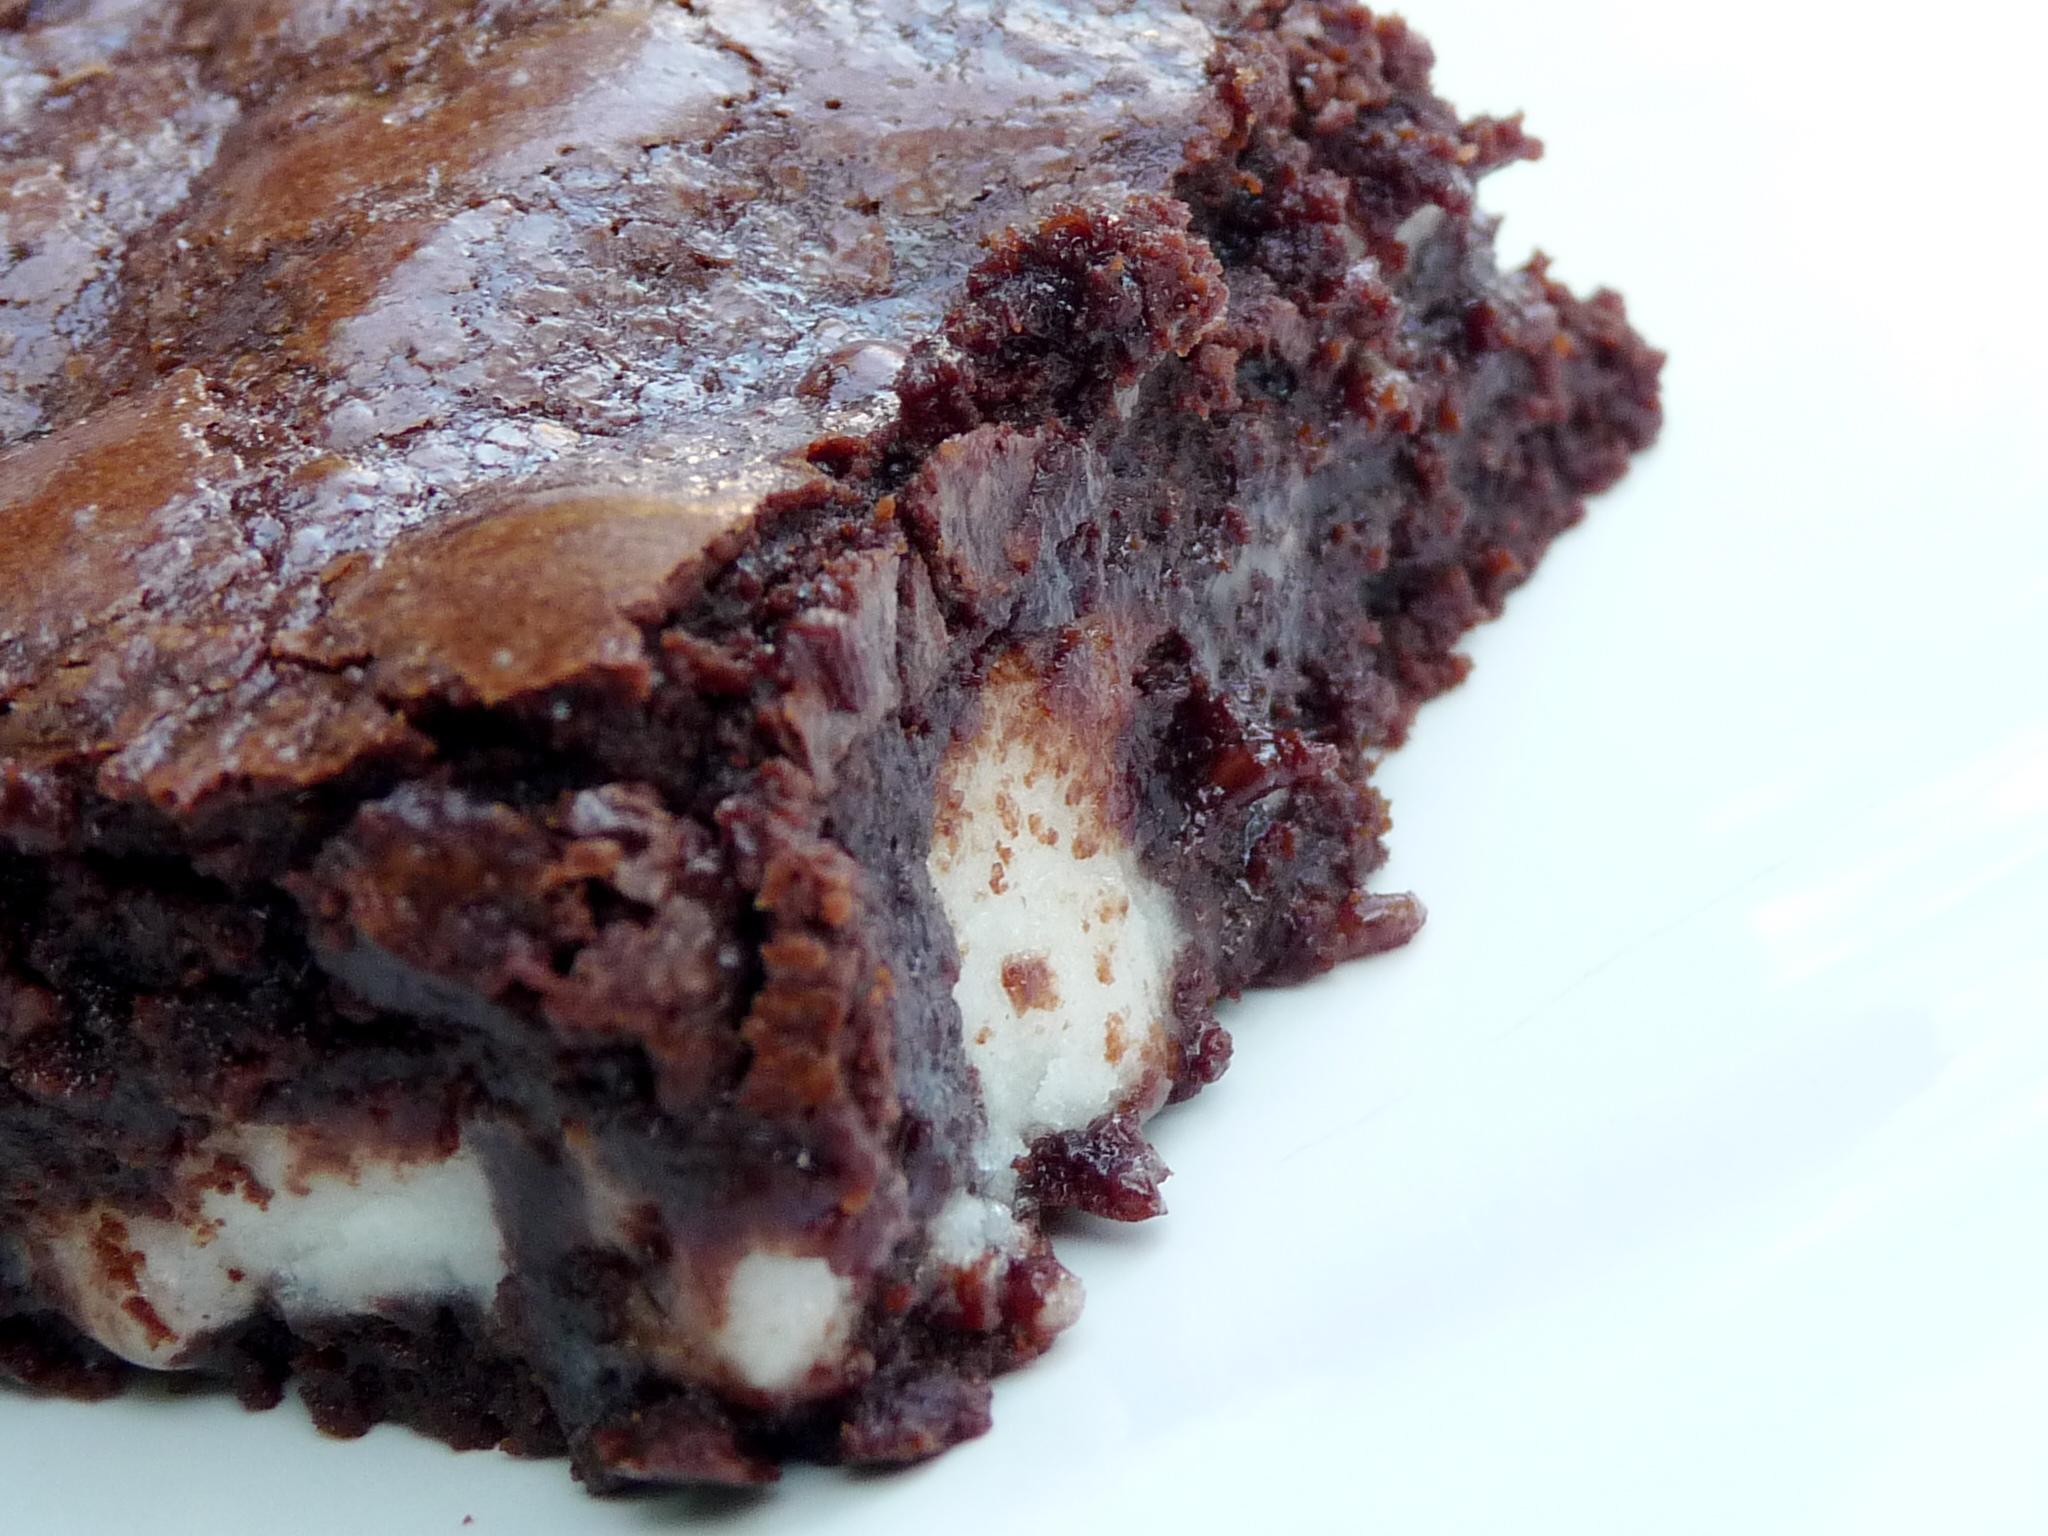
I love York Peppermint Patties. I love brownies. Really, how can you go wrong combining them?

So my plan was to serve one of these per person as dessert, wrap up a few for a friend whose birthday is Wednesday, and freeze the rest for a picnic I’m going to on Saturday.

Um, no.

But I’m getting ahead of myself.

The batter came together easily; I really prefer recipes that involve melting the butter and chocolate together, rather than ones that require me to remember to take the butter out hours ahead of time to soften. Score 1 for Dorie.

I managed to chop the Peppermint Patties up into varying sizes without eating any. Yay me.

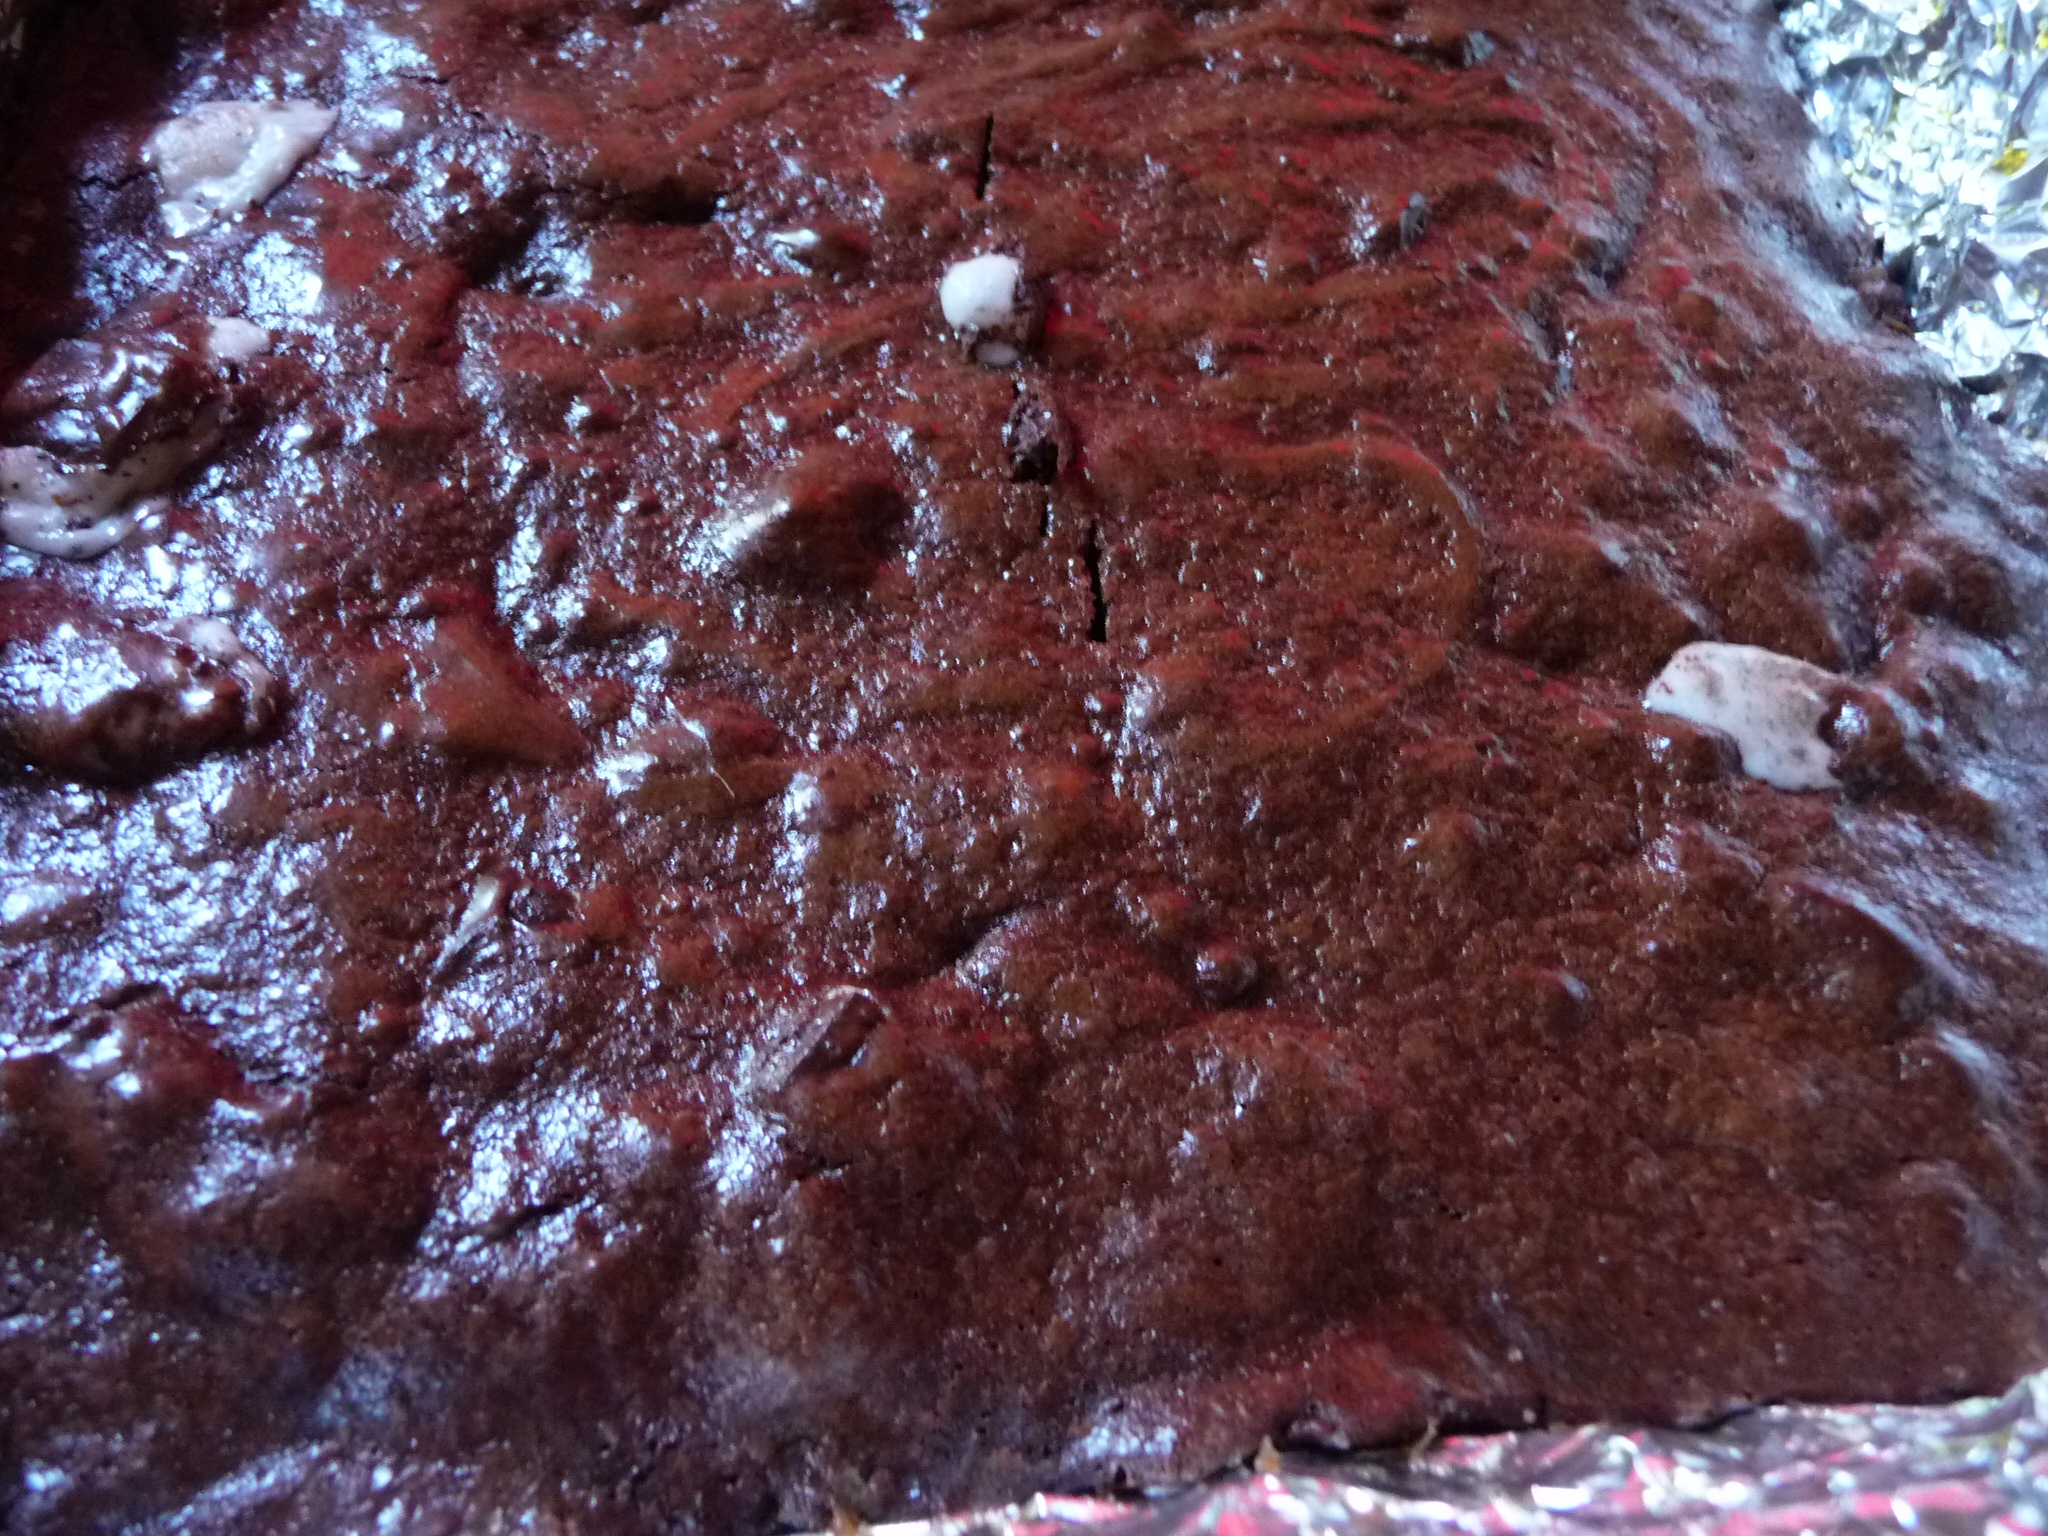
I baked them; I cooled them; I peeled off the foil. All uneventful.

And then I trimmed a tiny bit off the edge, just to taste.

By the time I was finished trimming more tiny bits off the edge, the brownies were a third gone. By the time my family got through with them, I managed to salvage four for my friend and wrapped the remaining two — two! — up for the boys to eat today.

My God, these were marvelous. Make them now.

If you want to read what the other TWD bakers did with these, check out the blogroll. And right now, go visit Welcome to Our Crazy Blessed Life, where Karen will provide you with the recipe.

Categories
grilling

Grilled Pizza at Last!

For years I’ve been reading people’s descriptions of making pizza on a grill. I make pizza — really good pizza, amazing pizza, pizza that’s spoiled me for ever eating pizza anywhere else, including at artisan places with wood-fired ovens. Mine is just better.

But my oven is pretty low-end, and it doesn’t get nearly as hot as I want it to. The secret to top-notch pizza crust is heat — 750 to 800 degrees minimum. So I wanted a grill, a fancy grill with a thermostat.

But I didn’t have one. Every spring and summer I’d talk about buying a grill, and I even gazed at them longingly when I was unlucky enough to find myself at Home Depot or Lowe’s.

But we never bought one, until this year. My older son, Alex (previously known here as Son #1), is going off to college in August, and we’re throwing him a going-away party. Of course, a party in the summer needs a grill, so we finally had the excuse we needed to buy one.

And I am so glad we did. And I’m glad we waited, because we got one of those newfangled infrared grills. Let me tell you: It’s not a gimmick. Every single thing we have grilled, including steak, burgers (both beef and buffalo), lamb shish kebobs, green beans (!), corn on the cob, and now pizza, has been amazing. Simply fantastic.

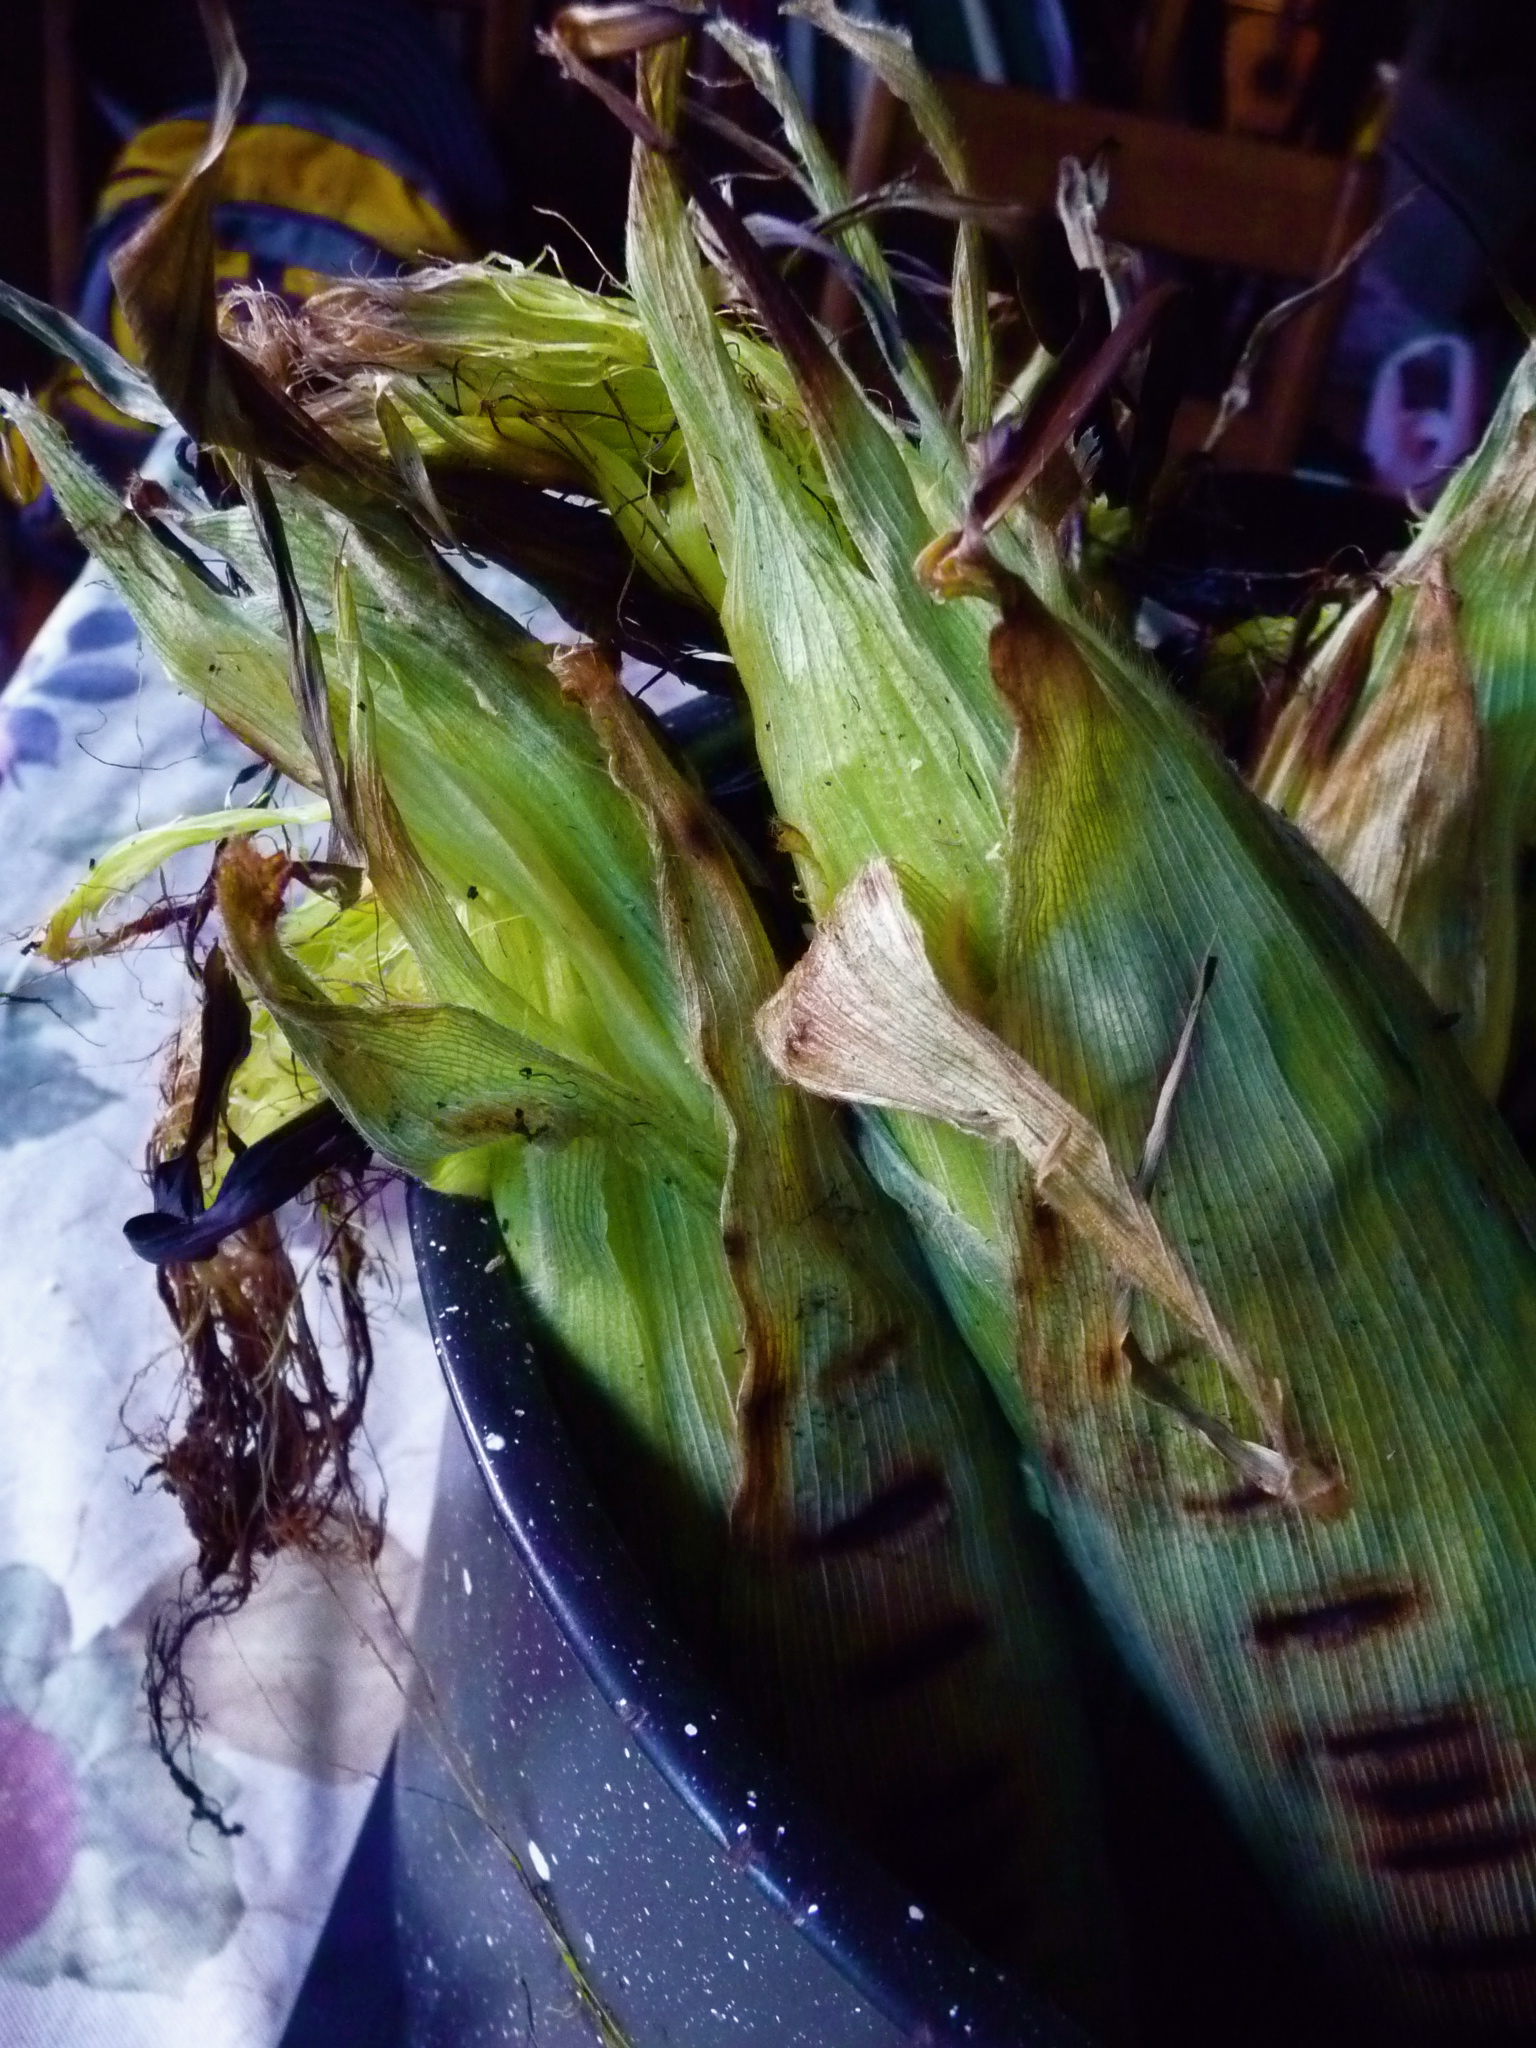
Look! Corn!

You know what’s a revelation? Grilled sweet corn. Soak the ears, in the husks, for 15 minutes. Grill for 6 to 7 minutes, then turn and do the same on the other side.

No salt, no butter, nothing: This is the best corn I have ever tasted. I could eat nothing but grilled corn for an entire day.

But this post is about pizza. My pizza is still a work in progress, so take this for what it’s worth.

I make an amazing pizza dough, courtesy of Maggie Glezer’s fabulous Artisan Baking Across America. (Great book, which appears, tragically, to be out of print. If you find a copy, buy it.) This stuff handles so beautifully you won’t know whether to laugh or cry.

Gemelli Pizza Margherita from Artisan Baking Across America, by Maggie Glezer

3⅓ cups (500 grams) unbleached bread flour ¼ teaspoon instant yeast 2 teaspoons (10 grams) sea salt 1½ cups (330 grams) lukewarm water

Put the flour, yeast, and salt in a mixing bowl. (I make this in my KitchenAid, but you can do it by hand if you’re less lazy than I am.) Stir them together by hand. Using the dough hook, mix on low speed while pouring in the water slowly; continue to mix on low speed just until the dough gathers around the hook. Cover the bowl and let the dough rest for 10 to 15 minutes.

Mix the dough on medium speed for about 3 minutes, till it’s fairly but not perfectly smooth. The dough should feel sticky at first, and then soft and dry to the touch (although it might still be a bit sticky; as long as you can handle it, it will be OK). (I have never had to add either more water or more flour.)

On a lightly floured work surface, cut the dough into four pieces, each 7 ounces (200 grams). Shape each piece into a tight ball: Flatten the dough, then roll it up like a carpet. Turn the roll, position it seam side up, and roll it again. If you can, do this a third time. Turn the dough so the seam is on the bottom and round the edges to form a tight ball. Roll each ball in flour and arrange on a floured tray, then cover the tray tightly with plastic wrap or a cover.

Let the balls rest at room temperature until they are soft and puffy but still springy, 5 to 6 hours. Or refrigerate the shaped balls up to 36 hours, then remove from the refrigerator and let them finish proofing at room temperature for 7 to 8 hours.

When this stuff is fully proofed, it’s a dream to work with.

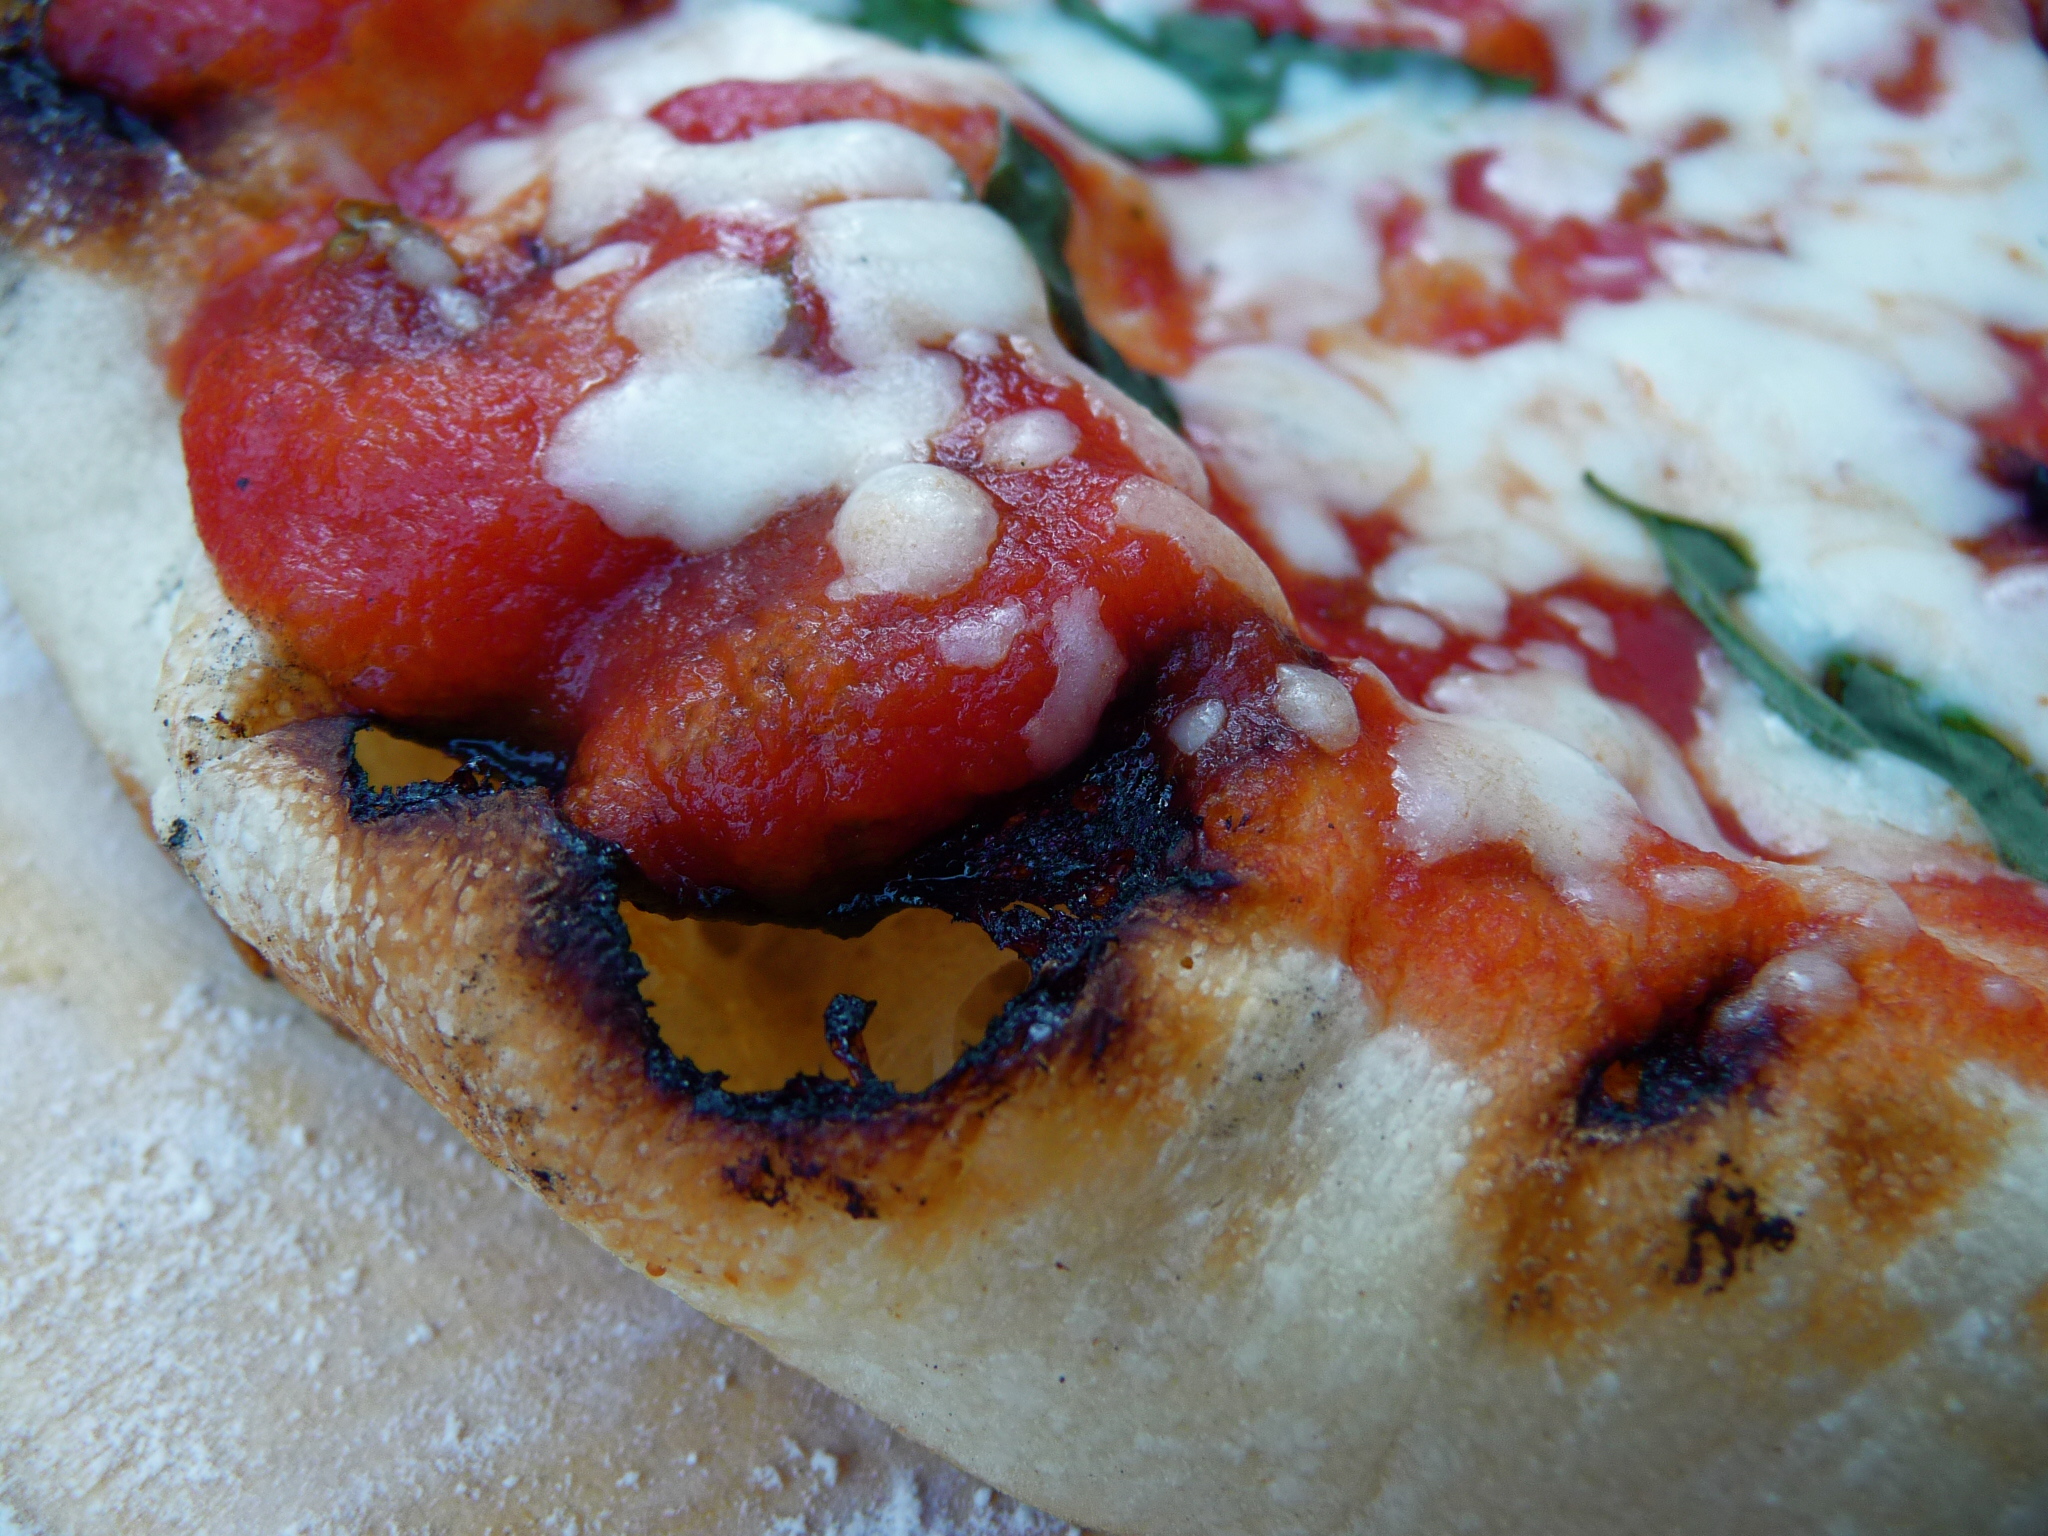
Every recipe I found on the Internet said to brush the bottom of the dough with oil before putting it on the grill, so I did. But I never managed to flip the dough neatly onto the grill, so it wound up bunched up and too thick. So the last shell, I just put on a heavily floured peel and then slid right onto the grill. It actually stuck less than the oiled ones.

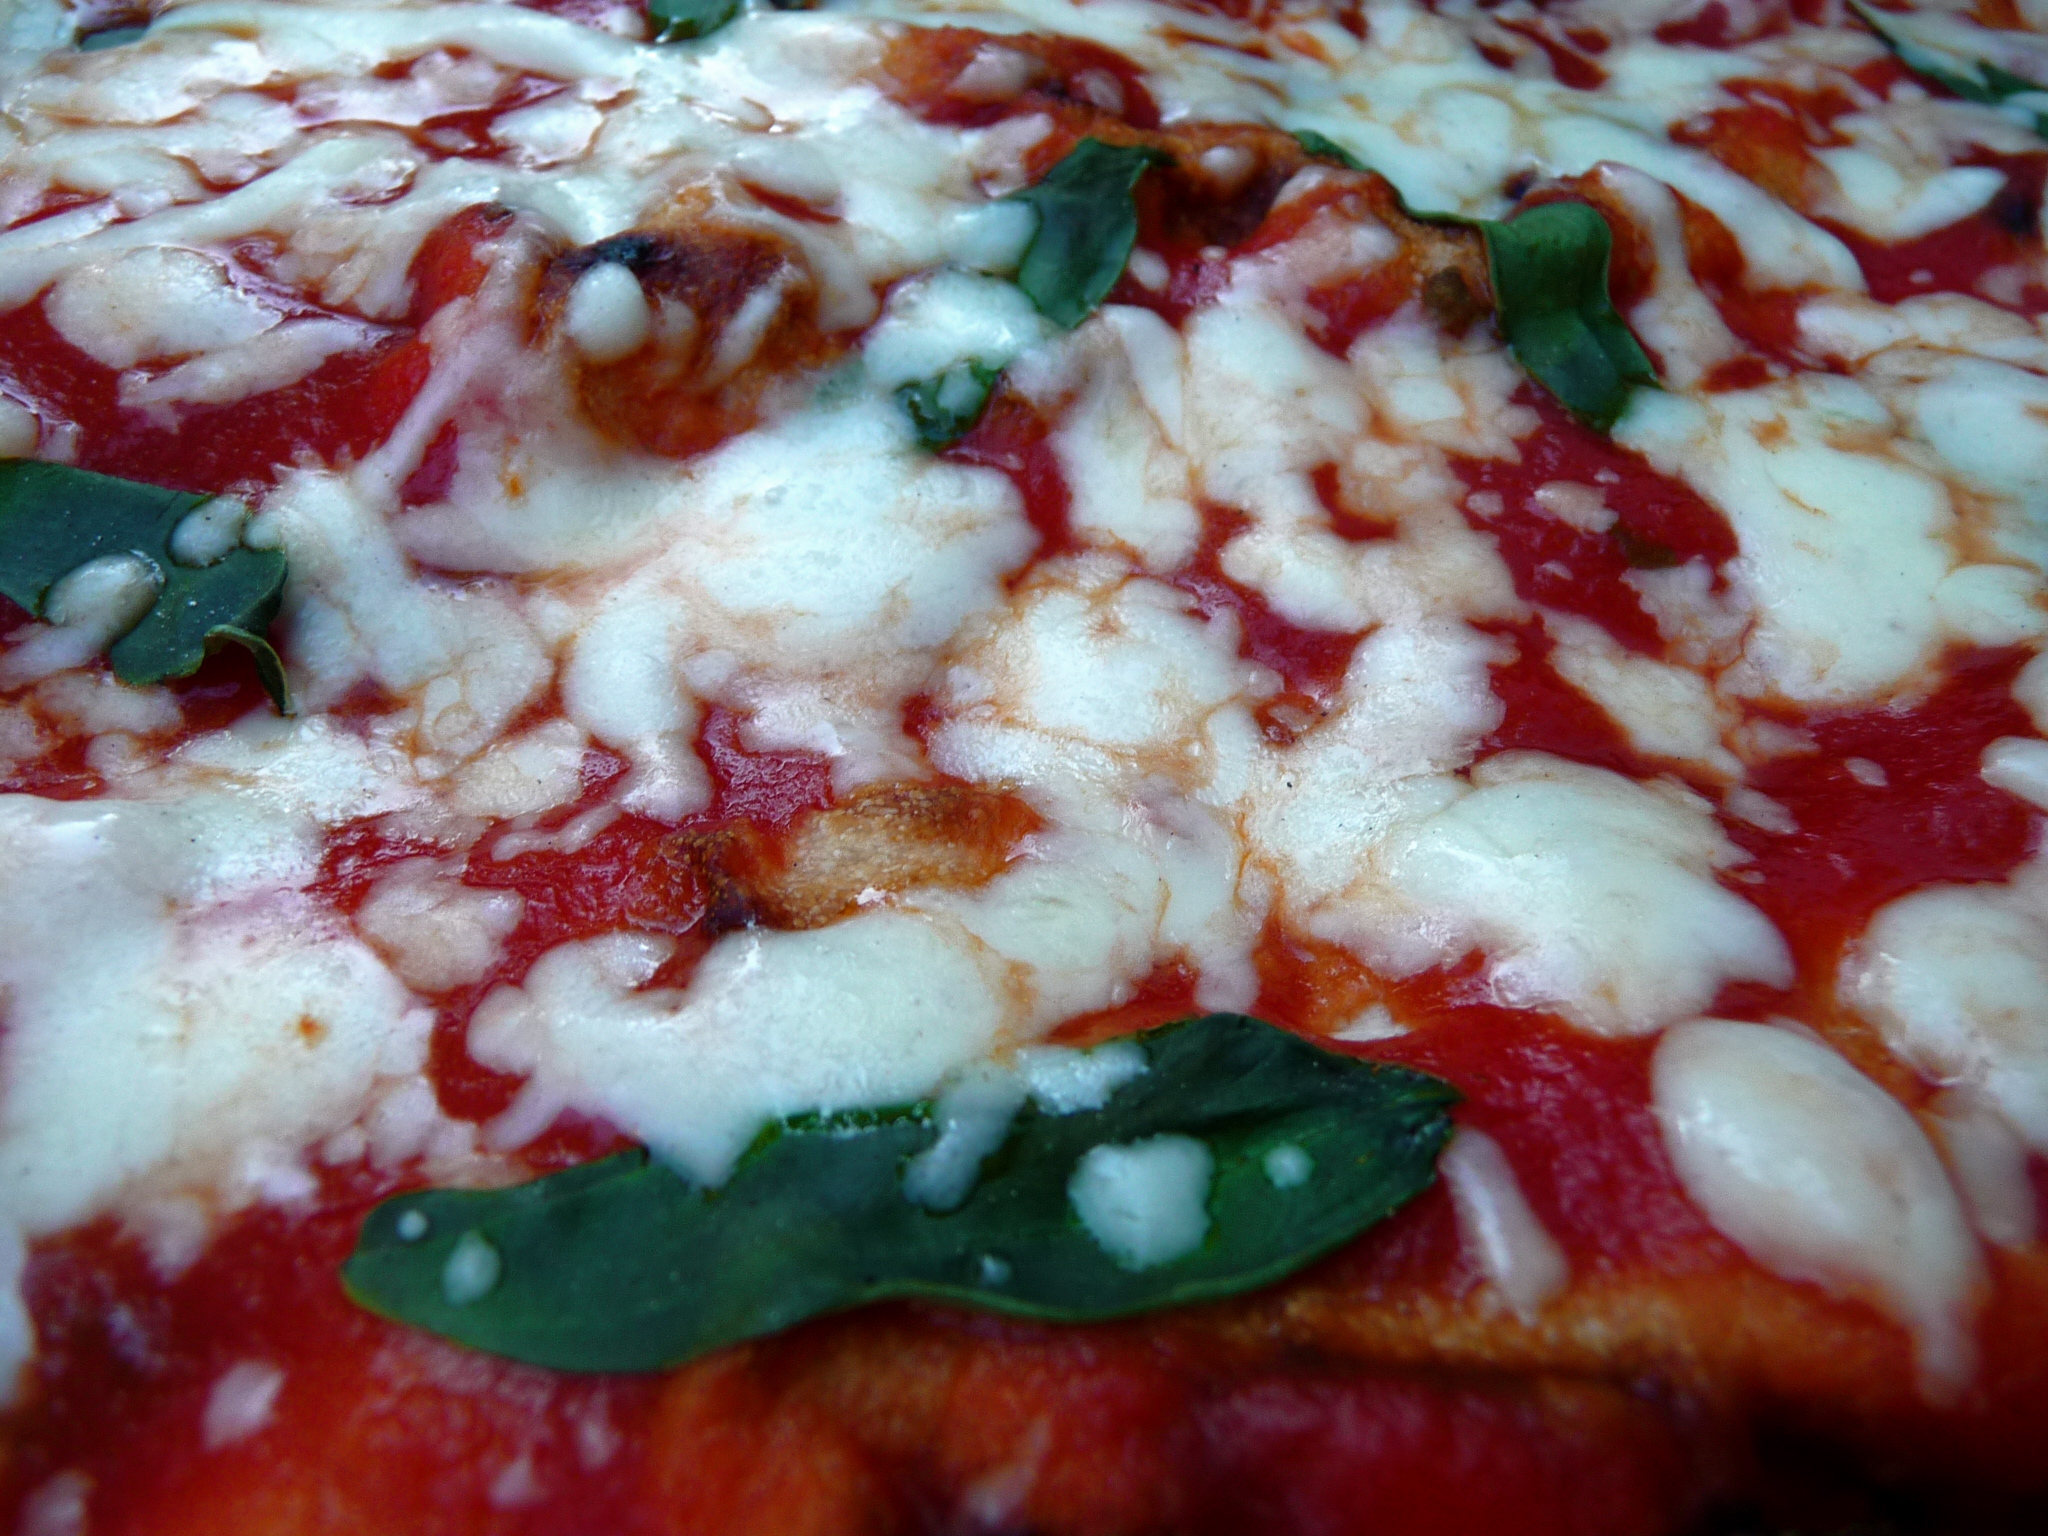
We cooked the pizza shells for a minute or so on each side, then brought them inside and topped them with pizza sauce (just canned tomato sauce plus garlic and oregano and basil and salt) and basil from the garden and mozzarella, then put them back on the grill just long enough to brown the cheese. The bottoms were a little charred; next time I think we’ll turn the grill down and let it cool a bit before the last step.

But oh! Best pizza ever, and I say that as someone who has always made the best pizza ever. Try it.

Categories
books Kitchen Reader

The Kitchen Reader: Tender at the Bone

This is my first Kitchen Reader post (even though I joined months ago), and sadly, it will be a short one. Life has been so chaotic this year that I haven’t had time to bake or read, hence the pathetic number of recent posts. I apologize. This month’s pick is Tender at the Bone, by former New York Times restaurant critic and more recently former Gourmet editor Ruth Reichl. I read this book when it first came out, in 1998, and I was so happy to have the chance to read it again. Ruth Reichl loved food from an early age, possibly as a reaction to her mother’s alarming culinary habits. As she moved through high school and college, cooking was a way to connect with people and make friends. And later, of course, writing about food became her career. Tender at the Bone is a series of vignettes from Reichl’s life, written with self-awareness and insight and a good deal of humor. Best of all, she includes recipes in every chapter, some of which sound pretty wonderful. In another life, I would certainly have tried a few of them before writing this review. Check out the other Kitchen Reader blogs for a fuller review of this book, and I swear I will do better next month.

Categories
Dorie ice cream

Tuesdays With Dorie: Burnt Sugar Ice Cream

I really wanted to make this ice cream, from the day I saw it listed as this week’s pick. I was totally going to make this. I love ice cream. I love homemade ice cream most of all.

And then I forgot.

But I made it on Tuesday, and it’s Tuesdays With Dorie, right? It’s still Tuesday. (Even if just barely.)

Because I forgot, I didn’t have any whole milk. Or cream. So I made this with one cup of half-and-half and two cups of skim milk. (I know, I know — all of you ice cream purists are screaming. I’m sorry.)

Even with so little fat, the mix was good. Really good. I could pretty happily have drunk it all.

And then I froze it, and it got better. Wow. If you haven’t made this ice cream, do it now, with whatever combination of dairy products you can come up with. We actually think we like it better with the lower fat content: It was lighter and more appropriate for a hot day like today.

The lower fat content made it softer than it might otherwise have been, and it melted fast. But we didn’t care. It was good.

And back by popular demand, family opinions!

Tim: I really liked the subtle caramel flavor, and it was perfect eating texture right out of the freezer — semisoft rather than hard. Overall, though, I thought it was a little too sweet.

Alex: I thought it was overly sweet, but enjoyed the delicate flavor. I’d eat it again if the sugar was cut somehow.

Ben: At first I thought it was too sweet. Then I decided it was really good.

And Ben, my brilliant second-born, fixed the too-sweet problem: pretzels! He suggested breaking up some pretzel rods and mixing them in, and that indeed made this absolutely perfect — one of the best ice creams I’ve ever had. Yay Ben!

Thanks to Becky of Project Domestication for choosing this recipe for us this week. Go there; get the recipe; make the ice cream. Thank you, Becky. Thank you, thank you, thank you!

Categories
baking boys Dorie

Tuesdays With Dorie: Chockablock Cookies

And now, a very special guest blogger!

Hi, I’m Ben. This week, I made the Chockablock Cookies, and everyone who tried them (except my mom) liked them. I didn’t have many takers because a lot of people don’t like molasses, but those who do liked them. We didn’t have any coconut or regular molasses, so I left the coconut out, and I used 1/4 cup light corn syrup and 1/4 cup blackstrap molasses.

Comments on the dough:

Alex: It was good, more molasses-y than the baked cookies.
Mom: Too molasses-y.

Comments on the cookies:

Alex: They were good but essentially identical to the other four or five cookies full of nuts and dried fruit that are in the book.
Mom: I was really surprised to like them as much as I did, because I don’t like raisins  and molasses.

Me again. Ben made the cookies to take to his first ever gathering of local homeschooled teens. Today is his birthday — my baby is 13 today.

Lots of other bloggers made these too, and you can no doubt find much more detailed descriptions and tons of creative variations at their blogs, so check them out. Bye!

Categories
candy recipes

It’s Passover. And That Means …

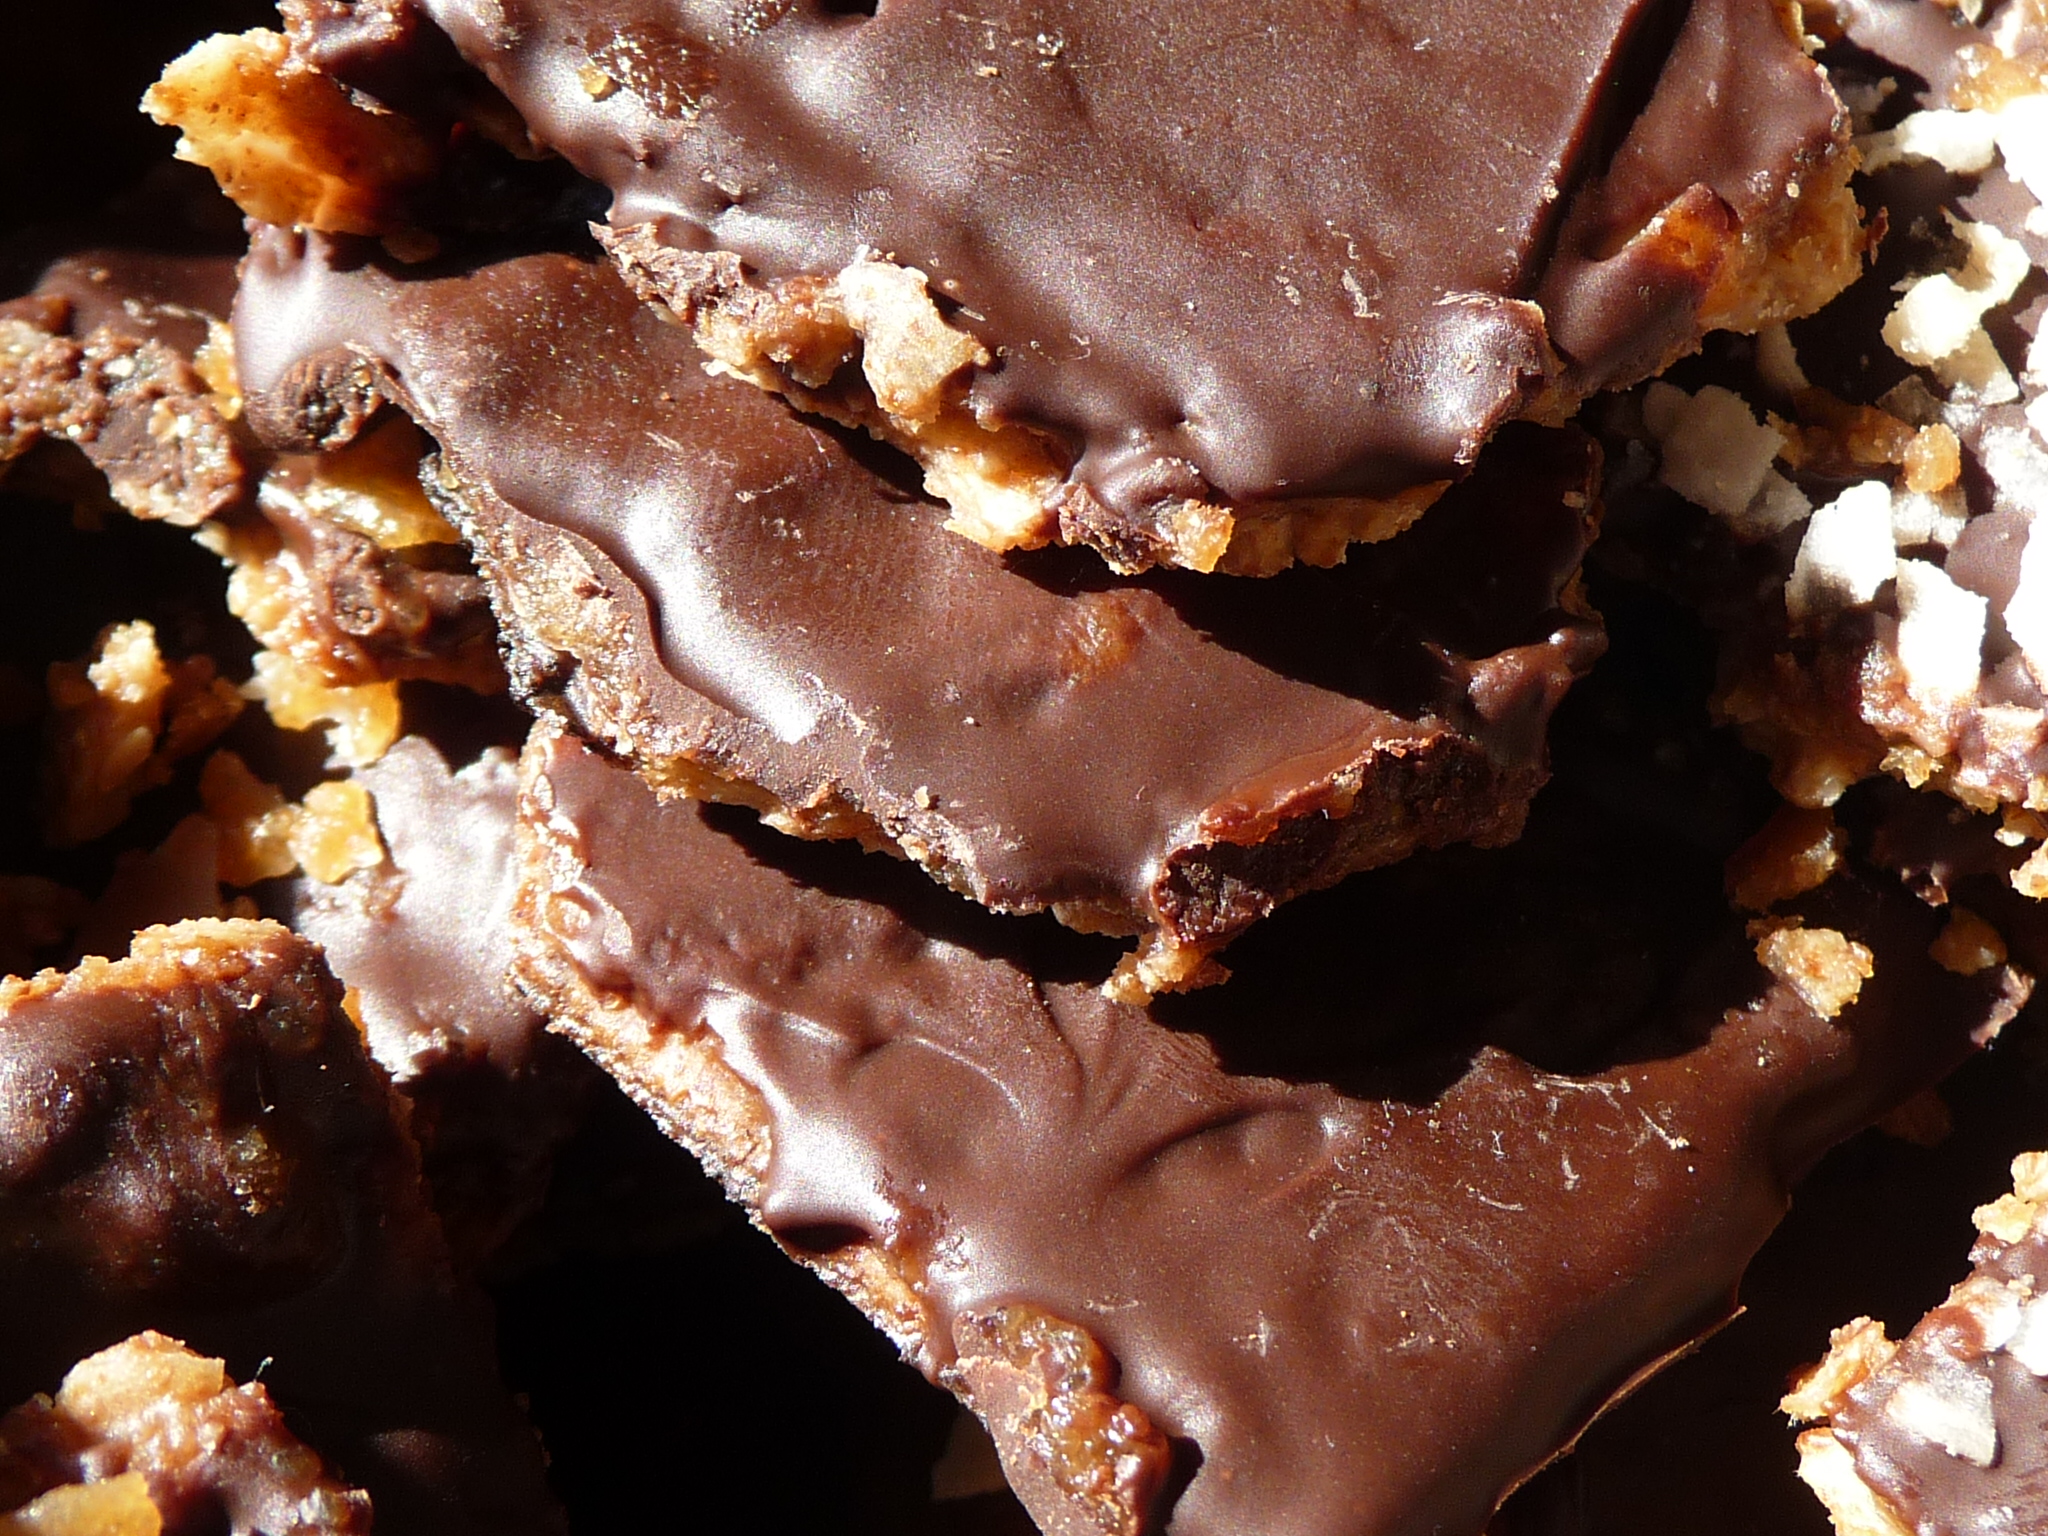
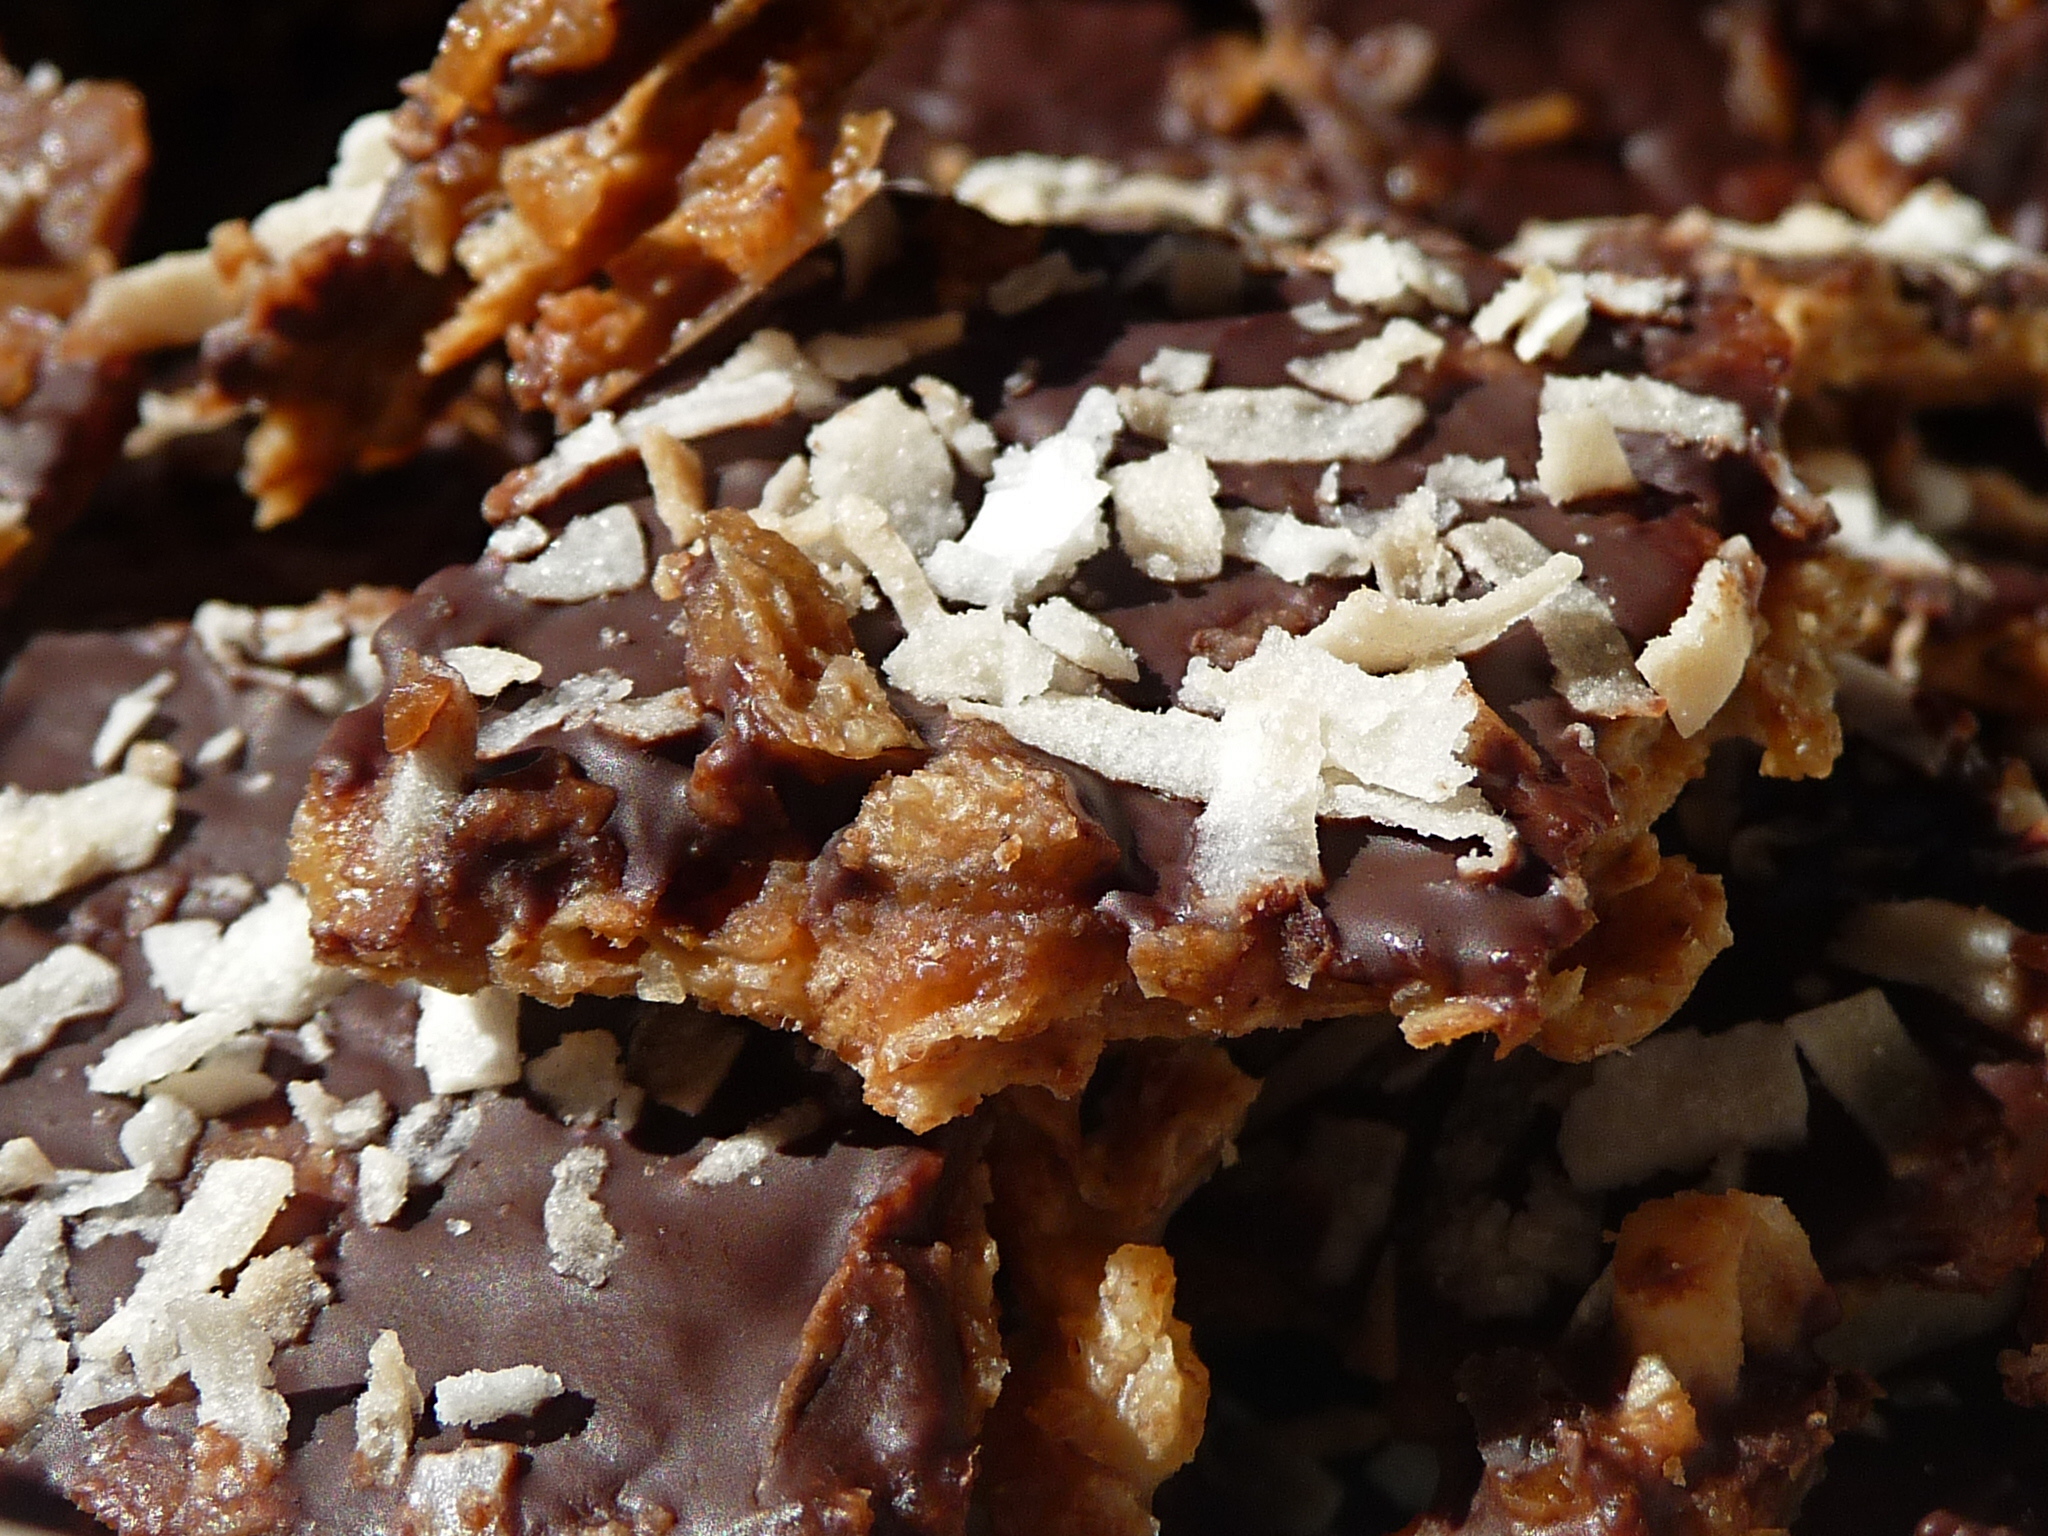
I have an excuse to make this incredible stuff:

Now, let’s be clear. I don’t like matzoh. I’ve never liked matzoh, even way back in the days when I was eating peanut butter and jelly sandwiches on it in the lunchroom of my elementary school (well, maybe especially then). And this year, thanks to our near-abandonment of carbs around here, I didn’t have to eat any (except for a piece I coated in milk chocolate for our chocolate seder; post to come!).

But when you cover matzoh with caramel and chocolate, oddly, it’s not bad at all.

It is, in fact, scrumptious.

The original of this recipe comes from Marcy Goldman, from her book A Treasury of Jewish Holiday Baking. She calls it My Trademark, Most Requested, Absolutely Magnificent Caramel Matzoh Crunch.

And her version is delicious.

But then David Lebovitz stepped in, and as with everything he touches, it got better.

Try it. It’s that good.

I topped some of mine this time with toasted coconut. Experiment!

Chocolate-Covered Caramelized Matzoh Crunch (by David Lebovitz, adapted from a recipe by March Goldman)

4 to 6 sheets unsalted matzohs
1 cup (230g) unsalted butter, cut into chunks
1 cup (215g) firmly-packed light brown sugar
big pinch of sea salt
1/2 teaspoon vanilla extract
1 cup (160g) semisweet chocolate chips (or chopped bittersweet or semisweet chocolate)
1 cup (80g) toasted sliced almonds (optional)

  1. Line a rimmed baking sheet (approximately 11 x 17″, 28 x 42cm) completely with foil, making sure the foil goes up and over the edges. Cover the foil with a sheet of parchment paper. Preheat the oven to 375F (190C).
  2. Line the bottom of the sheet with matzoh, breaking extra pieces as necessary to fill in any spaces.
  3. In a 3- to 4-quart heavy duty saucepan, melt the butter and brown sugar together, and cook over medium heat, stirring, until the butter is melted and the mixture is beginning to boil. Boil for 3 minutes, stirring constantly. Remove from heat, add the salt and vanilla, and pour over matzoh, spreading with a heatproof spatula.
  4. Put the pan in the oven and reduce the heat to 350F (175C) degrees. Bake for 15 minutes. As it bakes, it will bubble up but make sure it’s not burning every once in a while. If it is in spots, remove from oven and reduce the heat to 325F (160C), then replace the pan.
  5. Remove from oven and immediately cover with chocolate chips. Let stand 5 minutes, then spread with an offset spatula.
  6. If you wish, sprinkle with toasted almonds (or another favorite nut, toasted and coarsely-chopped), a sprinkle of flaky sea salt, or roasted cocoa nibs.
  7. Let cool completely, the break into pieces and store in an airtight container until ready to serve. It should keep well for about one week.

Note: If making for Passover, omit the vanilla extract or find a kosher brand.

Categories
baking Dorie

Tuesdays With Dorie: Coconut Tea … Muffins

Before I start this post, I have to mention that this is my 101st post here at Confectiona’s Realm. I never thought I’d get this far, but it’s been a great ride. Thanks to all of you who read my blather.

I’m back to Tuesdays With Dorie. I can’t live without some carbs in my life (although I’ll have to pass on next week’s delicious-sounding choice, because this week is Passover and it didn’t occur to me to bake ahead), and I really miss being forced to write every week.

But we didn’t need a whole bundt cake.

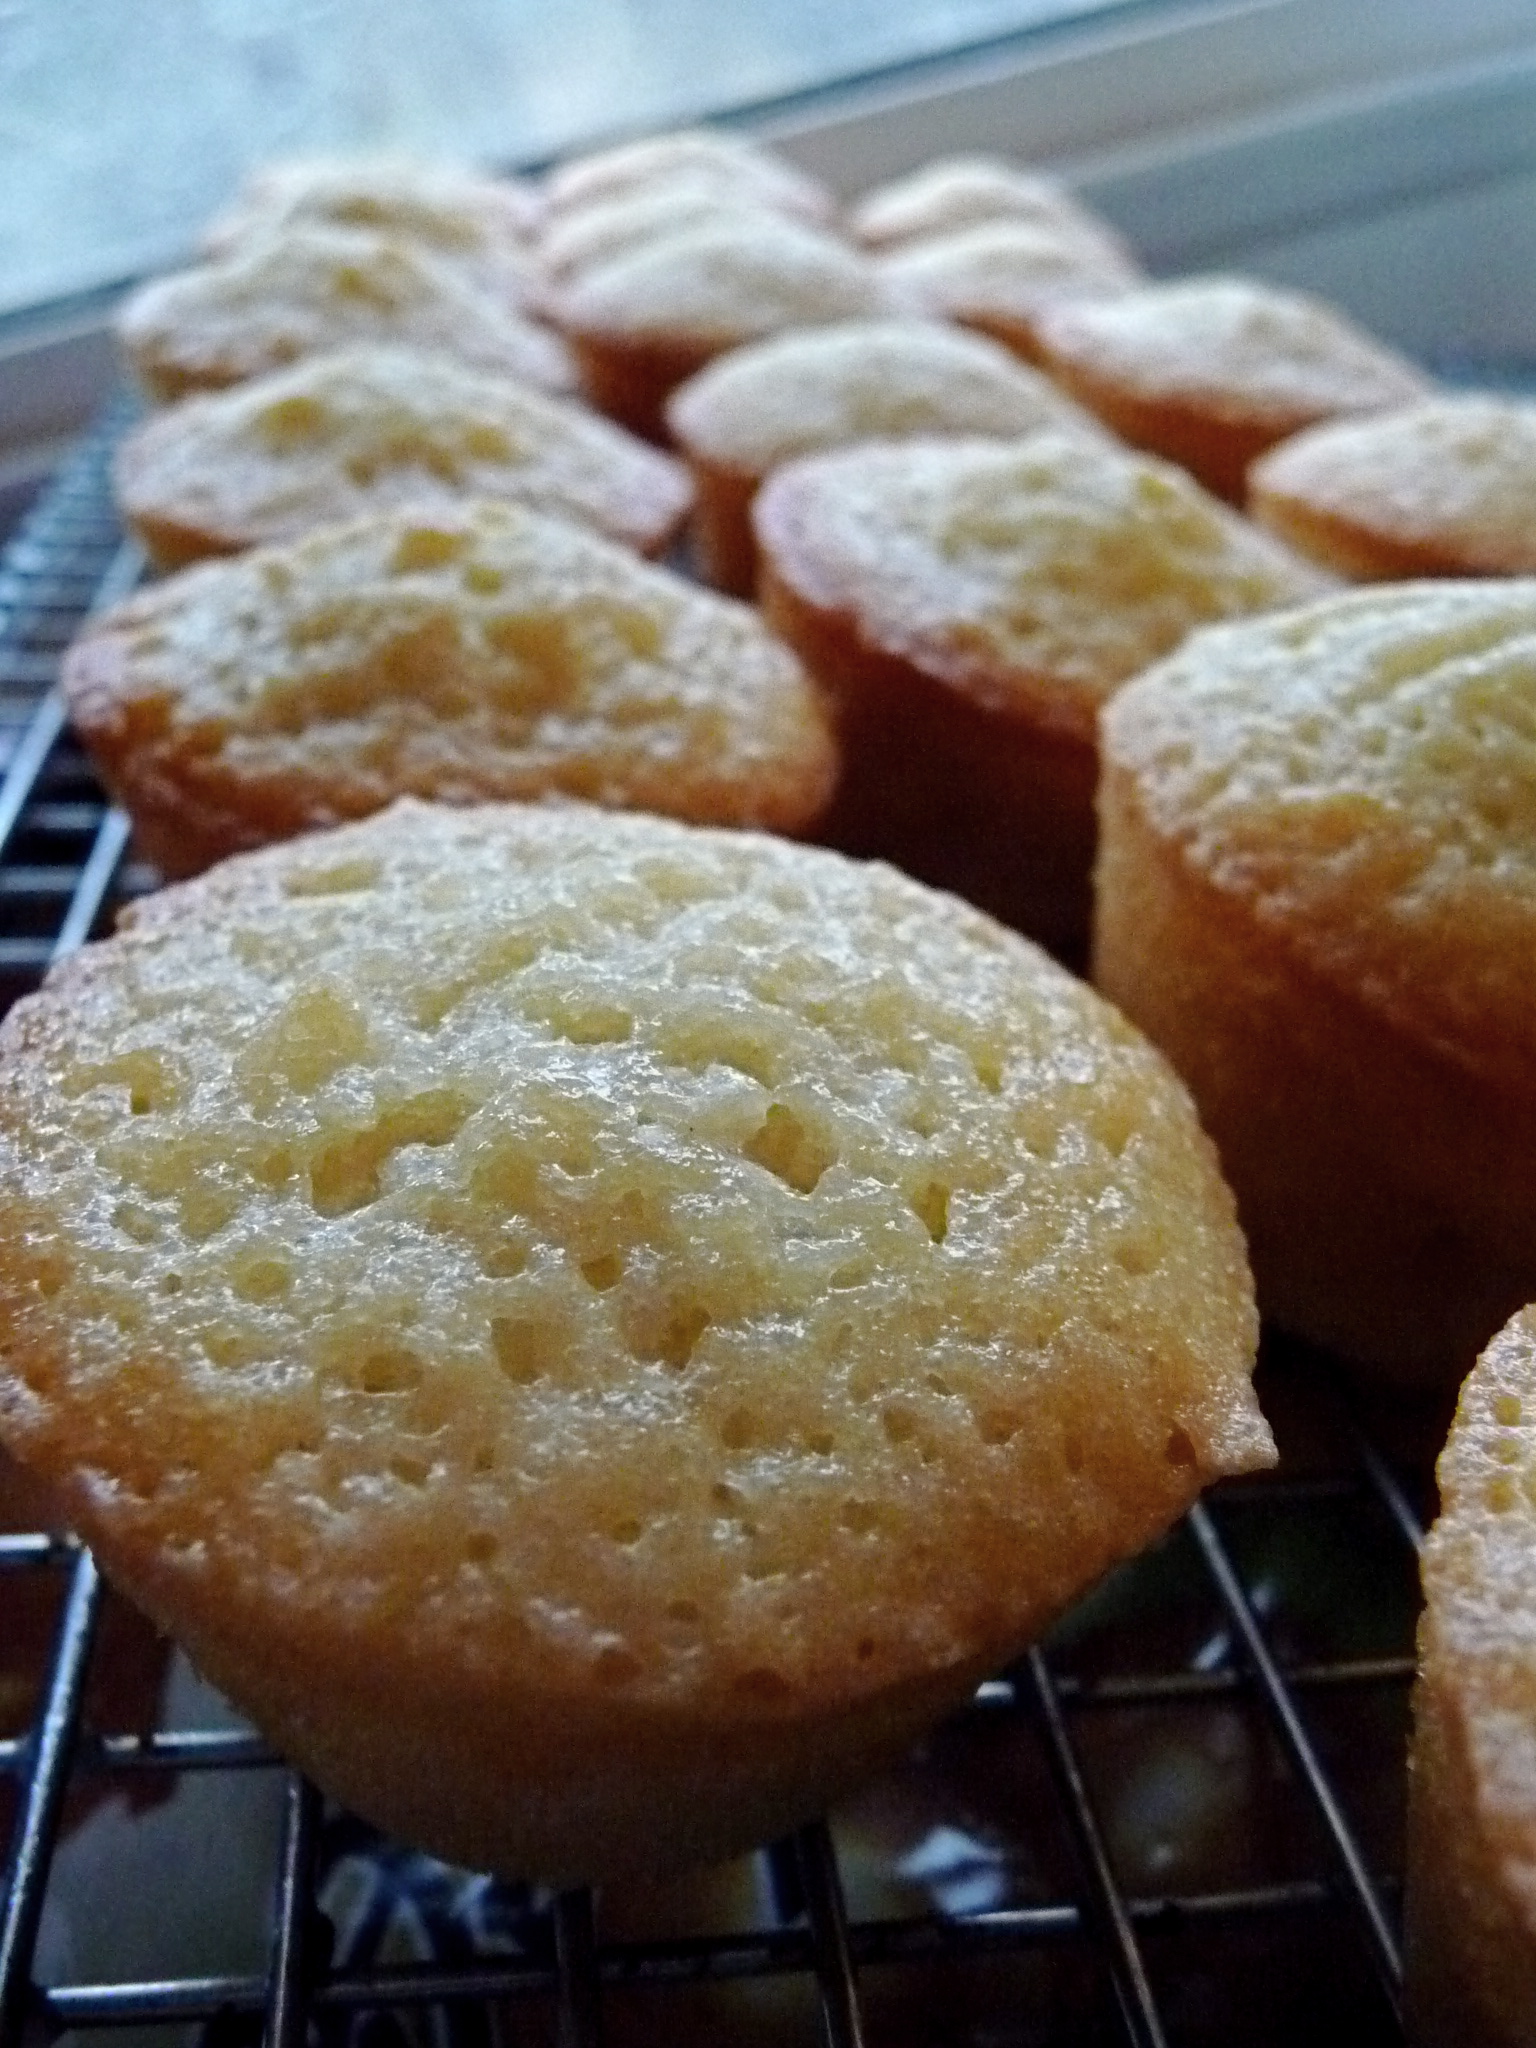
So, herewith, my coconut tea muffins!

I cut the recipe in half, which yielded 24 mini muffins. I left the amount of coconut the same, though, because I love coconut. I really, really love coconut.

I toasted the first three-quarters of a cup of sweetened shredded coconut, because toasted coconut is one of the joys of my life. But when it came time to add the coconut to the cake batter, I decided I didn’t want the crunchy texture in the muffins, so I went with the stuff straight from the bag. (Which, tragically, left me with three-quarters of a cup of toasted coconut. Woe is me!)

Everything else was pretty straightforward: no difficult techniques or unusual ingredients. I baked the muffins for about 25 minutes, but my oven temperature is completely random, so your mileage may vary.

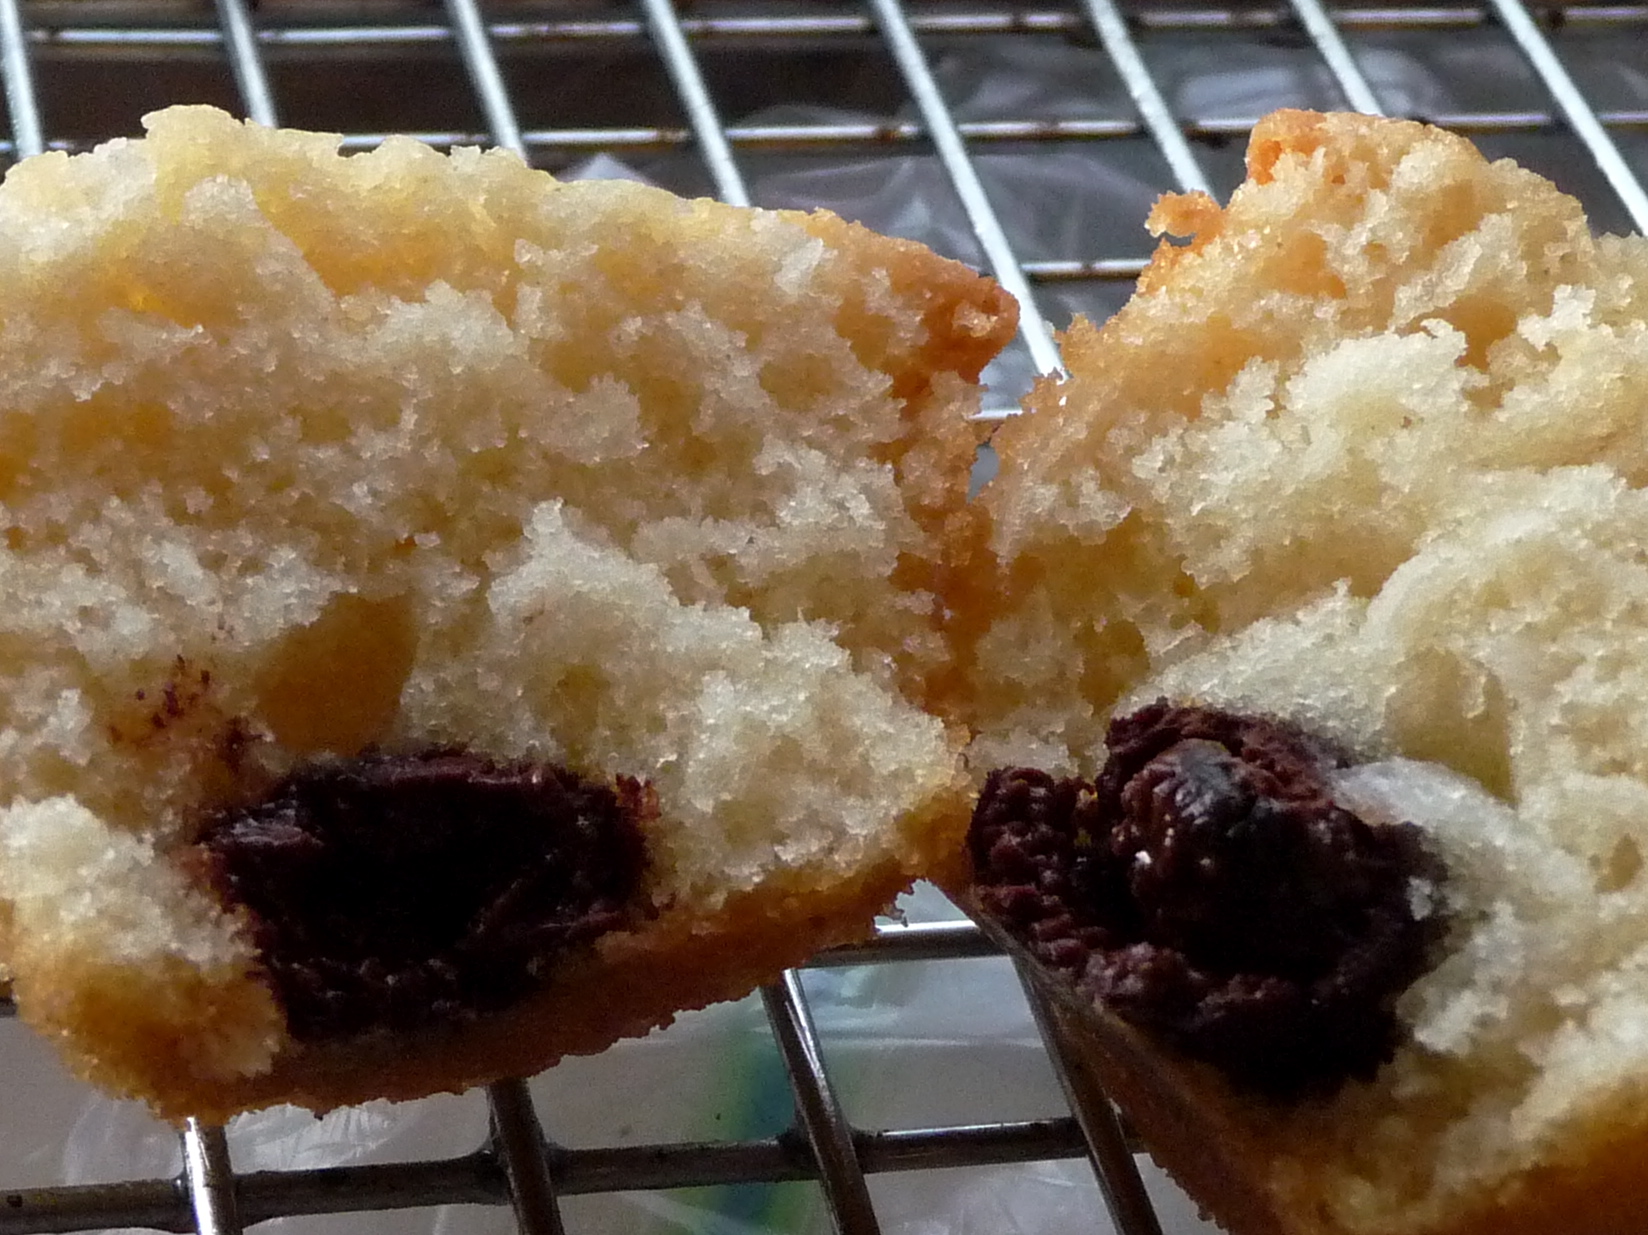
And the adorable little muffins were delicious: moist, not too sweet, and perfect with coffee. I put one chocolate-covered espresso bean each in the bottom of four of them, and in retrospect I wish I’d added the beans to more. I wasn’t sure how’d they’d take the heat, but they were magnificent. Highly recommended.

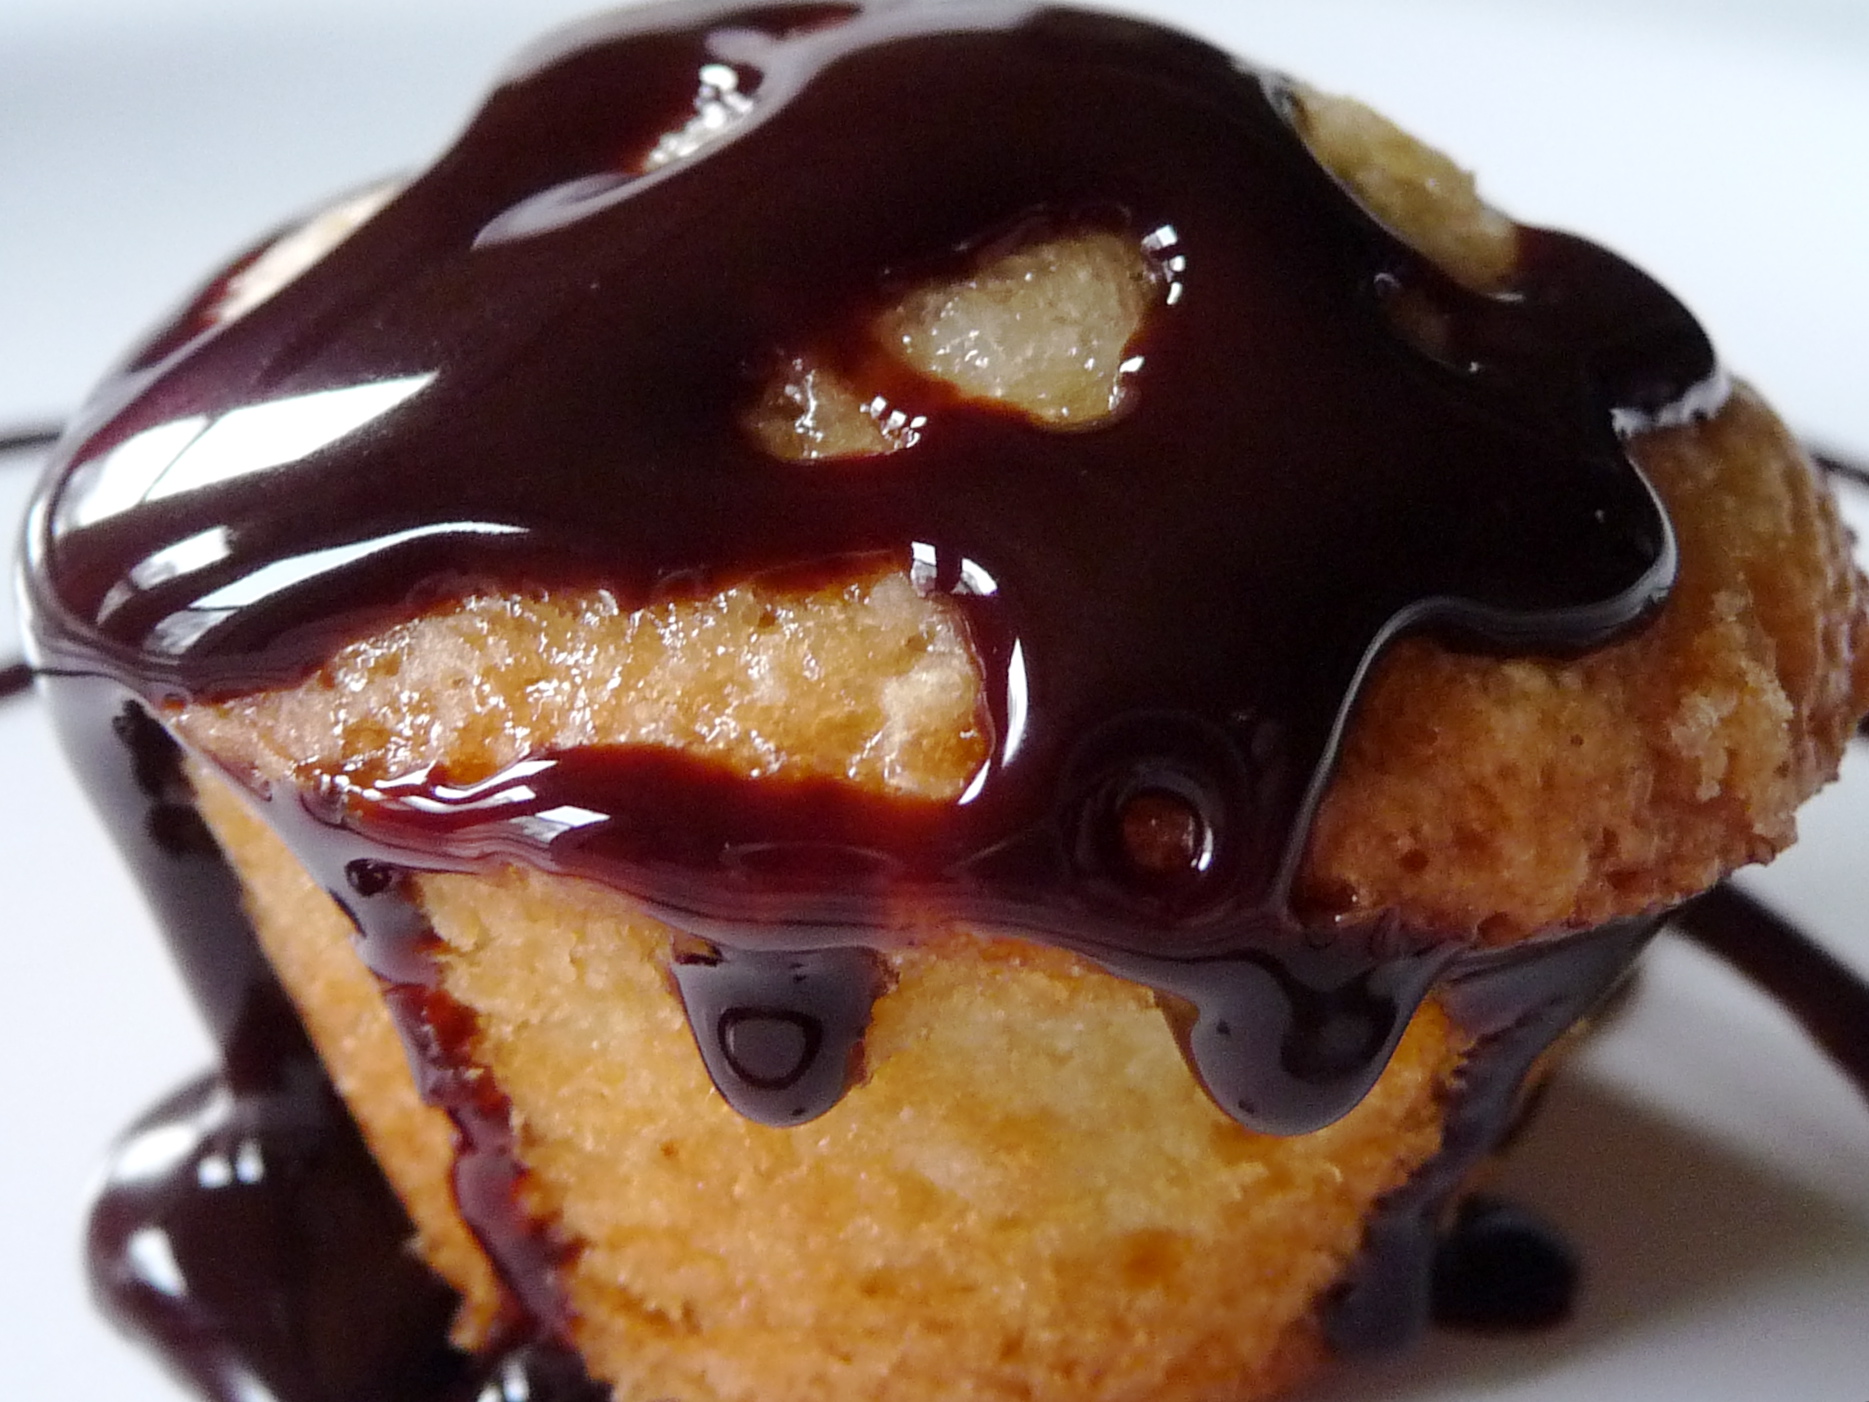
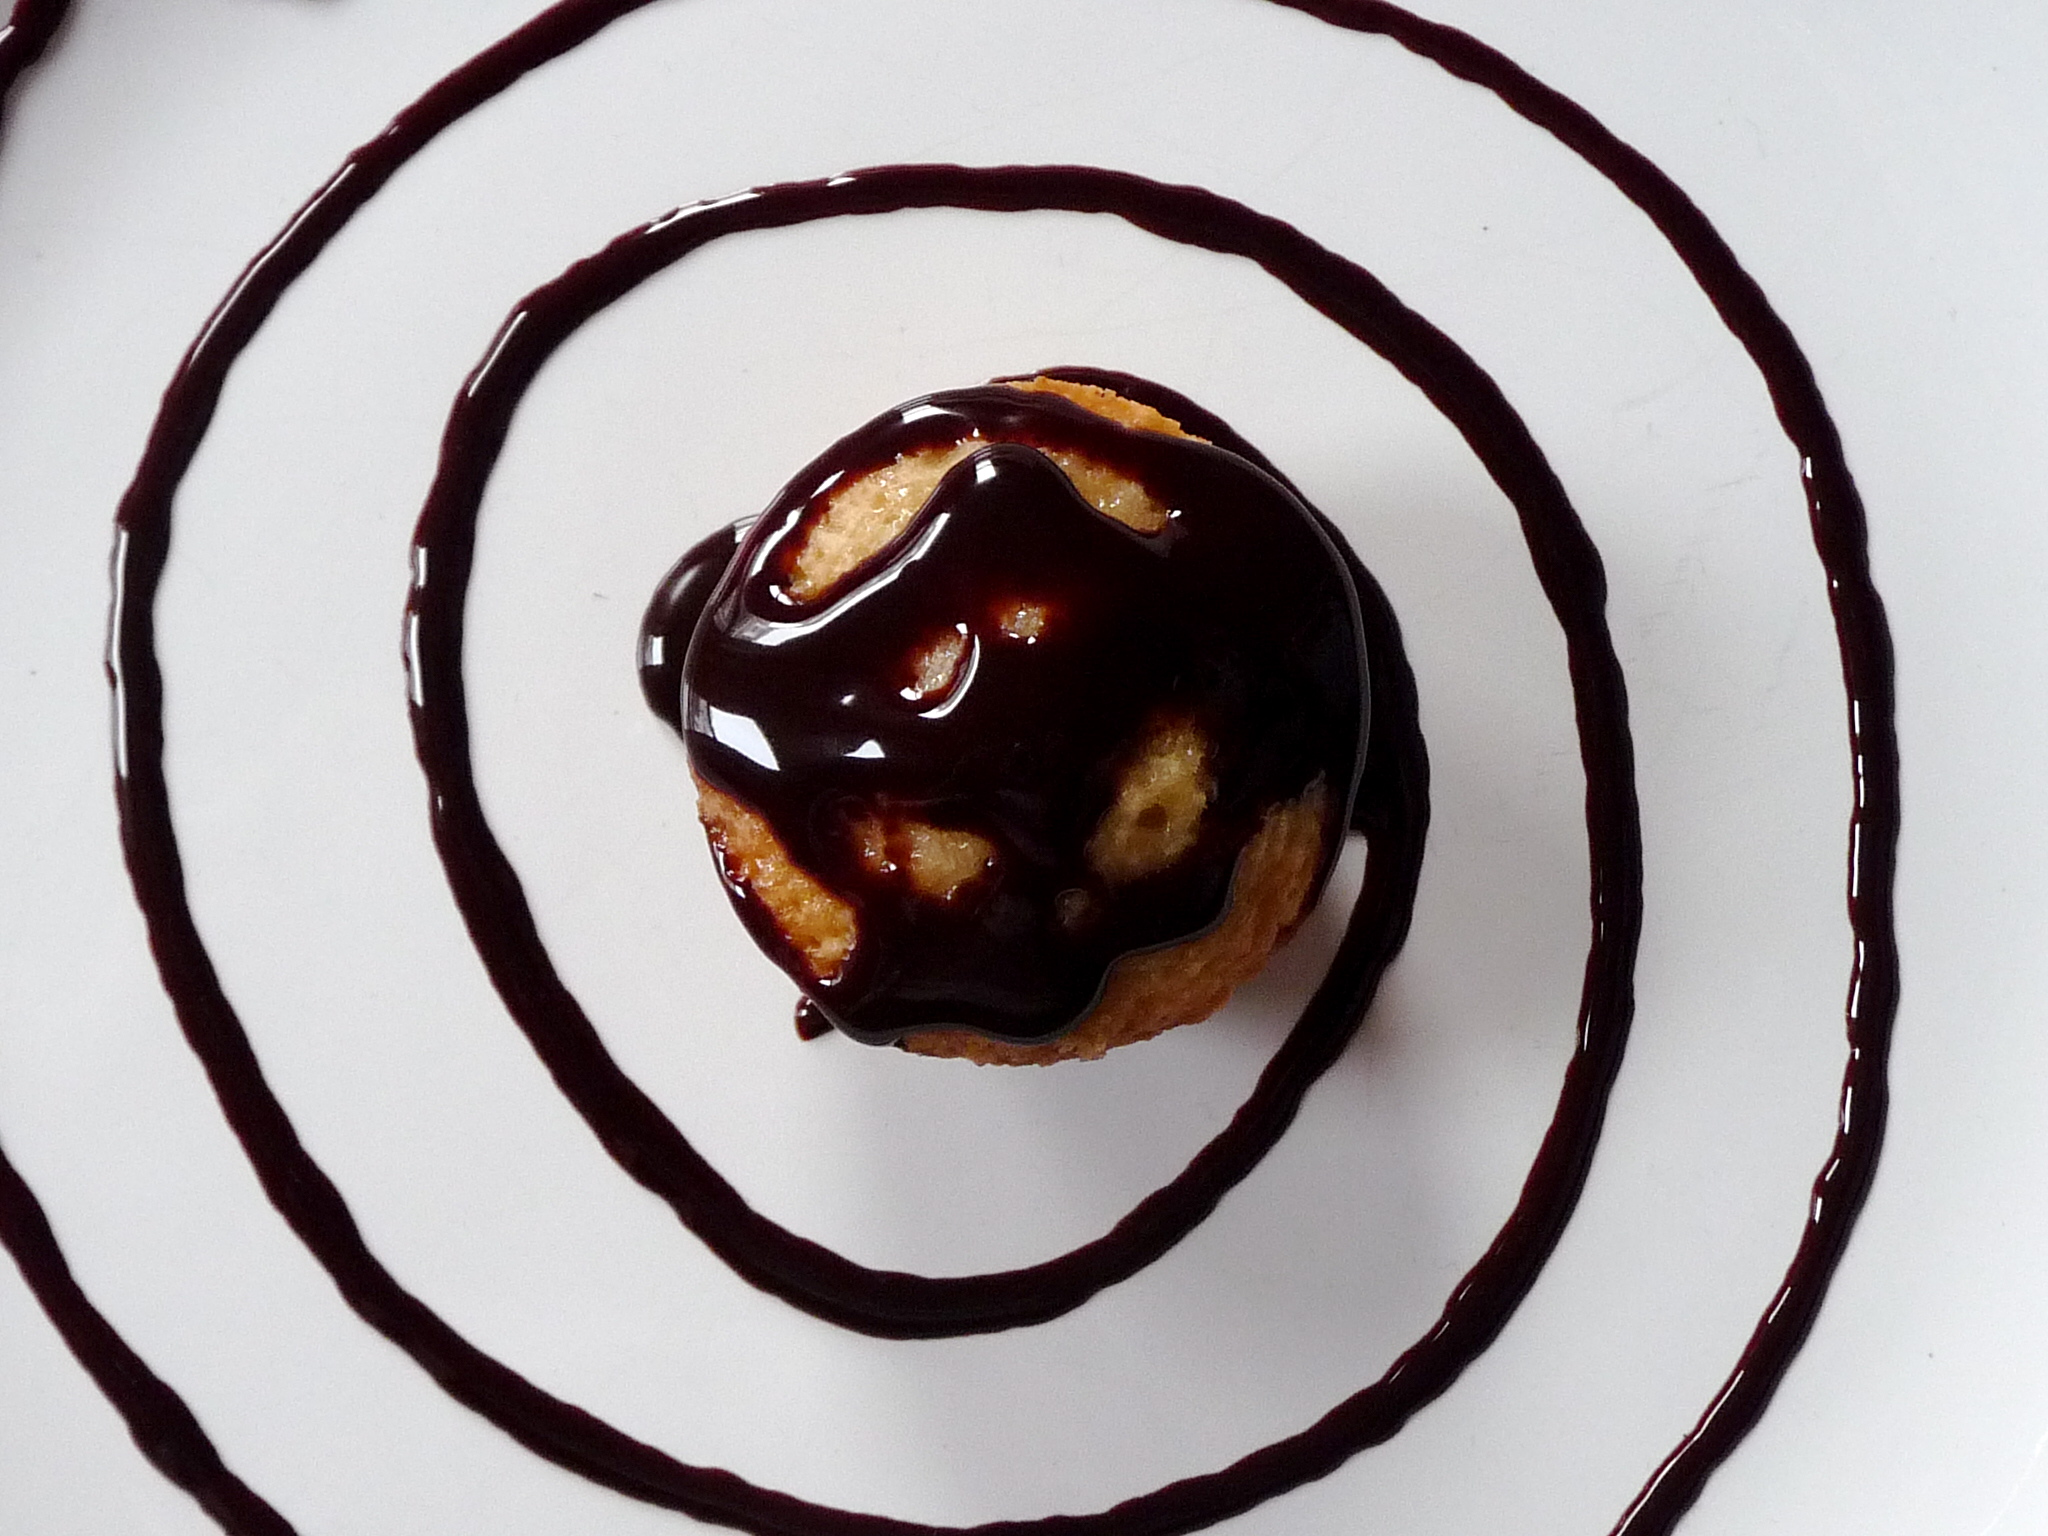
Oh, and you know what else is good? These muffins, drenched in still-warm homemade chocolate syrup. Life is very, very good sometimes.

I even got artistic for a change:

As I said, this was meant to be a bundt cake. Check out the pretty ones to be found on the other TWD bakers‘ websites, and if you want to give it a shot yourself, buy Baking: From My Home to Yours by Dorie Greenspan or visit Carmen Cooks, where Carmen will helpfully provide the recipe for you. See you next week, with my special Passover not-cake recipe!