Categories
baking boys Daring Bakers gingerbread houses

Daring Bakers: Gingerbread House

The December 2009 Daring Bakers challenge was brought to you by Anna of Very Small Anna and Y of Lemonpi. They chose to challenge Daring Bakers everywhere to bake and assemble a gingerbread house from scratch. They chose recipes from Good Housekeeping and from The Great Scandinavian Baking Book as the challenge recipes.

We’ve been making gingerbread houses for years, since the now-very-nearly-18-year-old #1 Son (hereafter known as Alex) was a wee lad. We started out with the standard cottage, but there’s a limit to how many years in a row we could do that. We’re, um, quirky around here.

Over the past 15 years or so we’ve made a haunted tower, a ruined castle (the year we tried a new recipe and it didn’t work), a spaceship, a sunken pirate ship, the chocolate room from Willy Wonka (my personal favorite), Stonehenge, and a fairy-tale cottage with a torture chamber in the basement. Last year it was a goblin dungeon (courtesy of the boys; parental discretion advised). The tradition is that we decide on the structure together, then I figure out how to make it happen, and they decorate it. Works for me.

We started discussing this year’s house (er, structure) in November, and we tossed around a lot of ideas. And then Alex got into Duke University, and our lives began to revolve around his future alma mater.

At Duke, all freshmen live on East Campus, a lovely collection of Georgian buildings built along a long, narrow green. It’s lovely. So I thought, “Hey, let’s make East Campus!”

east campus

Foolish, foolish woman.

Let’s just say that this looked very different in my head. I wanted to make the whole green: eight identical buildings with two different ones in the middle, plus a round auditorium at the end. Plus, every year during orientation the new freshman class gets together for a photo of their graduation year.

2011

I’d do that too!

Well, scale’s a bitch. That’s a huge green, let me tell you. I spent days gathering photographs and taking measurements in Google Earth. (Did you know there’s a ruler in Google Earth? It’s awesome for obsessive-compulsives like me.)

And then I started drawing and realized it was impossible.

I would have needed a five-foot-long board to do it to the smallest scale I thought was feasible for building the houses. That’s just silly. And there are supposed to be trees, but the cones we bought to make the trees are about 50 percent taller than the buildings. (Please don’t ask why I had to keep it to scale. Please.)

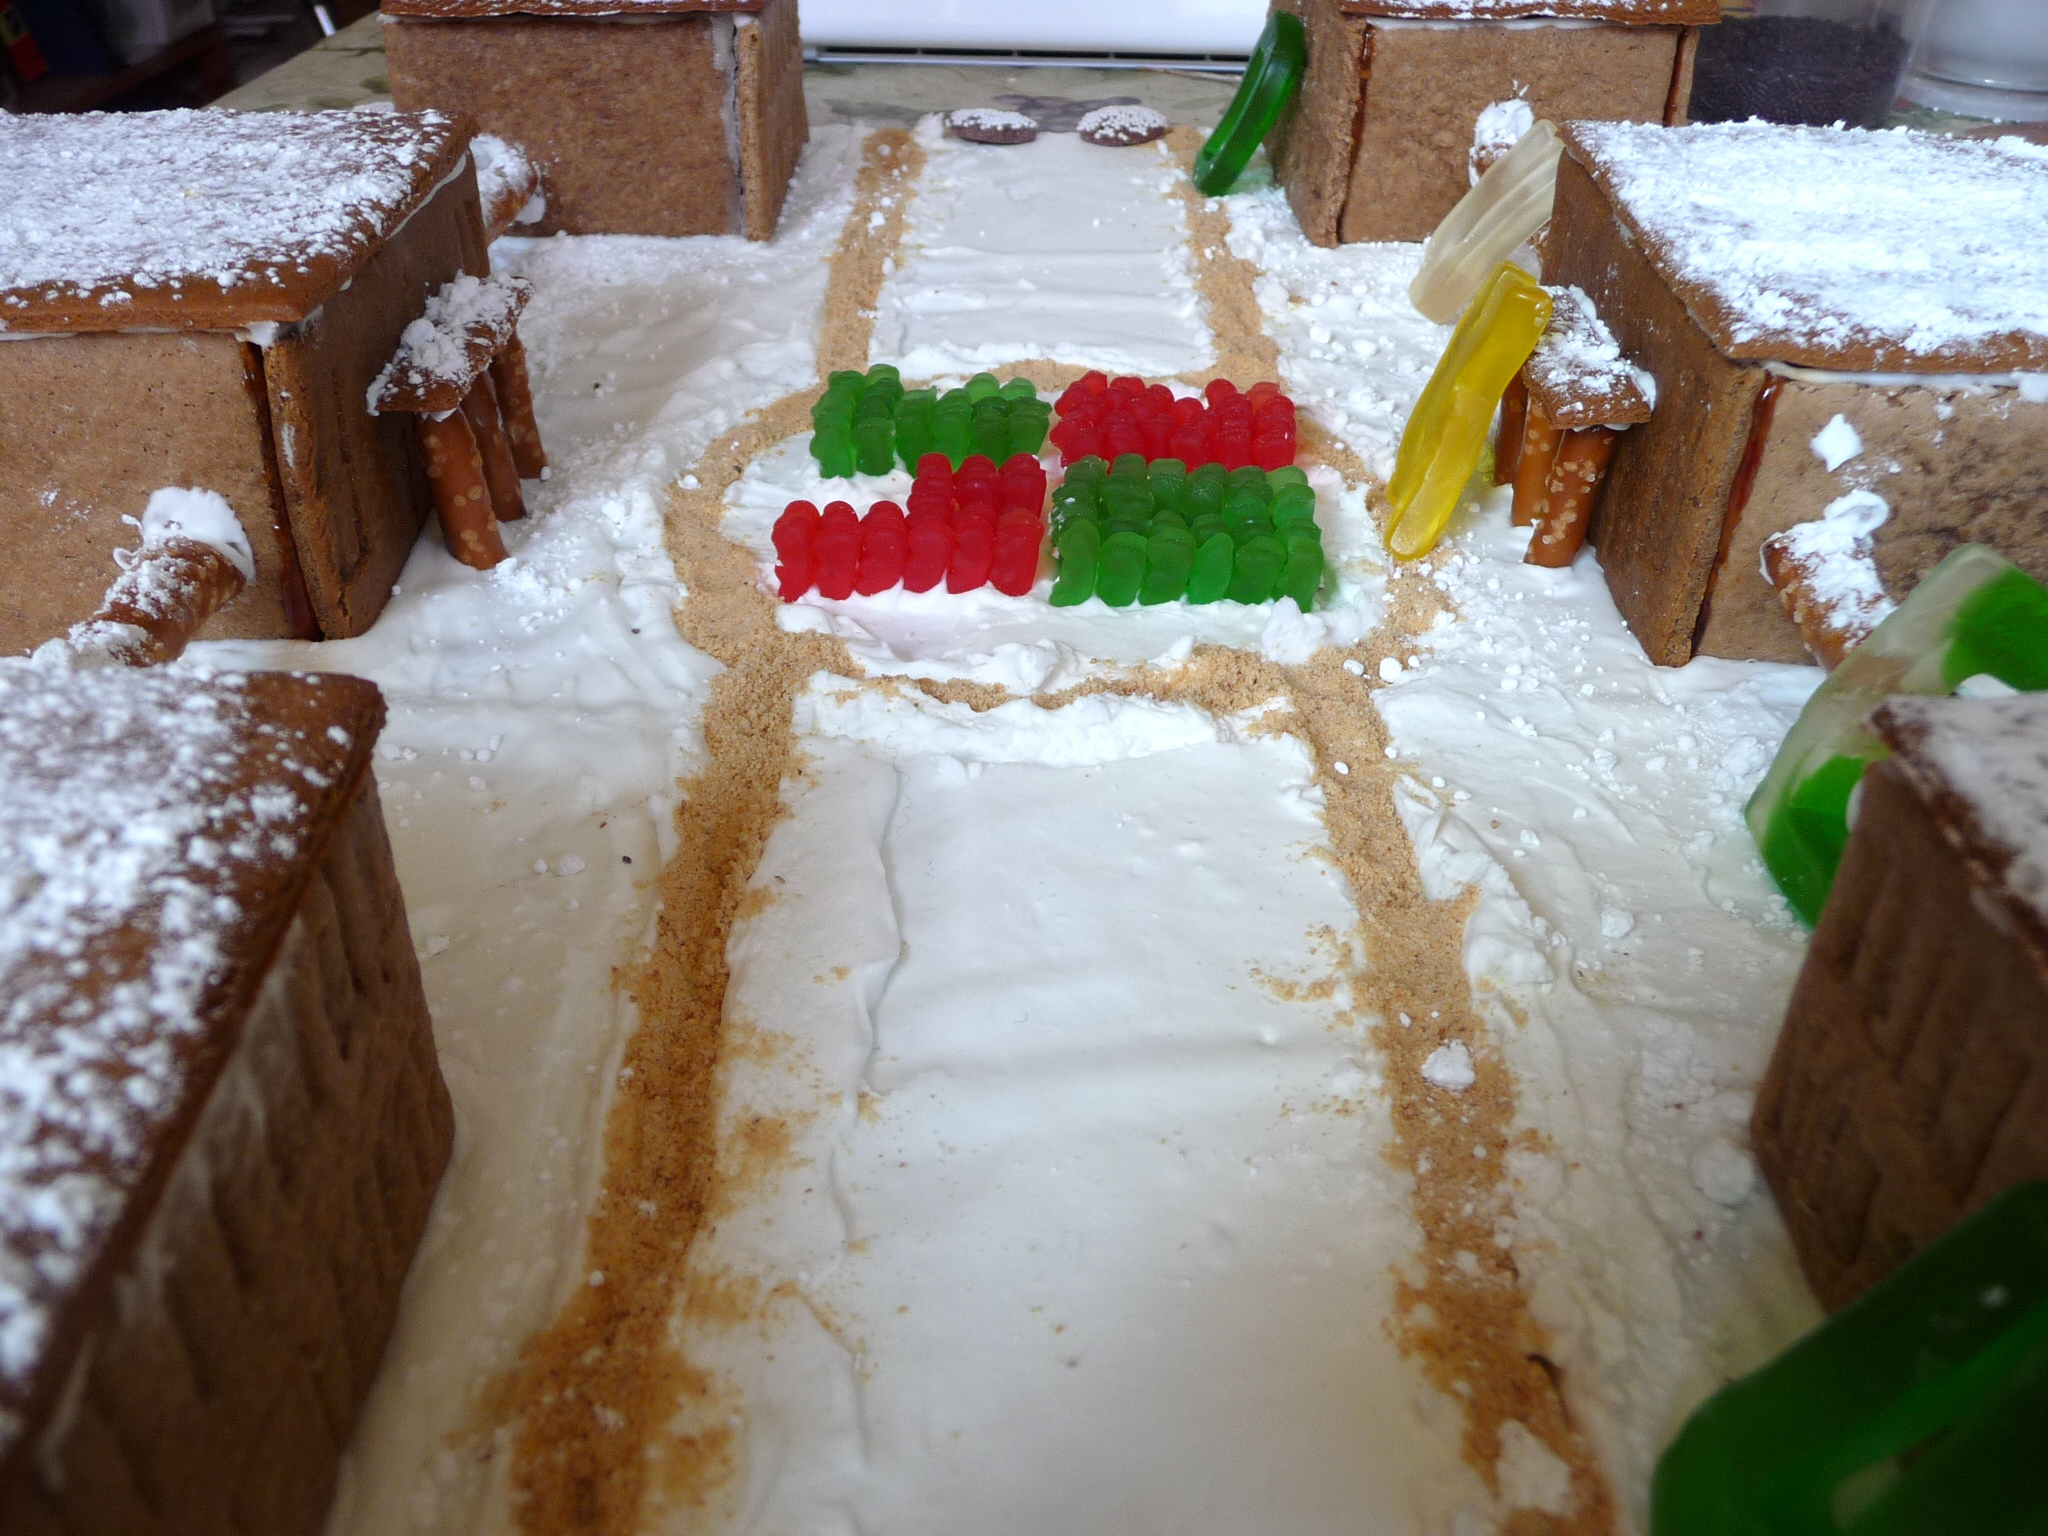
So, regroup. I went with the six center buildings, which is four of the identical ones plus the Lilly Library and the Marketplace. I drew templates. I baked pieces, just a few, to test the recipes (more on that later).

And then I realized that there was no way I could do the fancy roofline on such a small scale. It just wasn’t going to happen.

Regroup again. Two-story buildings instead of three. (See how calm I’m staying? Breathe in, breathe out.)

And then those freshman making numbers? (You can buy baby gummy bears now!) Didn’t fit in the center circle. I punted yet again.

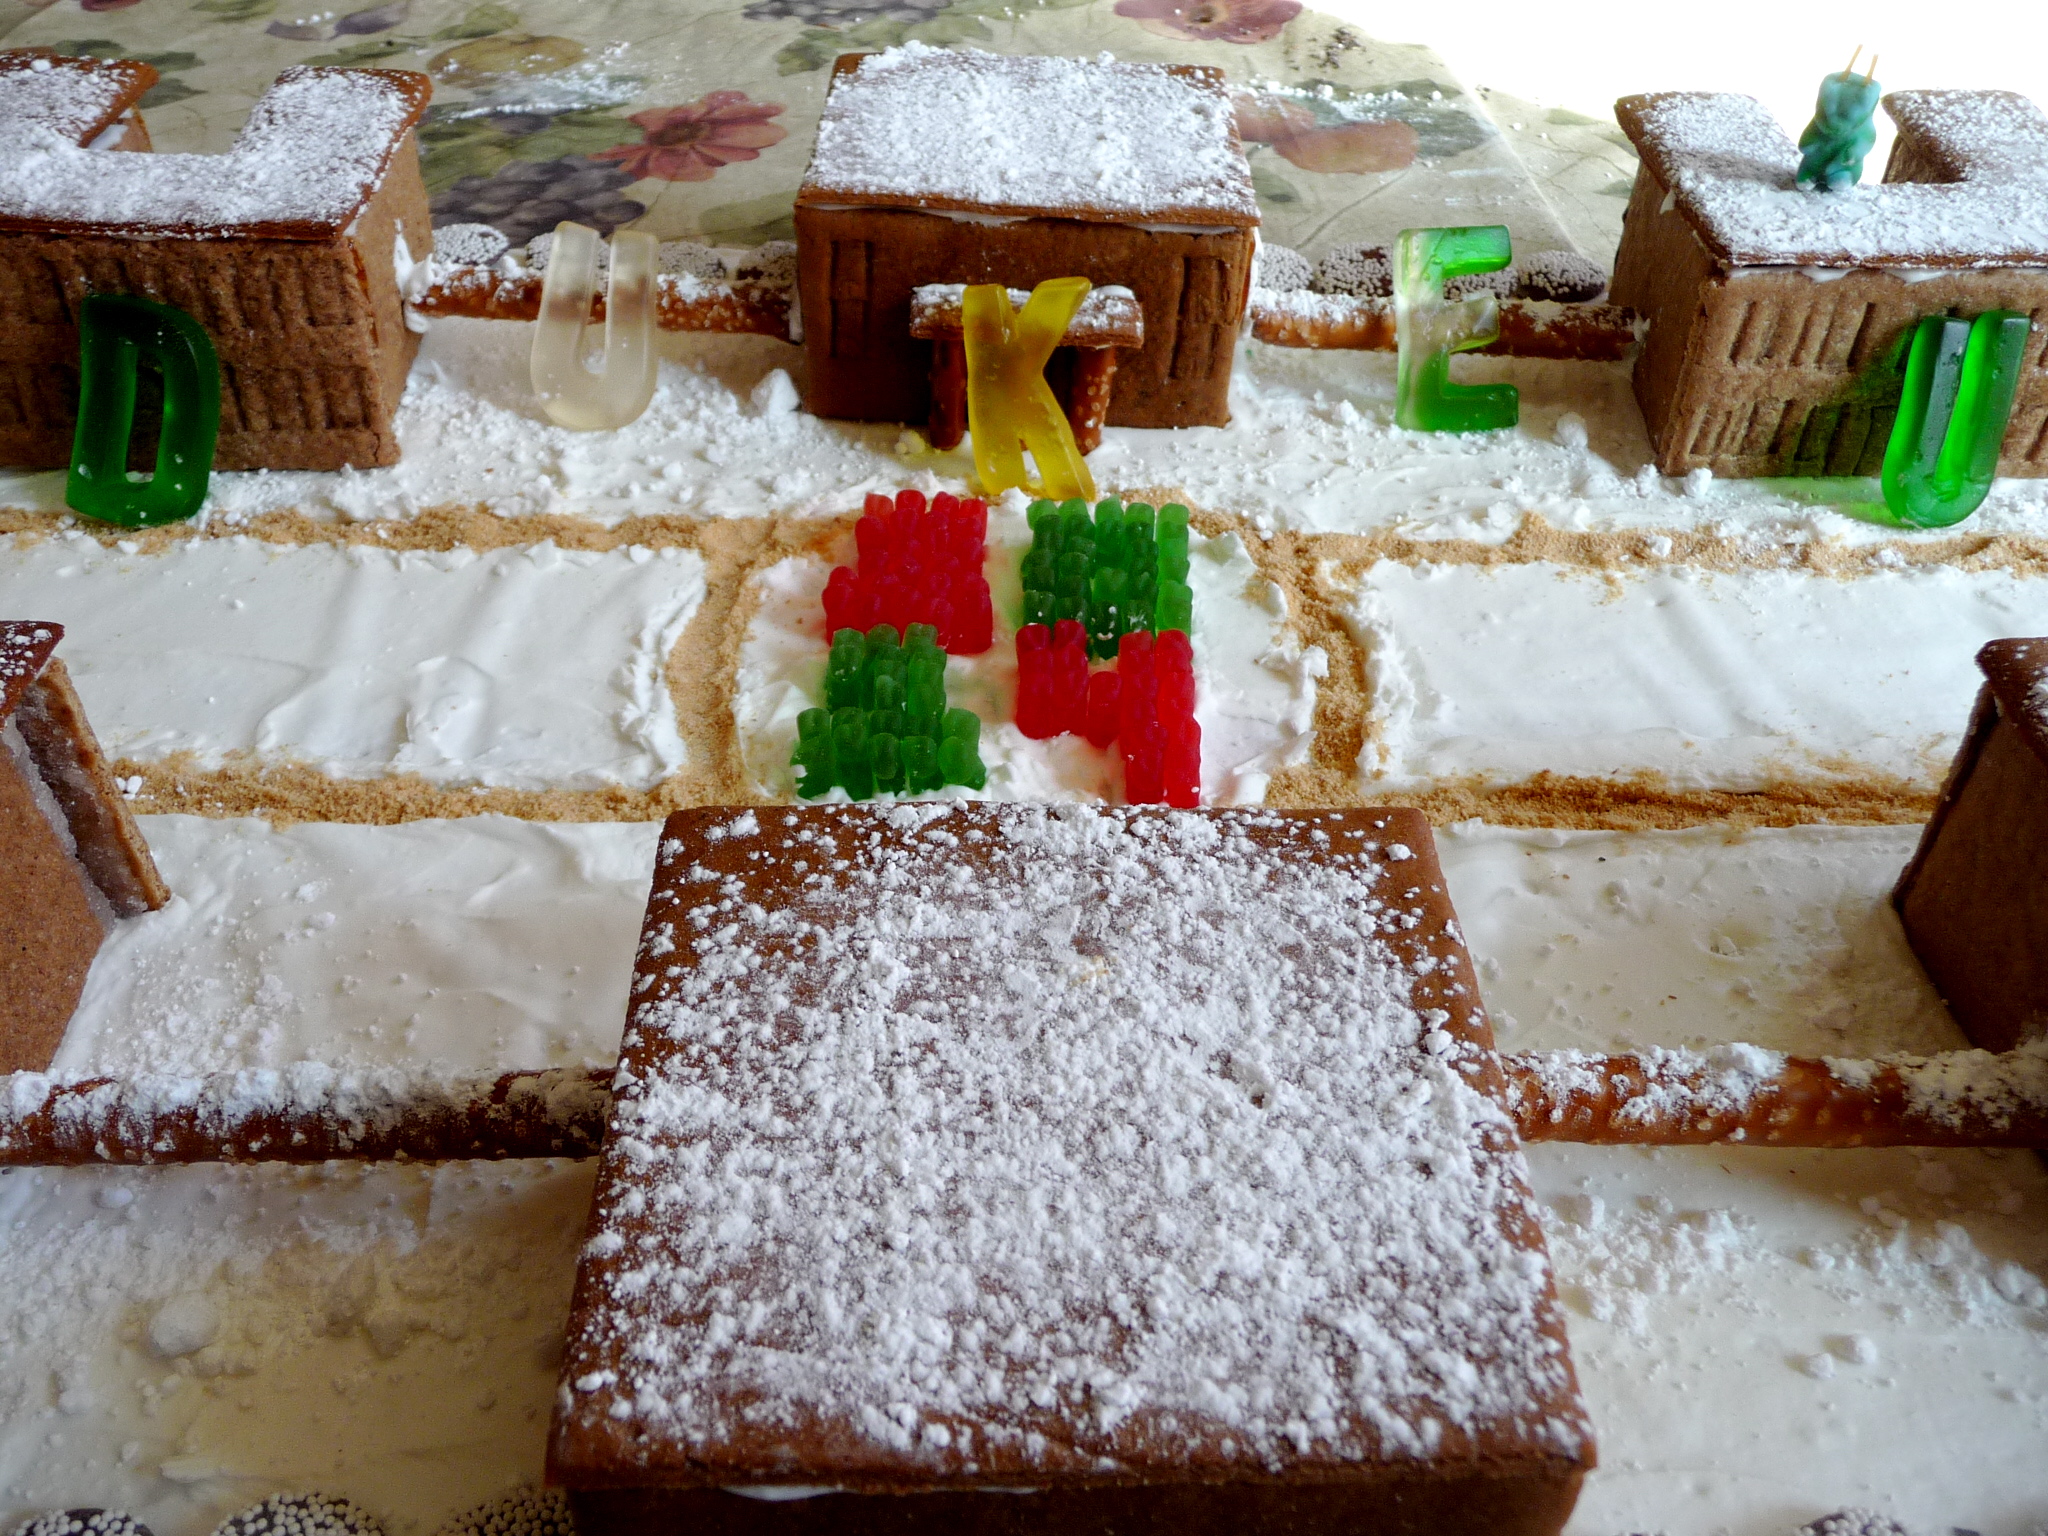
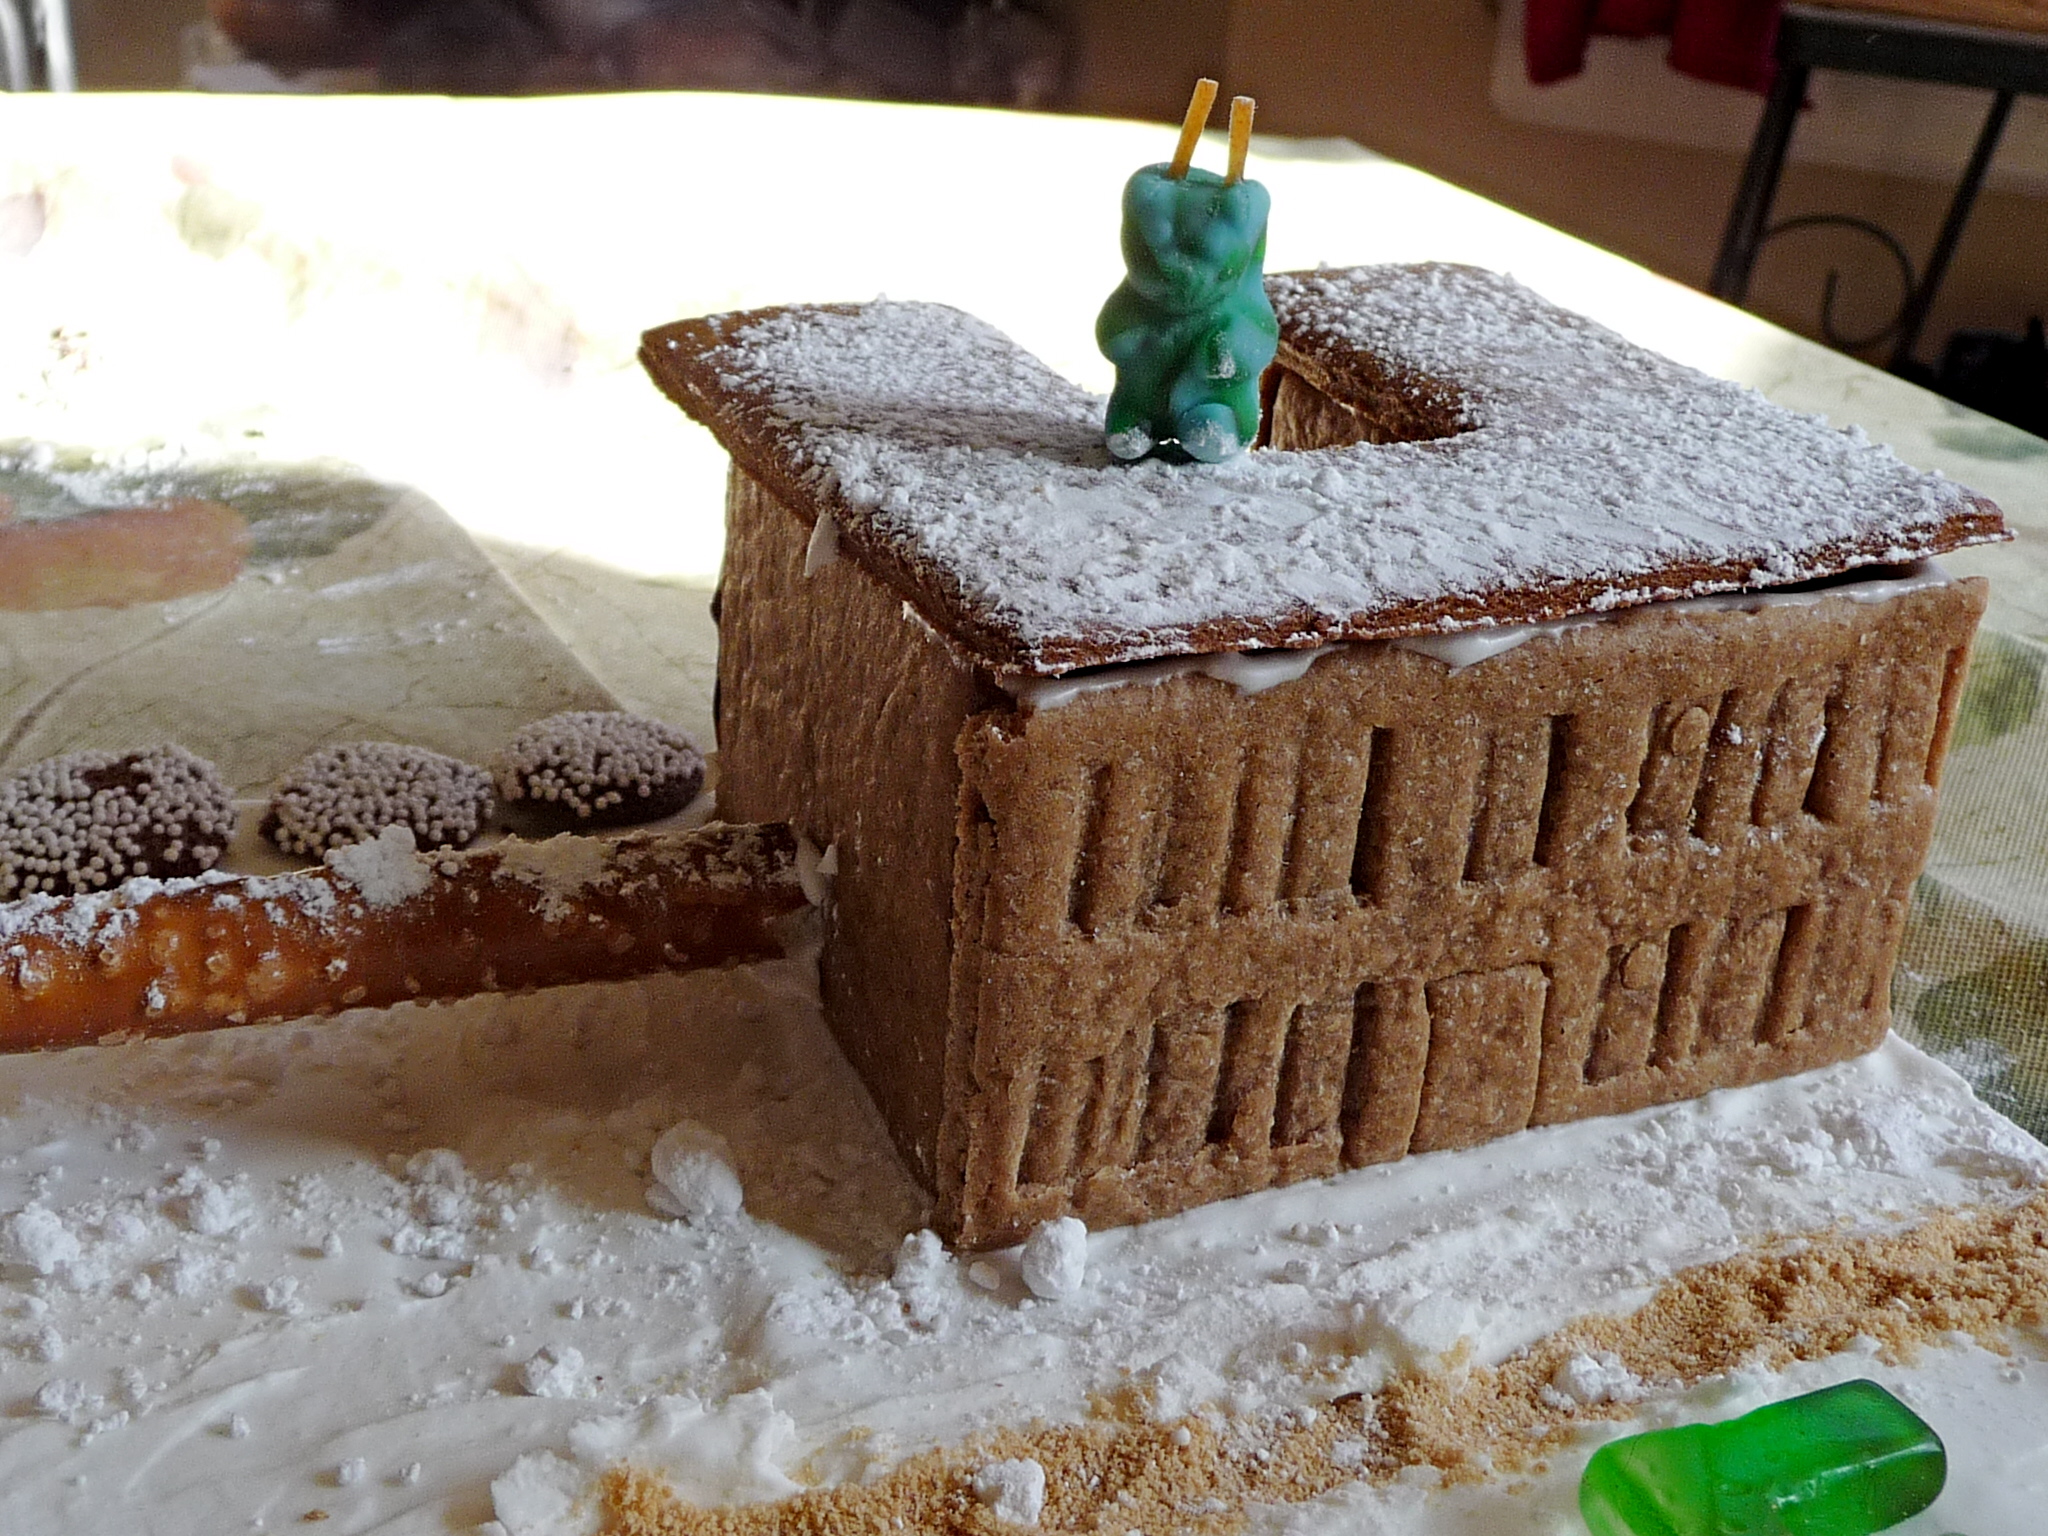
So here you have it. I did what I could. The construction is not up to our usual standards. There’s not much room for decoration. And the gingerbread doesn’t taste all that good. But Alex got into Duke, and that’s all that matters.
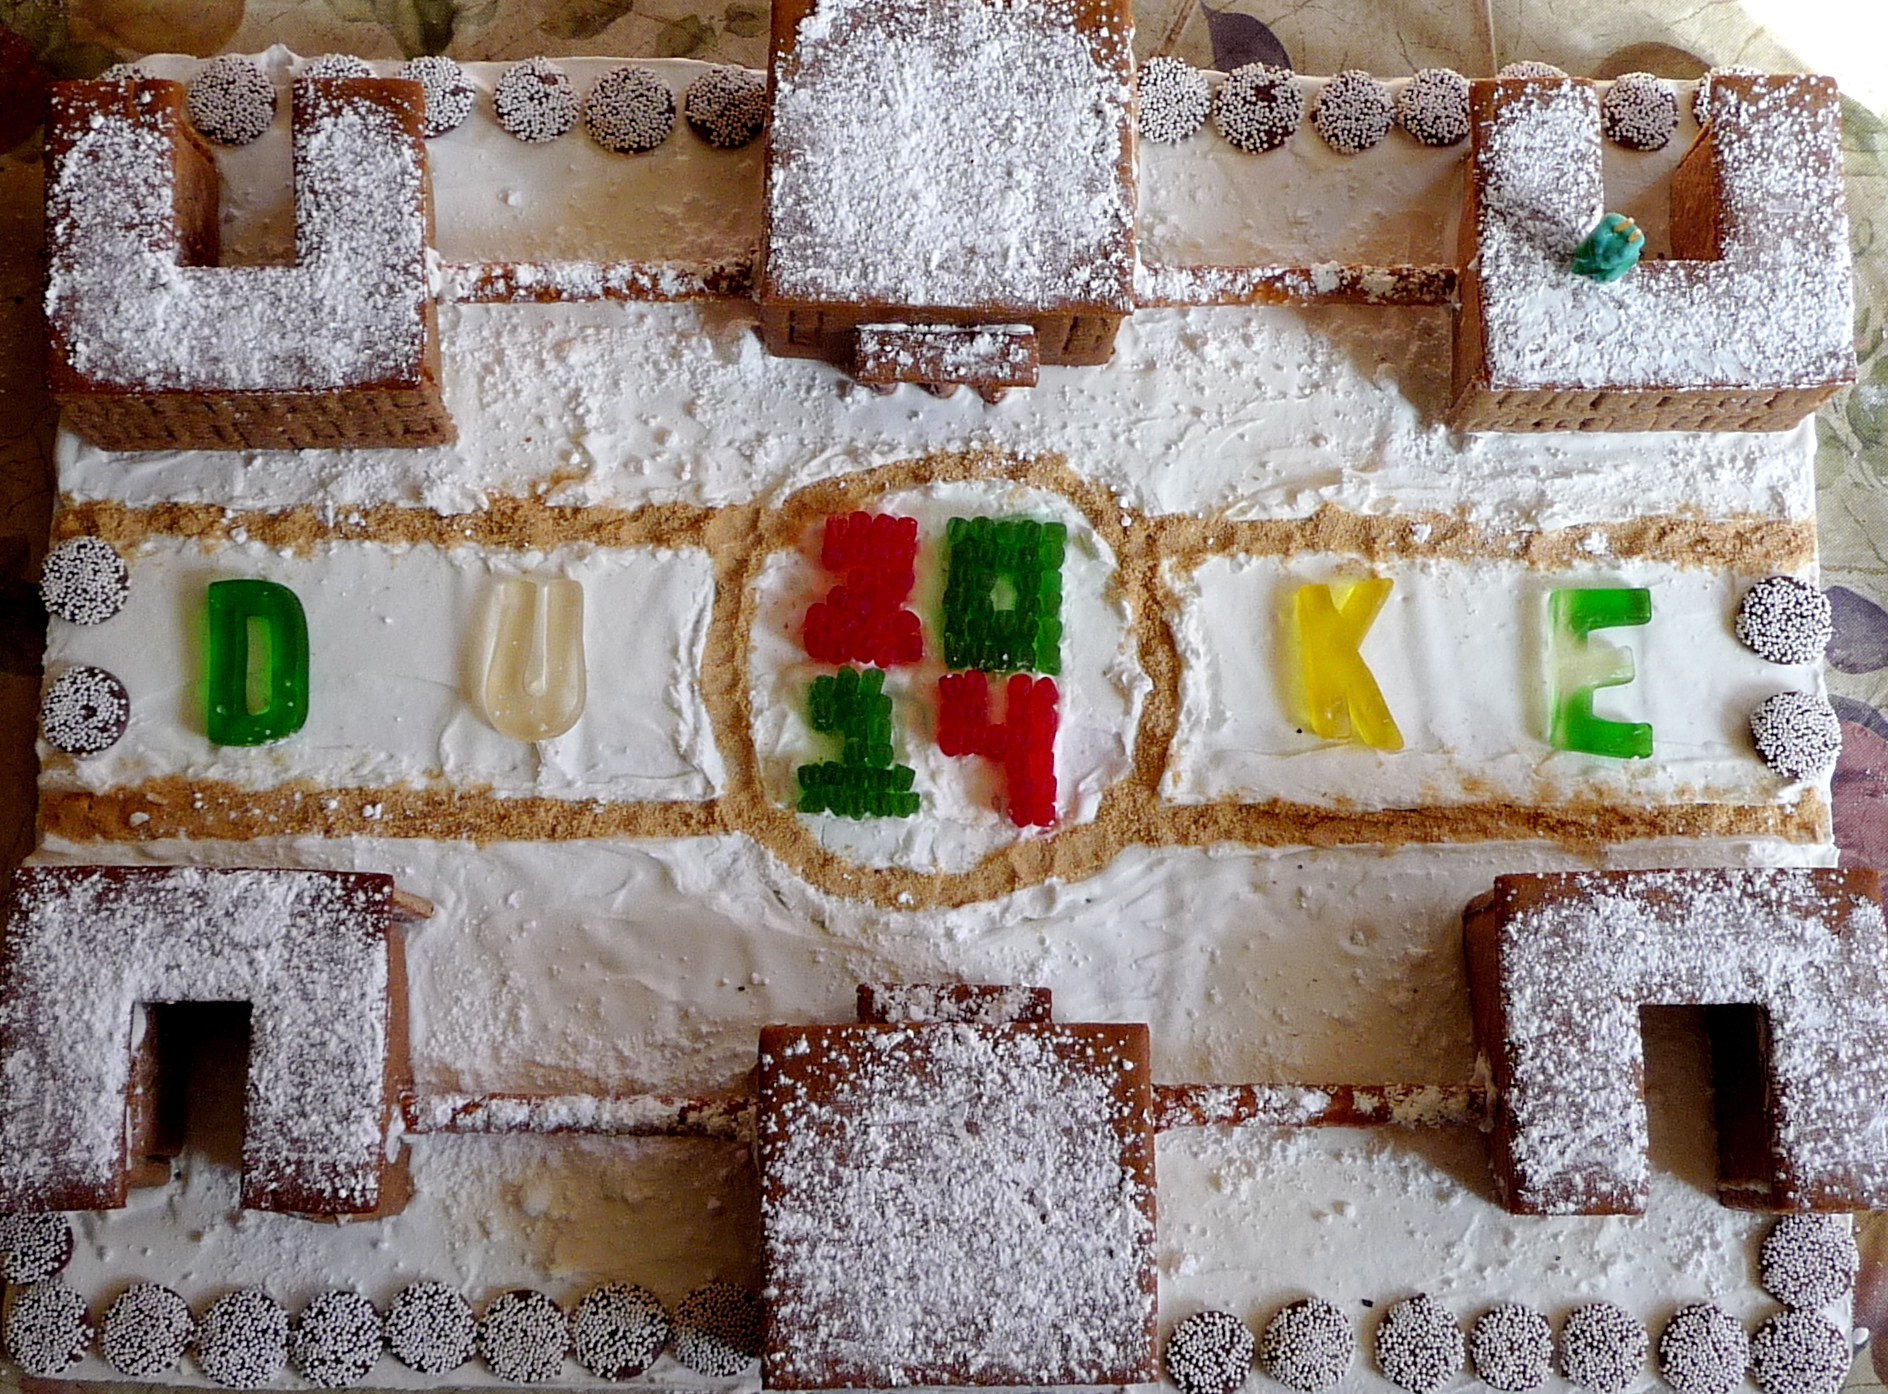
East Campus 1

After it was built, I let the boys decorate it. Alex added snow on the building and a lovely nonpareil border, plus a Blue Devil up there on the roof. Sadly, it took me so long to get this whole thing done that we’d eaten most of the candy we bought for it, so it’s a minimalist house this year. But it’s ours, and Alex got into Duke. We are very happy.
East Campus 3

East Campus 2

East Campus 4

So, this month’s challenge offered a choice of two doughs, one very simple and the other a bit more complex. I made both, just to see. Both of them (Anna’s dough, from Good Housekeeping, and Y’s dough, a more traditional Scandinavian recipe) mixed fine (although I left out the baking soda and used much less flour than they called for, because a lot of the Daring Bakers had trouble with the doughs being too dry; the recipes below have the amounts I used). They rolled out fine. They baked fine. But they didn’t look all that good as finished pieces, and they don’t taste like much.

For years I’ve used Teresa Layman’s recipe from her amazing Gingerbread for All Seasons (sadly out of print and insanely expensive used; check your library!). If you want to see the amazing things that can at least theoretically be done by normal people, check out that book. I’ve learned a lot of techniques from it over the years, but I couldn’t make anything near as gorgeous as she does. Her recipe bakes up flat and pretty and builds lovely structures, and it tastes pretty good (especially with royal icing on it!).

And it lasts — I found some of last year’s dough in the back of my freezer, thawed it out, and baked it up.

So the six buildings in our little tableau are made up of pieces made of three different doughs. All the roofs are Teresa Layman’s dough; see how pretty they are?

(Oh, and speaking of roofs, wanna hear a funny story? I built one of those little C-shaped buildings and very carefully measured it, so I could make the roof template. I very carefully drew the template (using a T-square!). I very carefully cut out the template. I very carefully baked the pieces. I very carefully cooled the pieces. I very carefully laid a roof on top of my finished building. And I discovered that I had somehow — very carefully, no doubt — cut my lovely C into a T. Isn’t that funny?)

P1160807

The recipes below include a sugar syrup for putting the houses together. I loved this idea; it seemed so much neater than having to pipe royal icing along all the walls. I cannot tell you how much sugar I wasted trying to get this to work. My first test batch seemed OK, and held the walls together nicely until my husband, marveling at how secure they were, picked up the building and waved it around; they were not that secure. So I tried again. I tried melting the sugar dry. I tried adding a little water, remembering some recipe I once read that said that adding a little water made it easier to melt sugar without burning it. And I did use the sugar syrup to put the walls together. But I could only get a few walls out of each batch before it became too burned or too crystalized, and I added quite a few new specimens to my collection of scars. So next year, it’s back to the icing.

Oh, and here’s the rest of my template, as actually used:

East campus template 1

Update: Within minutes of my taking those photos above, the campus was gone, demolished by two growing boys and their unfortunately growing father. We didn’t have a party to take it to this year, so this was a purely private achievement— except for all of you!

So, with no further ado, the recipes:

Anna’s Recipe:
Spicy Gingerbread Dough
(from Good Housekeeping)

2½ cups (500g) packed dark brown sugar
1½ cups (360mL) heavy cream or whipping cream
1¼ cups (425g) molasses or maple syrup
9½ cups (1140g) all-purpose flour
1 tablespoon(s) ground ginger

Directions

1. In very large bowl, with wire whisk (or with an electric mixer), beat brown sugar, cream, and molasses until sugar lumps dissolve and mixture is smooth. In medium bowl, combine flour, baking soda, and ginger. With spoon, stir flour mixture into cream mixture in 3 additions until dough is too stiff to stir, then knead with hands until flour is incorporated and dough is smooth.

2. Divide dough into 4 equal portions; flatten each into a disk to speed chilling. Wrap each disk well with plastic wrap and refrigerate at least 4 hours or overnight, until dough is firm enough to roll.

3. Grease and flour large cookie sheets (17-inch by 14-inch/43x36cm)

4. Roll out dough, 1 disk at a time on each cookie sheet to about 3/16-inch thickness. (Placing 3/16-inch dowels or rulers on either side of dough to use as a guide will help roll dough to uniform thickness.)

5. Trim excess dough from cookie sheet; wrap and reserve in refrigerator. Chill rolled dough on cookie sheet in refrigerator or freezer at least 10 minutes or until firm enough to cut easily.

6. Preheat oven to 300 degrees F (149C)

7. Use chilled rolled dough, floured poster board patterns, and sharp paring knife to cut all house pieces on cookie sheet, making sure to leave at least 1 1/4 inches between pieces because dough will expand slightly during baking. Wrap and reserve trimmings in refrigerator. Combine and use trimmings as necessary to complete house and other decorative pieces. Cut and bake large pieces and small pieces separately.

8. Chill for 10 minutes before baking if the dough seems really soft after you cut it. This will discourage too much spreading/warping of the shapes you cut.

9. Bake 25 to 30 minutes, until pieces are firm to the touch. Do not overbake; pieces will be too crisp to trim to proper size.

10. Remove cookie sheet from oven. While house pieces are still warm, place poster-board patterns on top and use them as guides to trim shapes to match if necessary. Cool pieces completely before attempting to assemble the house.

Y’s Recipe:
Scandinavian Gingerbread
(Pepparkakstuga, from The Great Scandinavian Baking Book by Beatrice Ojakangas

1 cup butter (226g), room temperature
1 cup brown sugar, well packed (220g)
½ cup white sugar
2 tablespoons cinnamon
4 teaspoons ground ginger
2 teaspoons allspice
½ cup boiling water
5 cups (625g) all-purpose flour

1. In a large bowl, cream the butter and sugar until blended. Add the cinnamon, ginger and cloves. Mix the baking soda with the boiling water and add to the dough along with the flour. Mix to make a stiff dough. If necessary add more water, a tablespoon at a time. Chill 2 hours or overnight.

2. Cut patterns for the house, making patterns for the roof, front walls, gabled walls, chimney and door out of cardboard.

3. Roll the dough out on a large, ungreased baking sheet and place the patterns on the dough. Mark off the various pieces with a knife, but leave the pieces in place.

4. [I rolled out the dough between two pieces of parchment, about 1/8 inch thick, and cut the required shapes. Then I transferred the parchment to the cookie sheet, so I didn’t have to move the shapes and possibly distort them. I saved scraps and rerolled them at the end.]

5. Preheat the oven to 375’F (190’C). Bake for 12 to 15 minutes until the cookie dough feels firm. After baking, again place the pattern on top of the gingerbread and trim the shapes, cutting the edges with a straight-edged knife. Leave to cool on the baking sheet.

Royal Icing:

1 large egg white
3 cups (330g) powdered sugar
1 teaspoon white vinegar
1 teaspoon almond extract

Beat all ingredients until smooth, adding the powdered sugar gradually to get the desired consistency. Pipe on pieces and allow to dry before assembling. If you aren’t using it all at once you can keep it in a small bowl, loosely covered with a damp towel for a few hours until ready to use. You may have to beat it slightly to get it an even consistency if the top sets up a bit. Piped on the house, this will set up hard over time.

Simple Syrup:
2 cups (400g) sugar

Place in a small saucepan and heat until just boiling and the sugar dissolves. Dredge or brush the edges of the pieces to glue them together. If the syrup crystallizes, remake it.

Categories
baking Daring Bakers recipes

Daring Bakers: Copycat Cookies, Sort Of

The July Daring Bakers’ challenge was hosted by Nicole at Sweet Tooth. She chose Chocolate-Covered Marshmallow Cookies and Milan Cookies from pastry chef Gale Gand of the Food Network.

We were unexpectedly invited to a July 4th barbecue at the house of some friends, and I thought, “Hey, what a great opportunity to make this month’s Daring Bakers recipes! I’ll be able to write the post early!! I won’t have to stay up late the night before typing my little heart out!!!”

Well, it was a good opportunity to make the recipes. And as you can see, I didn’t stay up late the night before the reveal date. Oops.

Anyway, I made the cookies.

The Mallomars (um, Chocolate-Covered Marshmallow Cookies) were extremely yummy, although the chocolate never did set up until I refrigerated them, and I had to keep them in the refrigerator or they softened up again. I used the vegetable oil option; it seems to me, in retrospect, that cocoa butter, which is solid at room temperature, would have been the way to go. Or maybe shortening.

But if you didn’t mind getting your fingers a bit messy — and I didn’t — they were great. I didn’t roll the cookie dough quite thin enough, because I hate rolling cookie dough, and I’m not very good at it. I used Dorie Greenspan’s trick of rolling the dough inside a plastic bag, which helps immensely, but I put too much dough inside the bag, leading to slightly too-thick cookies. But still yummy.

mallomars 1

And the marshmallows sure do harden fast, don’t they? My first 20 or so were beautiful little piped Hershey’s Kiss-like things, lovely to behold.

mallomars 2

By the last 20 or so, I was desperately trying to spread the mess with a knife.

mallomars 3

I thought the chocolate would hide the mess, or at least camouflage it. I don’t know why I thought that.

mallomars 5

But at least some of them came out pretty, and they were all delicious (as I believe I’ve mentioned).

mallomars 4

Needless to say, I liked the milk chocolate versions better. My family disagreed (more milk chocolate for me!):

Husband: Delicious little moon pie bites.
#1 Son: Honestly, I was not that impressed. None of the components was particularly flavorful, and I found the cookie very dry. [To clarify, he was eating them the next day, after they spent the night in the refrigerator.]
#2 Son: They could have used a thicker coating of chocolate, maybe double-dipped, and the shortbread could have had more flavor. The marshmallow was good, though. I would eat them again.

And then there were the Milanos (um, Milan Cookies). The recipe called for flavoring the chocolate with orange, but no. I always liked the Mint Milanos best, so that was my goal.

I added a quarter-teaspoon of peppermint extract to the chocolate, which was dark. Milk chocolate didn’t seem right with mint, but I should have trusted my preferences.

My first batch of cookies were tiny — they barely spread at all. I used much more batter in subsequent batches and got a better cookie; the recipe was very unclear on this point. You have to make the cookie about 75 percent the size you want it to wind up, and thick.

milanos 1

They never got crisp, though. I don’t know if it was too humid here — summer in New Jersey? humid? — or if it was the recipe, but they were always kind of spongy, even after I let them sit out for a couple of hours. The chocolate filling was excellent, though, except I would (of course!) have liked it better had I gone with the milk chocolate. They were pretty, though.

milanos 2

Overall, I preferred the marshmallow cookies, but the family liked the milanos:

Husband: I would have liked a somewhat thicker cookie, but they were pleasant enough after they were refrigerated.
#1 Son: Really good. I had them after they were in the fridge for a while. They had gotten to a really good level of chewiness. The filling could have been a little mintier, but it worked well overall. Orange would have been better. [Smartass.]
#2 Son: I think there could have been a little more mint in the chocolate, and the cookies could have been snappier, by which I mean actually snappy instead of all bendy. Other than that, thumbs up.

milanos 3

Try them yourselves — experimentation is fun! I think I’d like to try the marshmallow cookies with flavored marshmallows next time.

Mallows (Chocolate-Covered Marshmallow Cookies)
Recipe courtesy Gale Gand, from Food Network website

Chocolate Covered Marshmallow Cookies
Not my photo, and certainly not my cookies.

Makes about 2 dozen cookies.

• 3 cups (375 grams/13.23 oz.) all purpose flour
• ½ cup (112.5 grams/3.97 oz.) white sugar
• ½ teaspoon salt
• ¾ teaspoon baking powder
• ⅜ teaspoon baking soda
• ½ teaspoon ground cinnamon
• 12 tablespoons (170 grams/6 oz.) unsalted butter
• 3 eggs, whisked together
• Homemade marshmallows, recipe follows
• Chocolate glaze, recipe follows

1. In a mixer with the paddle attachment, blend the dry ingredients.
2. On low speed, add the butter and mix until sandy.
3. Add the eggs and mix until combine.
4. Form the dough into a disk, wrap with plastic wrap or parchment, and refrigerate at least 1 hour and up to 3 days.
5. When ready to bake, grease a cookie sheet or line it with parchment paper or a silicon mat.
6. Preheat the oven to 375 degrees F.
7. Roll out the dough to ⅛-inch thickness on a lightly floured surface. Use a 1-to-1½-inch cookie cutter to cut out small rounds of dough.
8. Transfer to the prepared pan and bake for 10 minutes or until light golden brown. Let cool to room temperature.
9. Pipe a “kiss” of marshmallow onto each cookie. Let set at room temperature for 2 hours.
10. Line a cookie sheet with parchment or silicon mat.
11. One at a time, gently drop the marshmallow-topped cookies into the hot chocolate glaze.
12. Lift out with a fork and let excess chocolate drip back into the bowl.
13. Place on the prepared pan and let set at room temperature until the coating is firm, about 1 to 2 hours.

Note: if you don’t want to make your own marshmallows, you can cut a large marshmallow in half and place on the cookie base. Heat in a preheated 350-degree oven to slump the marshmallow slightly; it will expand and brown a little. Let cool, then proceed with the chocolate dipping.

Homemade marshmallows:
• ¼ cup water
• ¼ cup light corn syrup
• ¾ cup (168.76 grams/5.95 oz.) sugar
• 1 tablespoon powdered gelatin
• 2 tablespoons cold water
• 2 egg whites, room temperature
• ¼ teaspoon pure vanilla extract

1. In a saucepan, combine the water, corn syrup, and sugar. Bring to a boil and cook until soft-ball stage, or 235 degrees on a candy thermometer.
2. Sprinkle the gelatin over the cold water and let dissolve.
3. Remove the syrup from the heat, add the gelatin, and mix.
4. Whip the whites until soft peaks form and pour the syrup into the whites.
5. Add the vanilla and continue whipping until stiff.
6. Transfer to a pastry bag.

Chocolate glaze:
• 12 ounces semisweet chocolate
• 2 ounces cocoa butter or vegetable oil

1. Melt the 2 ingredients together in the top of a double boiler or a bowl set over barely simmering water.

_________________________________________

Milan Cookies
Recipe courtesy Gale Gand, from Food Network website

Milan Cookies
Ditto.

Makes about 3 dozen cookies.

• 12 tablespoons (170 grams/6 oz.) unsalted butter, softened
• 2½ cups (312.5 grams/11.02 oz.) powdered sugar
• ⅞ cup egg whites (from about 6 eggs)
• 2 tablespoons vanilla extract
• 2 tablespoons lemon extract
• 1½ cups (187.5 grams/6.61 oz) all-purpose flour
• Cookie filling, recipe follows

Cookie filling:
• ½ cup heavy cream
• 8 ounces semisweet chocolate, chopped
• 1 orange, zested [or peppermint extract to taste, or whatever you’d like to try!]

1. In a mixer with paddle attachment cream the butter and the sugar.
2. Add the egg whites gradually and then mix in the vanilla and lemon extracts.
3. Add the flour and mix until just well mixed.
4. With a small (¼-inch) plain tip, pipe 1-inch sections of batter onto a parchment-lined sheet pan, spacing them 2 inches apart, as they spread.
5. Bake in a preheated 350-degree oven for 10 minutes or until light golden brown around the edges. Let cool on the pan.
6. While waiting for the cookies to cool, in a small saucepan over medium flame, scald cream.
7. Pour hot cream over chocolate in a bowl, whisk to melt chocolate, add zest and blend well.
8. Set aside to cool (the mixture will thicken as it cools).
9. Spread a thin amount of the filling onto the flat side of a cookie while the filling is still soft and press the flat side of a second cookie on top.
10. Repeat with the remainder of the cookies.

Categories
baking Daring Bakers recipes

Daring Bakers: Bakewell Tart!

The June Daring Bakers’ challenge was hosted by Jasmine of Confessions of a Cardamom Addict and Annemarie of Ambrosia and Nectar. They chose a Traditional (UK) Bakewell Tart… er… pudding that was inspired by a rich baking history dating back to the 1800’s in England.

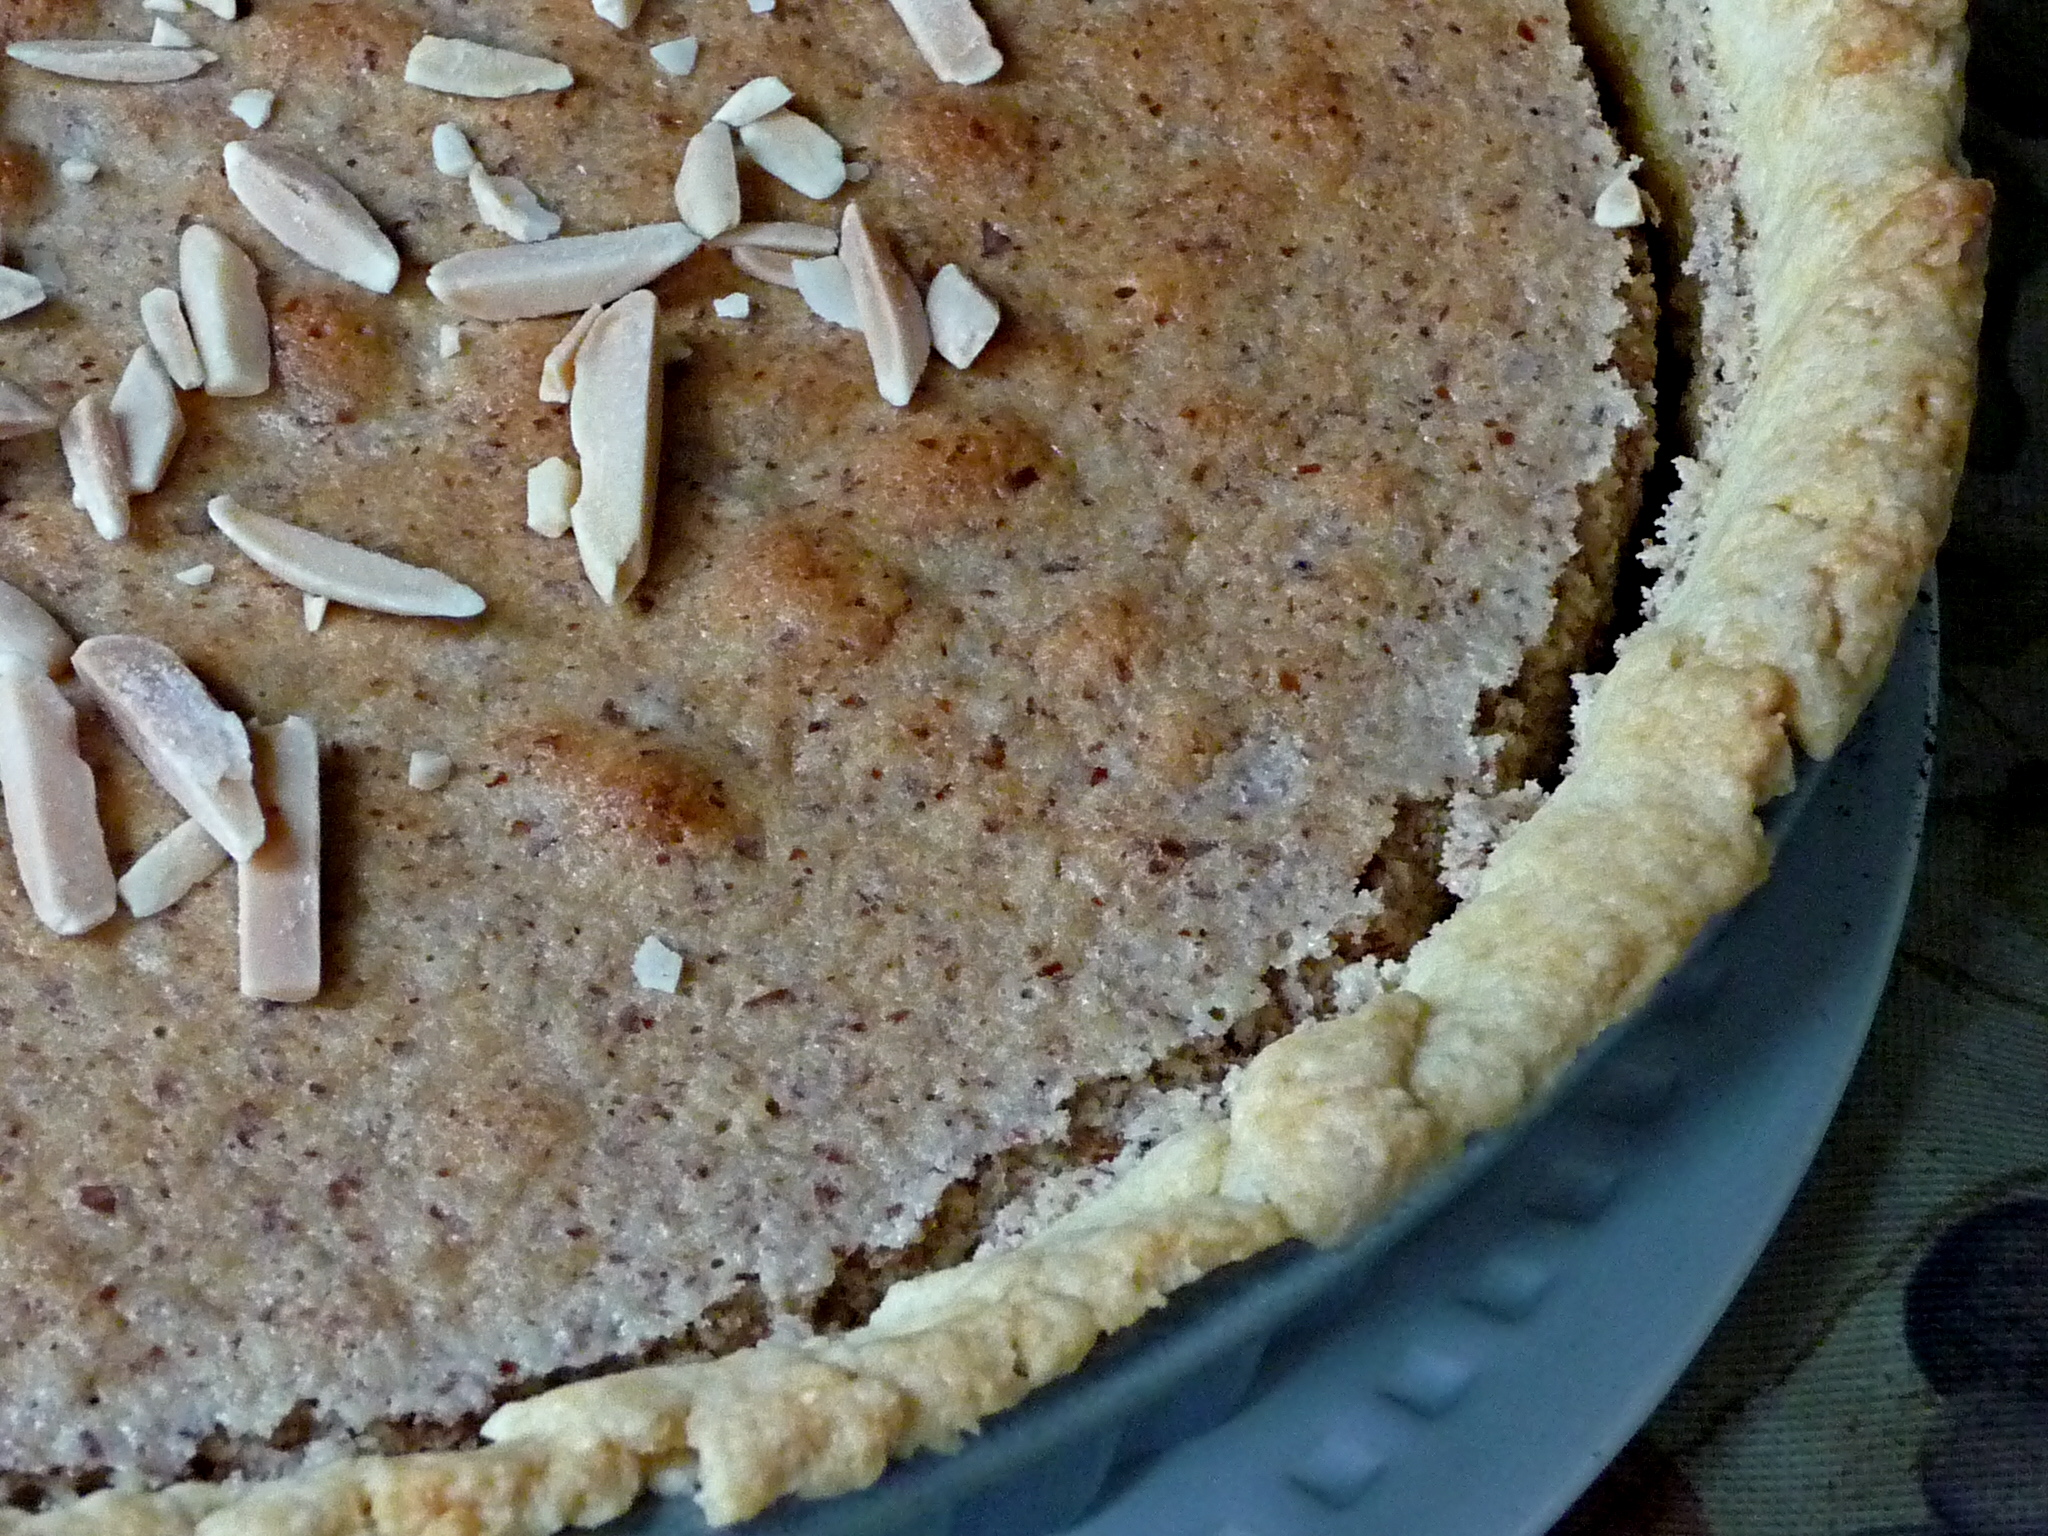
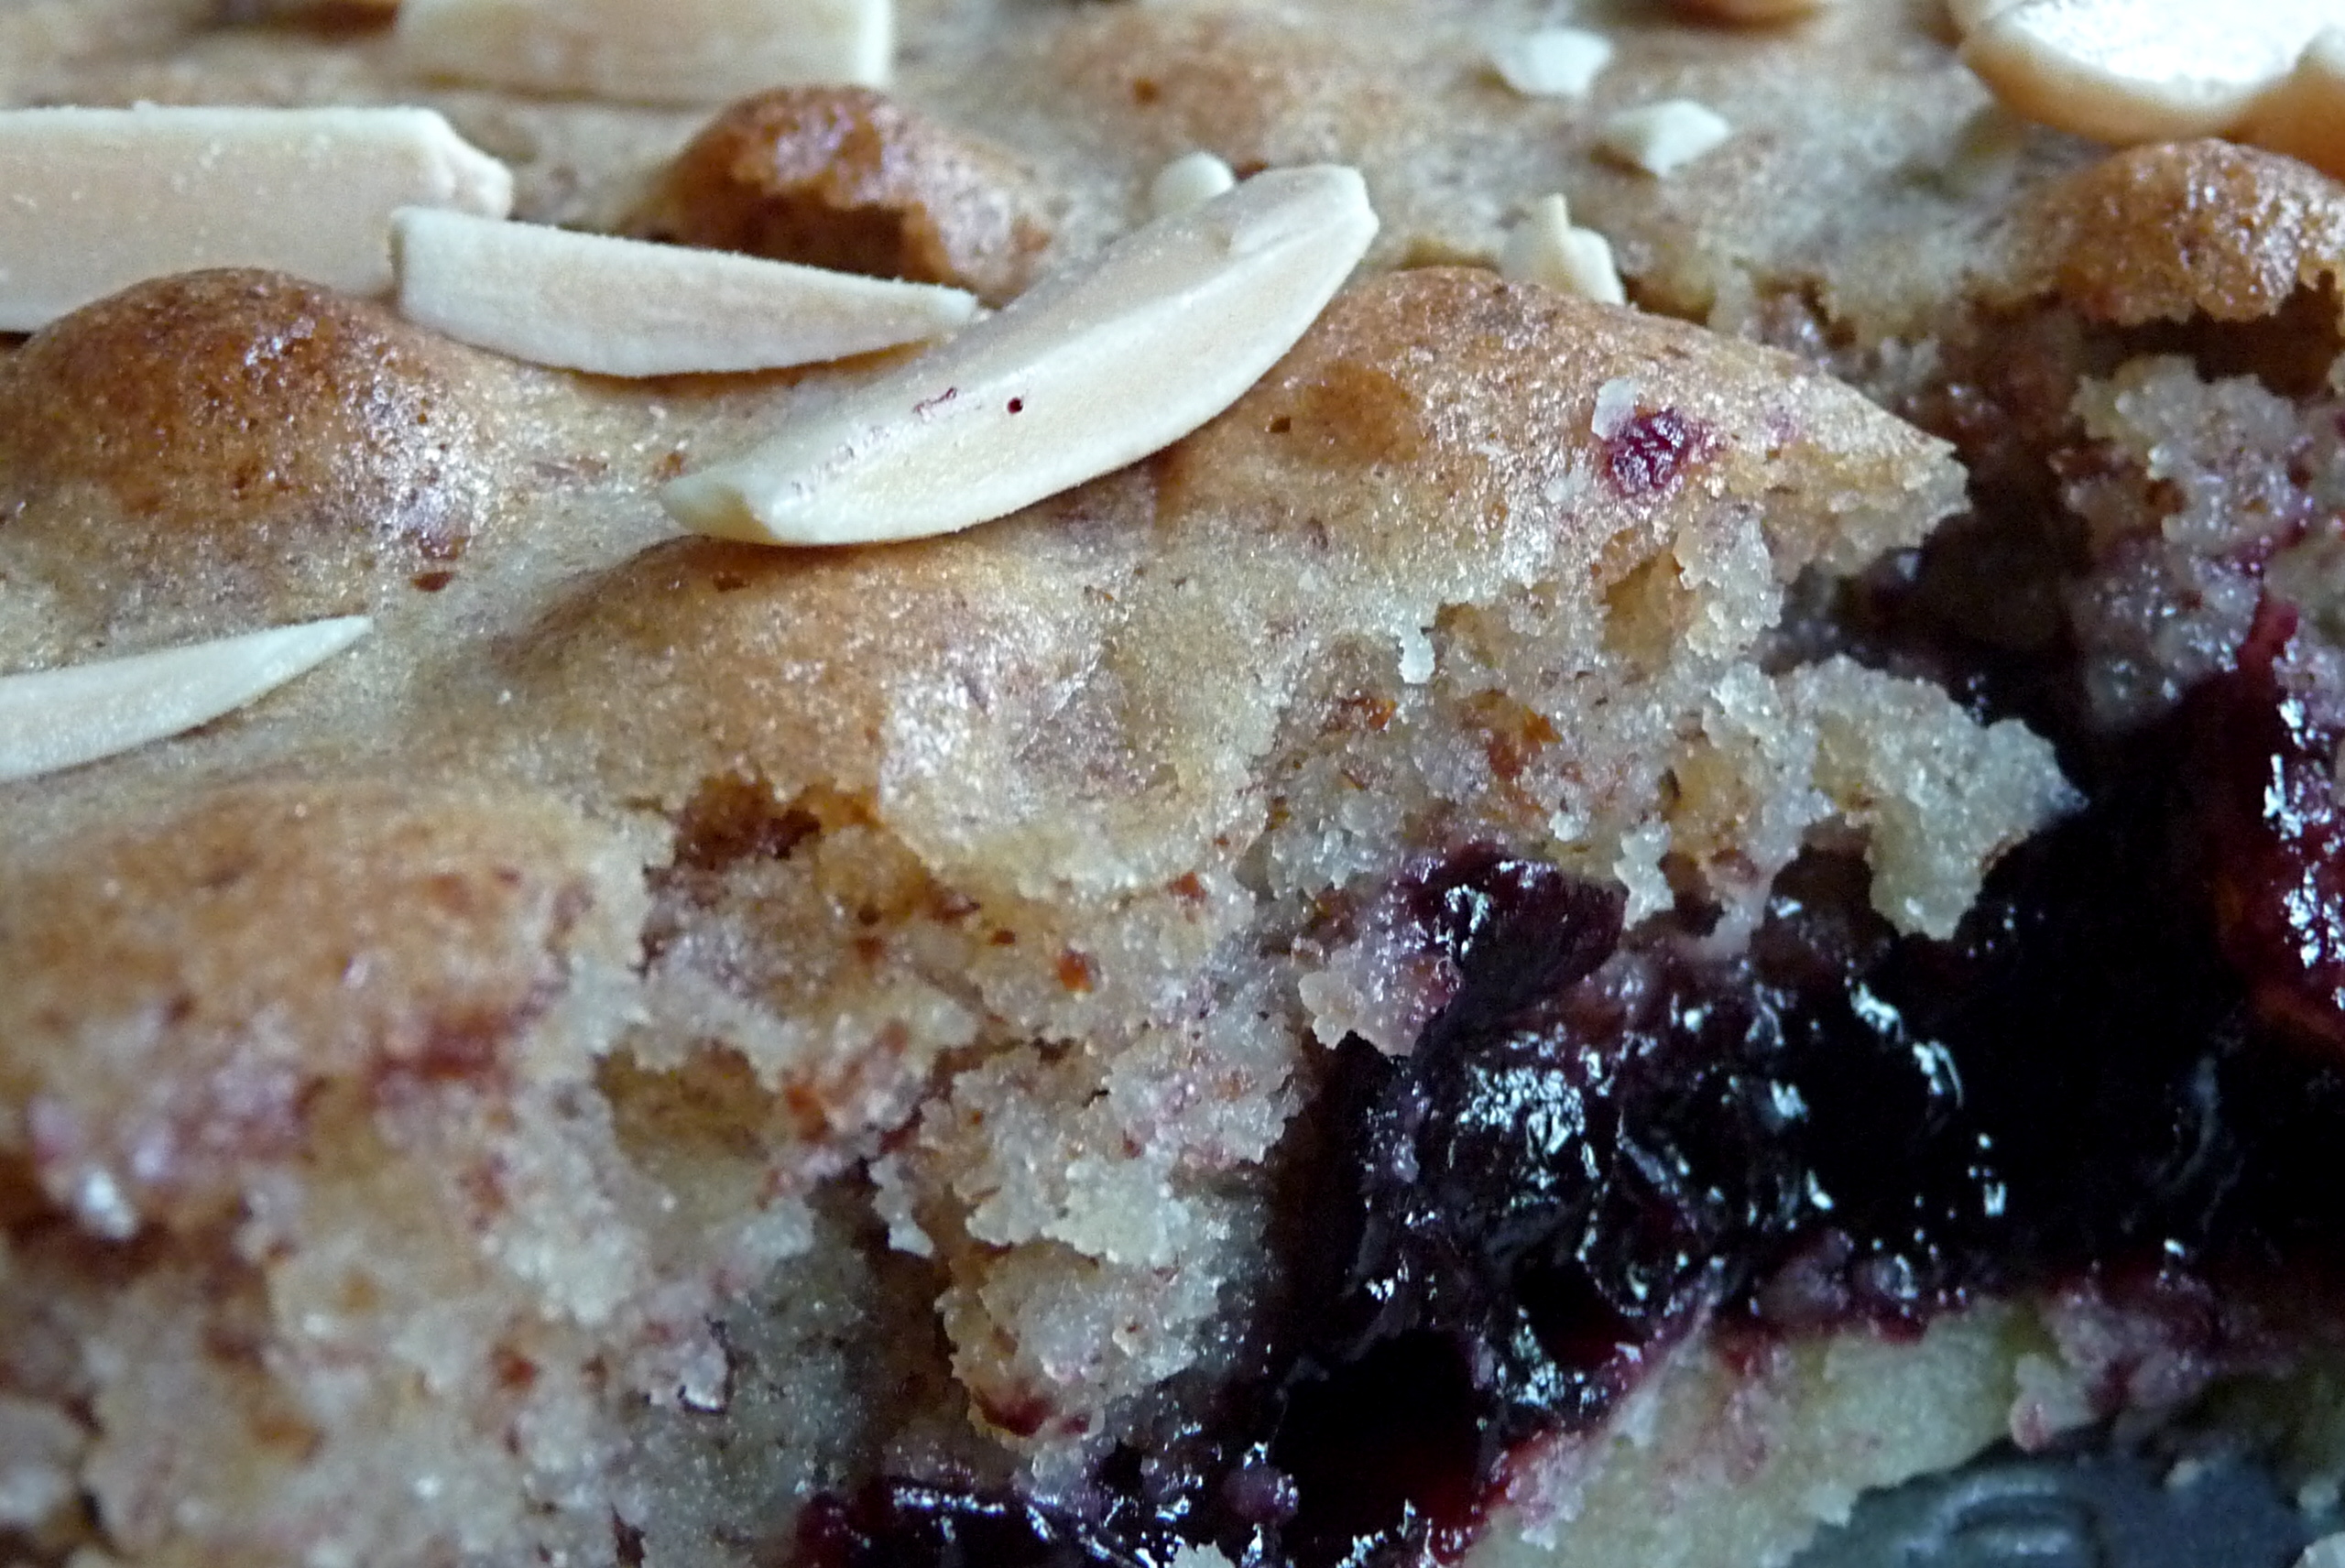
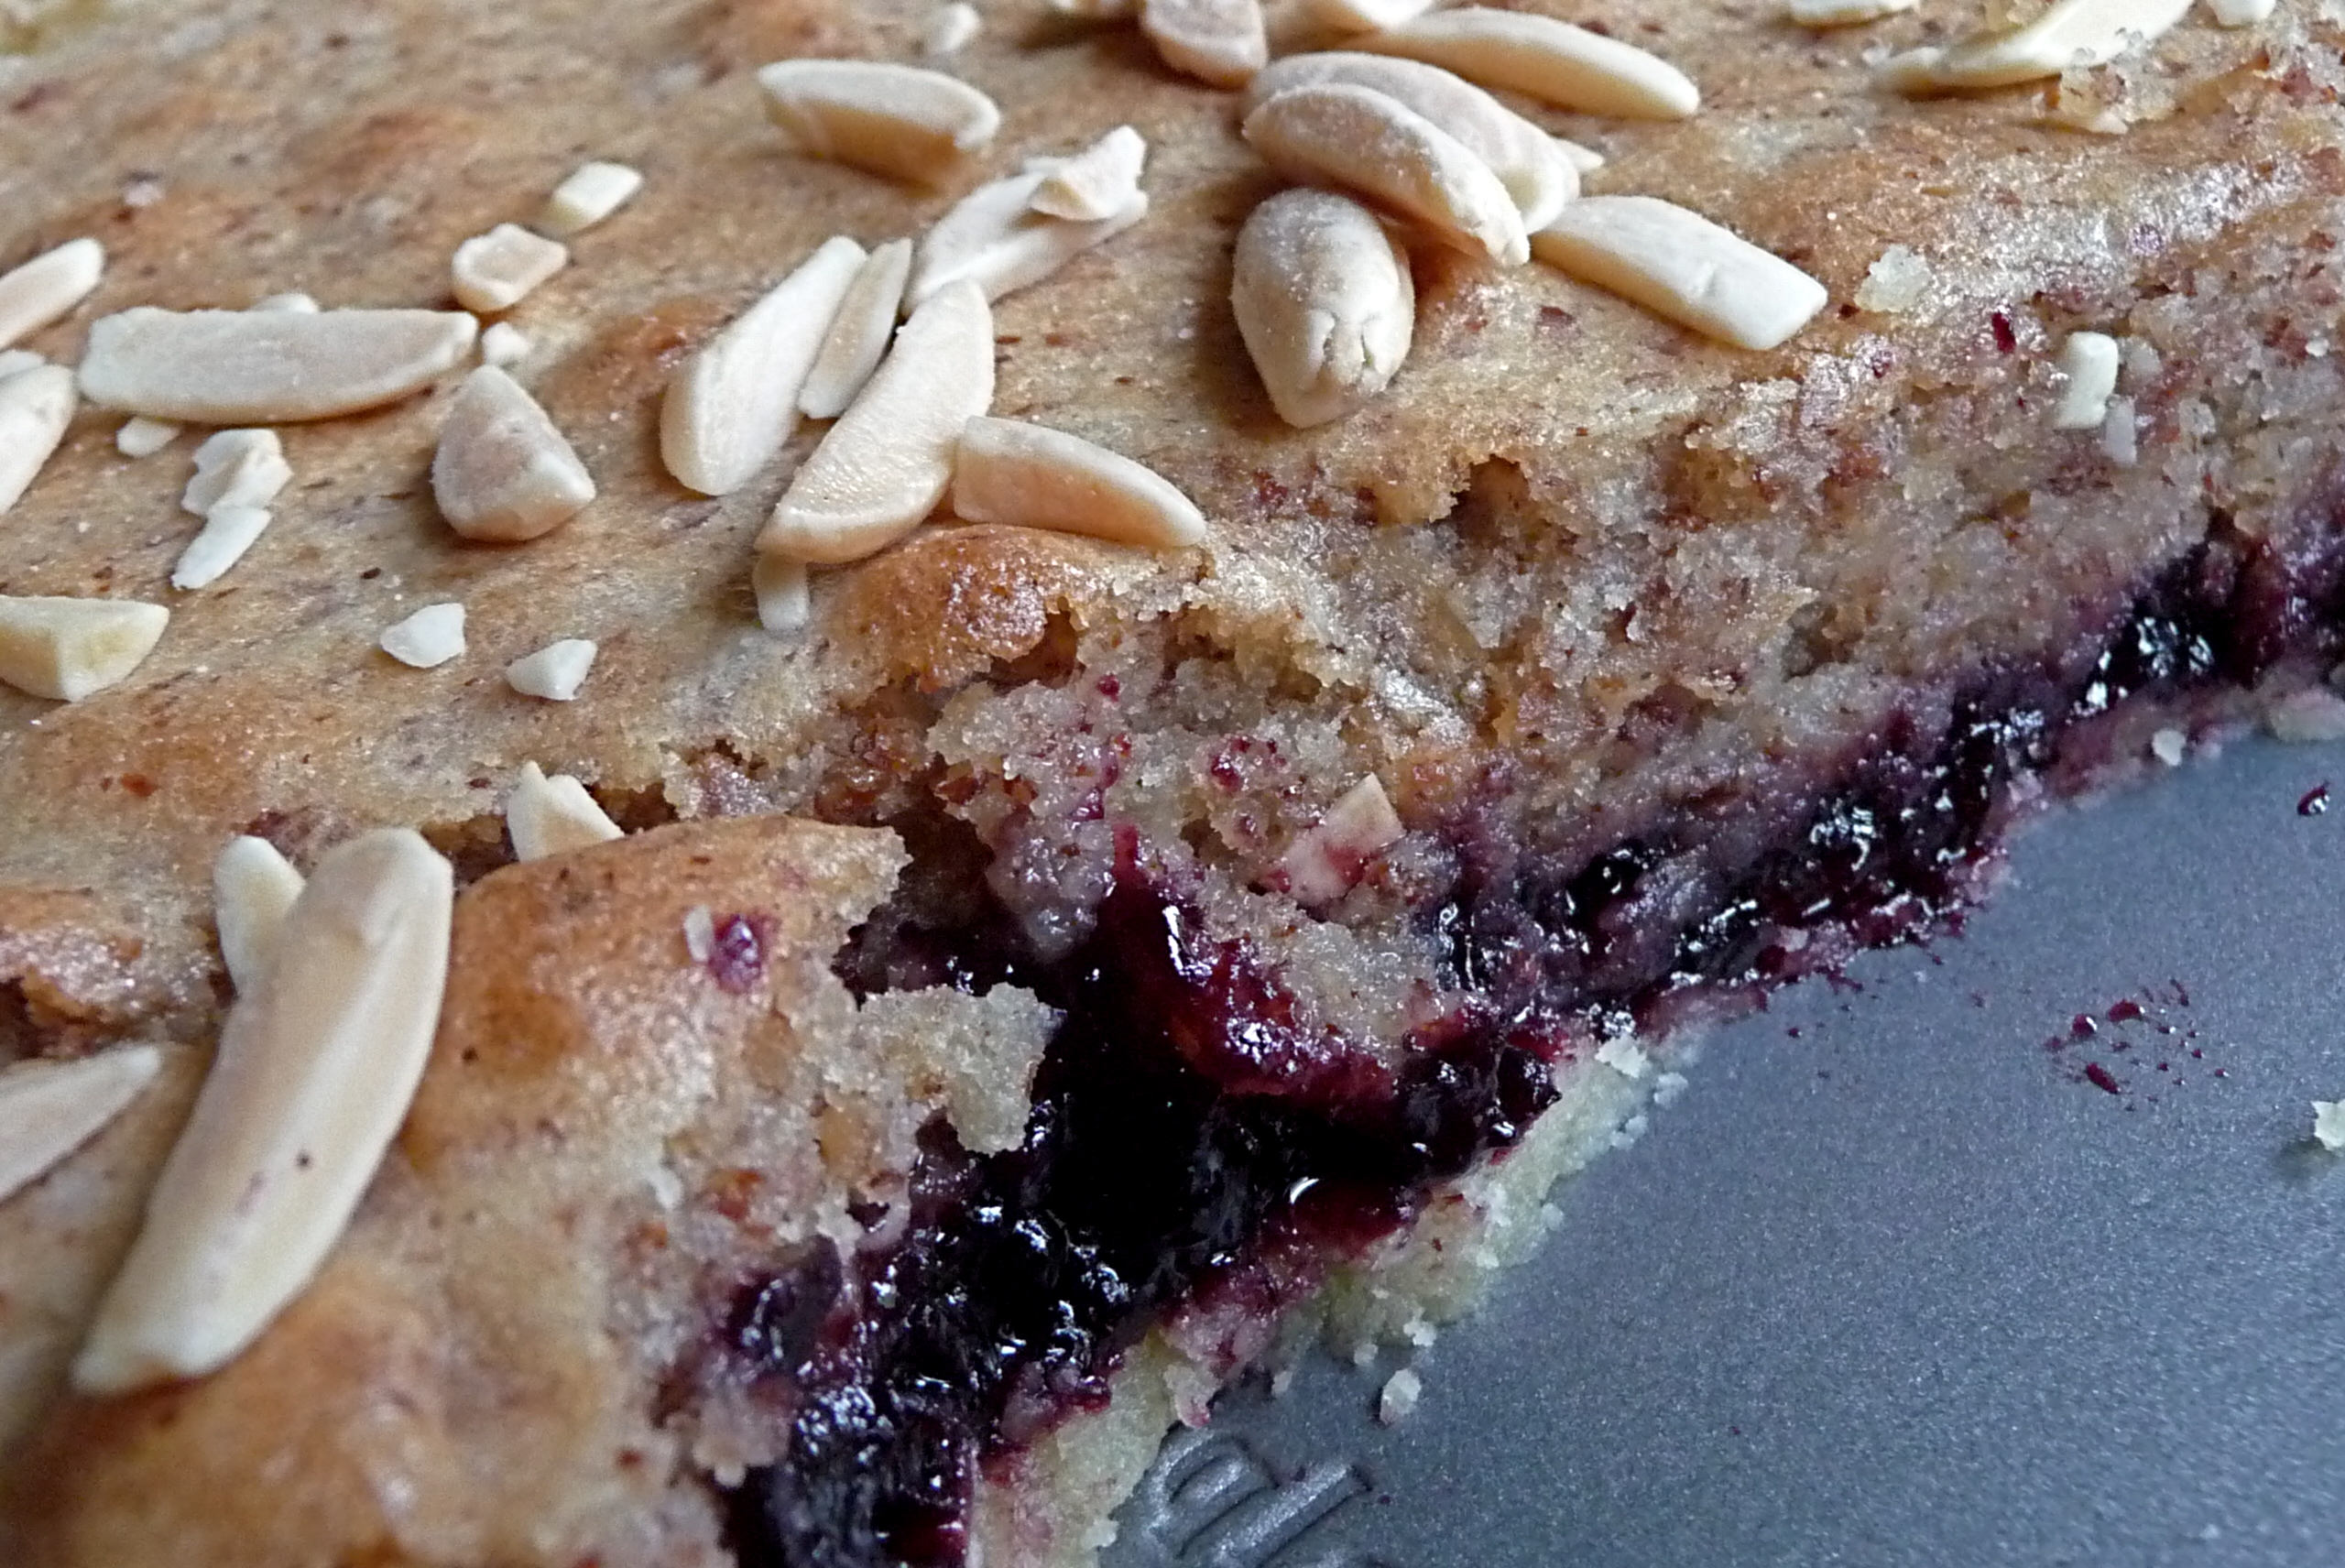
Bakewell tart is apparently a term applied to various confections, but in this case it was a shortbread crust topped with jam topped with almond pastry cream-like stuff, then baked. Yum.

bakewell-tart-2

I did this one all by myself. I feel so grown-up. In the midst of trying to complete four different jobs at the same time and going insane, I stopped to bake. I’m glad I did.

(For those of you who don’t know, I often contract out the actual baking to my older son, who is 17. He has considerably more free time than I do.)

I wanted to make cherry jam for this, because cherries + almonds = awesome. But I forgot to go to the farmers market after delivering above-mentioned son an hour from home at 6:30 in the morning. So, plan B: a pound of frozen cherries, about an ounce and a half of sugar, and a splash of vanilla. I threw the undefrosted cherries and the sugar in a pot and cooked them for a very long time, mashing occasionally with a potato masher, and near the end using an immersion blender on the poor cherries. One it was jelly-like, I turned off the heat and added the vanilla. Excellent, if I say so myself.

The crust was easy enough, although I must confess to using the food processor. Sorry. I think I didn’t add quite enough water, but it rolled out fine. It was just a bit dry after it was baked.

The frangipane was absolutely delicious raw — I could have eaten it all that way. It was light and airy and sweet and almondy. Really, I’d have been happy with this, the whole bowl, all to myself. But no, I soldiered on.

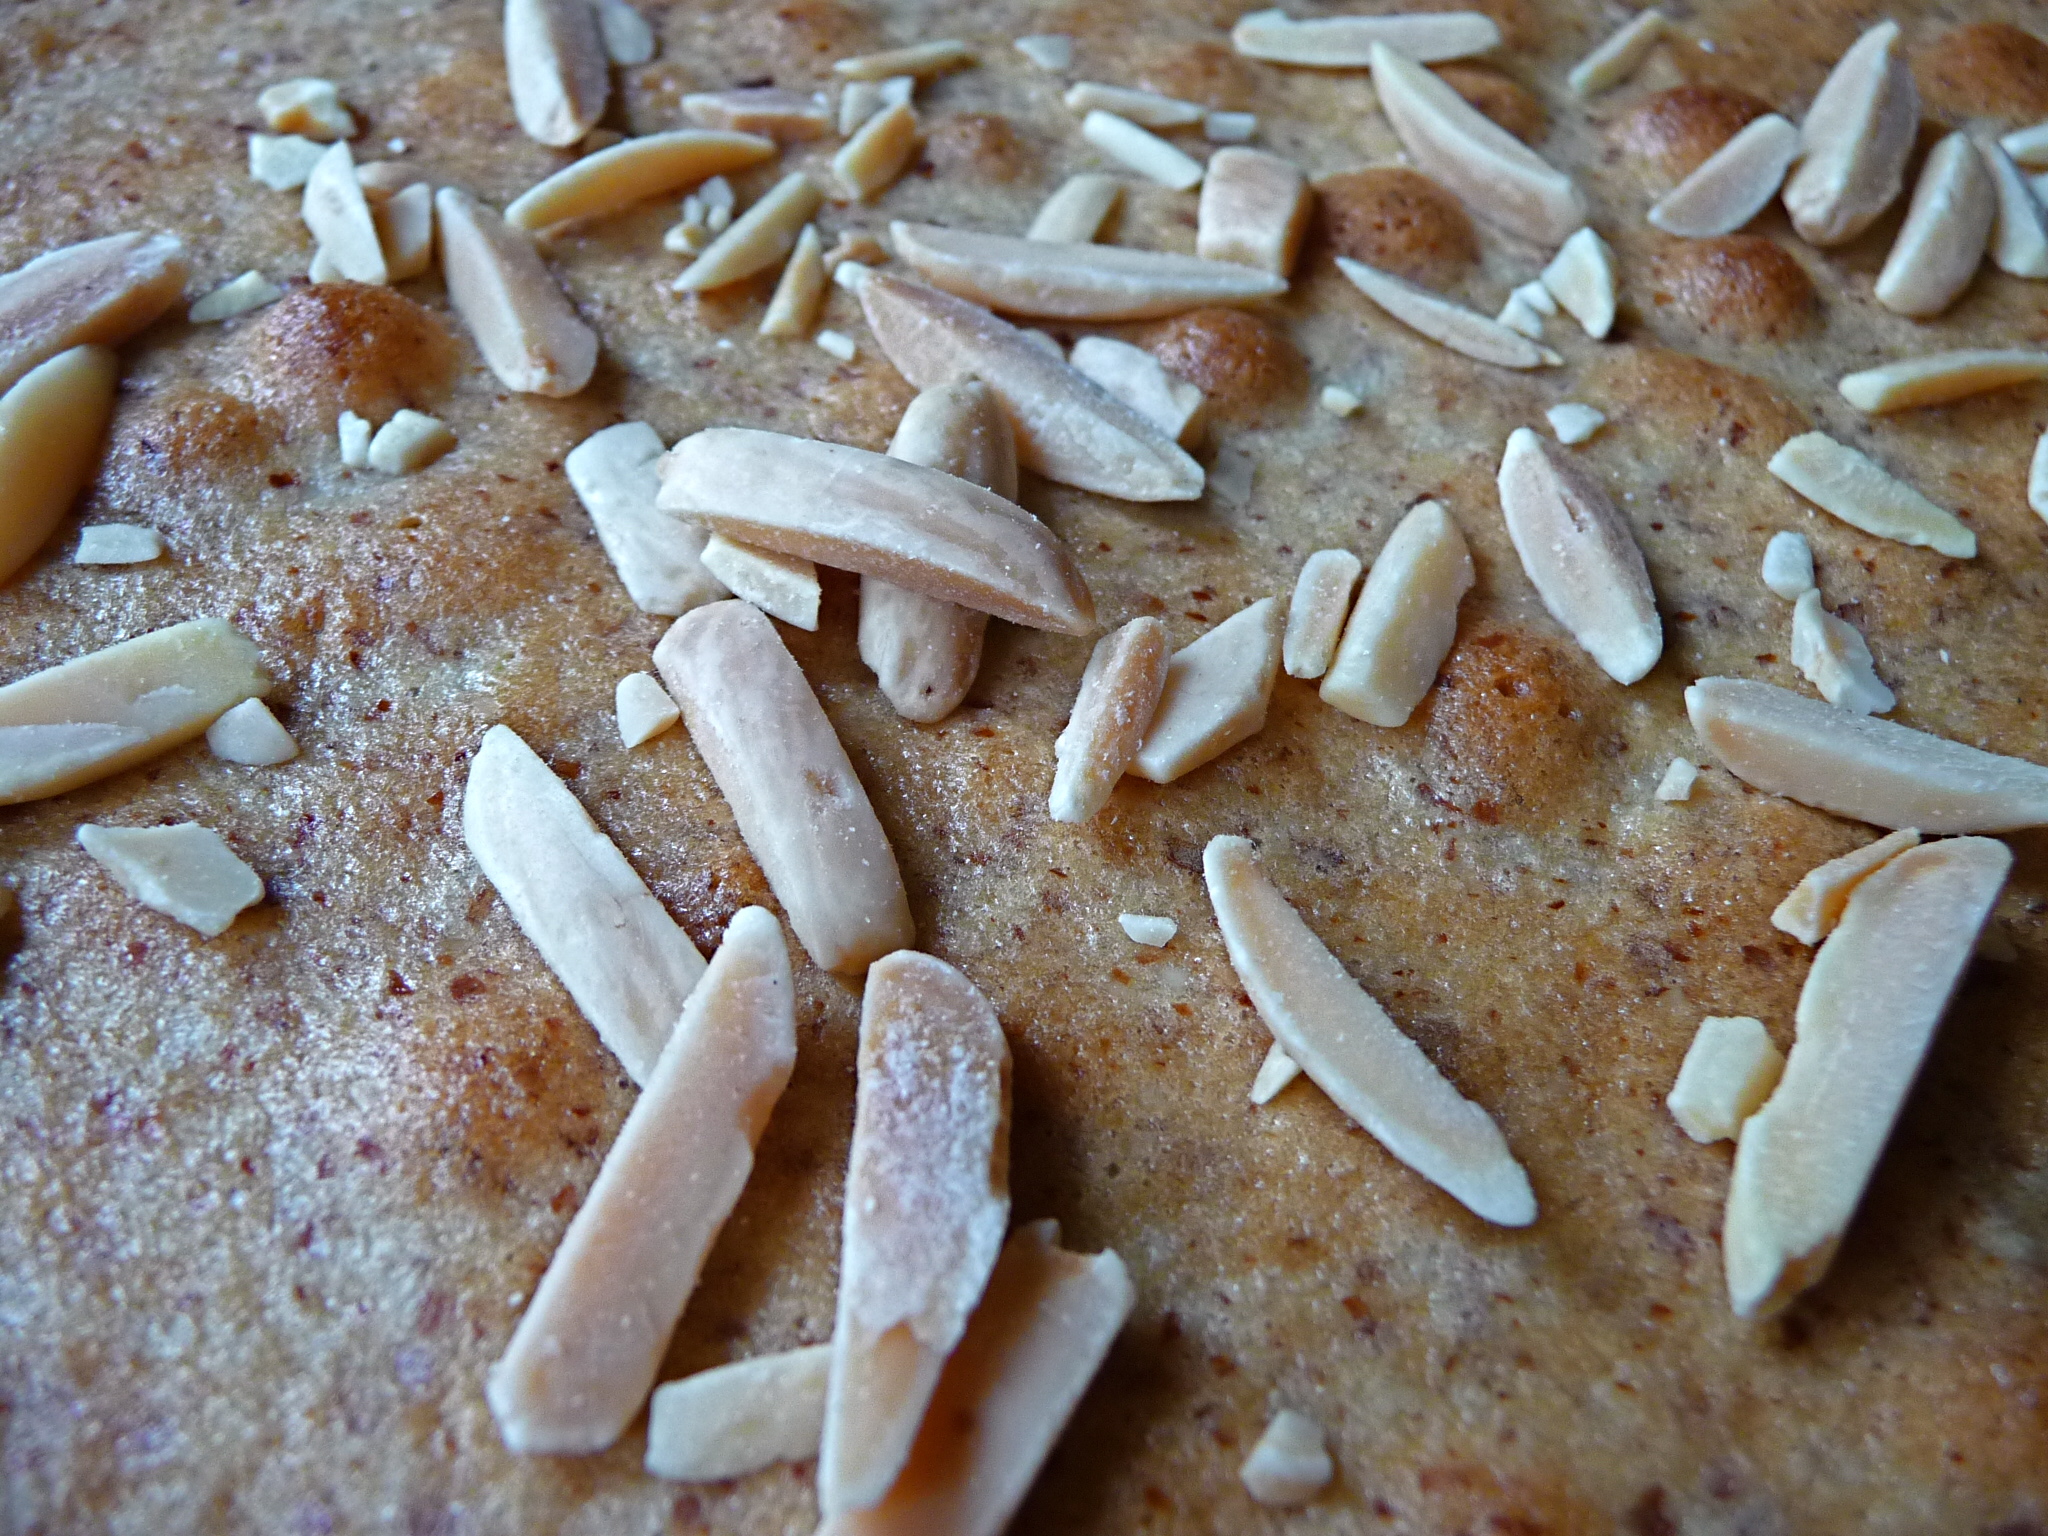
It baked for exactly the length of time the recipe says, which is rare around here. My oven is old and not terribly reliable. I couldn’t find the sliced almonds I know for a fact I have, so I used slivered.

bakewell-tart-1

The tart smelled absolutely stunning while it was baking, and it tasted good too:

Husband: I was a little dismayed by how soft the top was, but once assured it was supposed to be that soft, I actually found it to be enjoyable, and I thought the balance of flavors between the almond and the cherry was great. I really liked the crust too, more than I normally like pie crust.

#1 Son: I would have preferred more fruit flavor. The almond was a little heavy, but I liked the taste.

#2 Son: I liked it. I liked the cherry jam especially. There could have been a bit less frangipane and a bit more jam. The crust was awesome — perfect for a pie crust. I’d definitely eat it again. [Note to new readers: He’ll eat everything again. This is not a picky eater.]

bakewell-tart-3

Hundreds of other Daring Bakers tried this recipe too, so go see what they did with it. And if you want to try it yourself, please do. It’s a perfect summer dessert.

bakewell-tart-4

Bakewell Tart … er … Pudding
Makes one 23cm (9” tart)
Prep time: less than 10 minutes (plus time for the individual elements)
Resting time: 15 minutes
Baking time: 30 minutes
Equipment needed: 23cm (9”) tart pan or pie tin (preferably with ridged edges), rolling pin
One quantity sweet shortcrust pastry (recipe follows)
Bench flour
250ml (1cup (8 US fl. oz)) jam or curd, warmed for spreadability
One quantity frangipane (recipe follows)
One handful blanched, flaked almonds

Assembling the tart:
Place the chilled dough disc on a lightly floured surface. If it’s overly cold, you will need to let it become acclimatised for about 15 minutes before you roll it out. Flour the rolling pin and roll the pastry to 5mm (1/4”) thickness, by rolling in one direction only (start from the centre and roll away from you), and turning the disc a quarter turn after each roll. When the pastry is to the desired size and thickness, transfer it to the tart pan, press in and trim the excess dough. Patch any holes, fissures or tears with trimmed bits. Chill in the freezer for 15 minutes.

Preheat oven to 200C/400F.

Remove shell from freezer, spread as even a layer as you can of jam onto the pastry base. Top with frangipane, spreading to cover the entire surface of the tart. Smooth the top and pop into the oven for 30 minutes. Five minutes before the tart is done, the top will be poofy and brownish. Remove from oven and strew flaked almonds on top and return to the heat for the last five minutes of baking.

The finished tart will have a golden crust and the frangipane will be tanned, poofy and a bit spongy-looking. Remove from the oven and cool on the counter. Serve warm, with crème fraîche, whipped cream or custard sauce if you wish.

When you slice into the tart, the almond paste will be firm, but slightly squidgy and the crust should be crisp but not tough.

Jasmine’s notes:

  • If you cannot have nuts, you can try substituting Victoria sponge for the frangipane. It’s a pretty popular popular cake, so you shouldn’t have any troubles finding one in one of your cookbooks or through a Google search. That said, our dear Natalie at Gluten a Go Go has sourced some recipes and linked to them in the related alt.db thread.
  • You can use whichever jam you wish, but if you choose something with a lot of seeds, such as raspberry or blackberry, you should sieve them out.
  • The jam quantity can be anywhere from 60ml (1/4 cup) to 250ml (1cup), depending upon how “damp” and strongly flavoured your preserves are. I made it with the lesser quantity of home made strawberry jam, while Annemarie made it with the greater quantity of cherry jam; we both had fabulous results. If in doubt, just split the difference and spread 150ml (2/3cup) on the crust.

Annemarie’s notes:

  • The excess shortcrust can be rolled out and cut into cookie-shapes (heck, it’s pretty darned close to a shortbread dough).

Sweet shortcrust pastry

Prep time: 15-20 minutes
Resting time: 30 minutes (minimum)
Equipment needed: bowls, box grater, cling film

225g (8oz) all purpose flour
30g (1oz) sugar
2.5ml (½ tsp) salt
110g (4oz) unsalted butter, cold (frozen is better)
2 (2) egg yolks
2.5ml (½ tsp) almond extract (optional)
15-30ml (1-2 Tbsp) cold water

Sift together flour, sugar and salt. Grate butter into the flour mixture, using the large hole-side of a box grater. Using your finger tips only, and working very quickly, rub the fat into the flour until the mixture resembles bread crumbs. Set aside.

Lightly beat the egg yolks with the almond extract (if using) and quickly mix into the flour mixture. Keep mixing while dribbling in the water, only adding enough to form a cohesive and slightly sticky dough.
Form the dough into a disk, wrap in cling and refrigerate for at least 30 minutes

Jasmine’s notes:

  • I make this using vanilla salt and vanilla sugar.
  • If you wish, you can substitute the seeds of one vanilla bean, one teaspoon of vanilla paste or one teaspoon of vanilla extract for the almond extract

Frangipane

Prep time: 10-15 minutes
Equipment needed: bowls, hand mixer, rubber spatula

125g (4.5oz) unsalted butter, softened
125g (4.5oz) icing sugar
3 (3) eggs
2.5ml (½ tsp) almond extract
125g (4.5oz) ground almonds
30g (1oz) all purpose flour

Cream butter and sugar together for about a minute or until the mixture is primrose in colour and very fluffy. Scrape down the side of the bowl and add the eggs, one at a time, beating well after each addition. The batter may appear to curdle. In the words of Douglas Adams: Don’t panic. Really. It’ll be fine. After all three are in, pour in the almond extract and mix for about another 30 seconds and scrape down the sides again. With the beaters on, spoon in the ground nuts and the flour. Mix well. The mixture will be soft, keep its slightly curdled look (mostly from the almonds) and retain its pallid yellow colour.

Annemarie’s notes:

  • Add another five minutes or more if you’re grinding your own almonds or if you’re mixing by hand. (Heaven help you.)
Categories
baking boys Daring Bakers meat recipes

Daring Bakers: Strudel, With Not an Apple in Sight

The May Daring Bakers’ challenge was hosted by Linda of make life sweeter! and Courtney of Coco Cooks. They chose Apple Strudel from the recipe book Kaffeehaus: Exquisite Desserts from the Classic Cafés of Vienna, Budapest and Prague by Rick Rodgers.

I wasn’t going to do apple, was I?

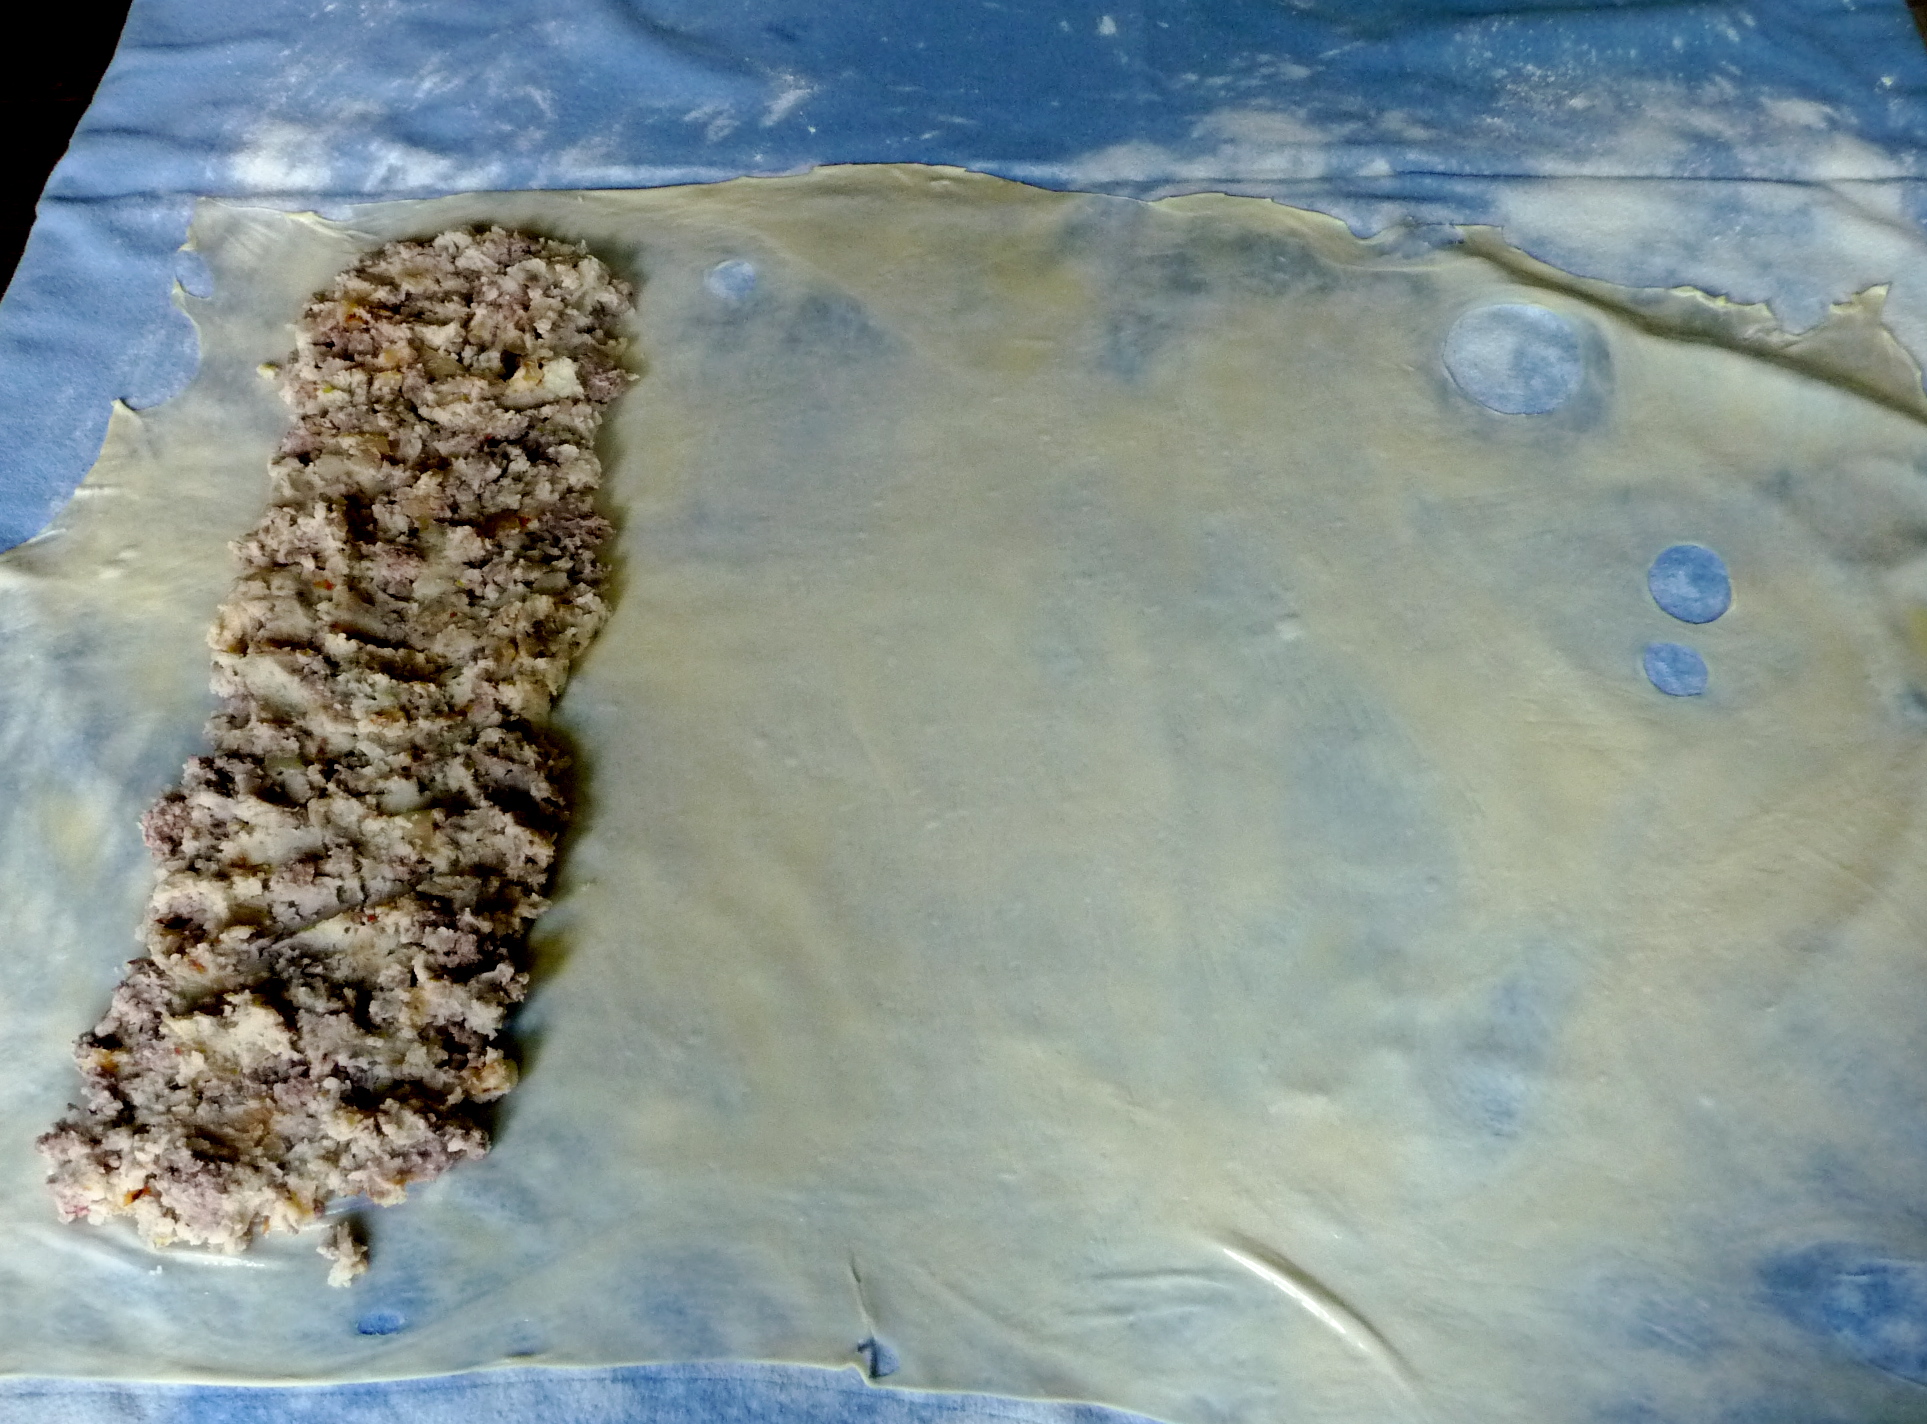
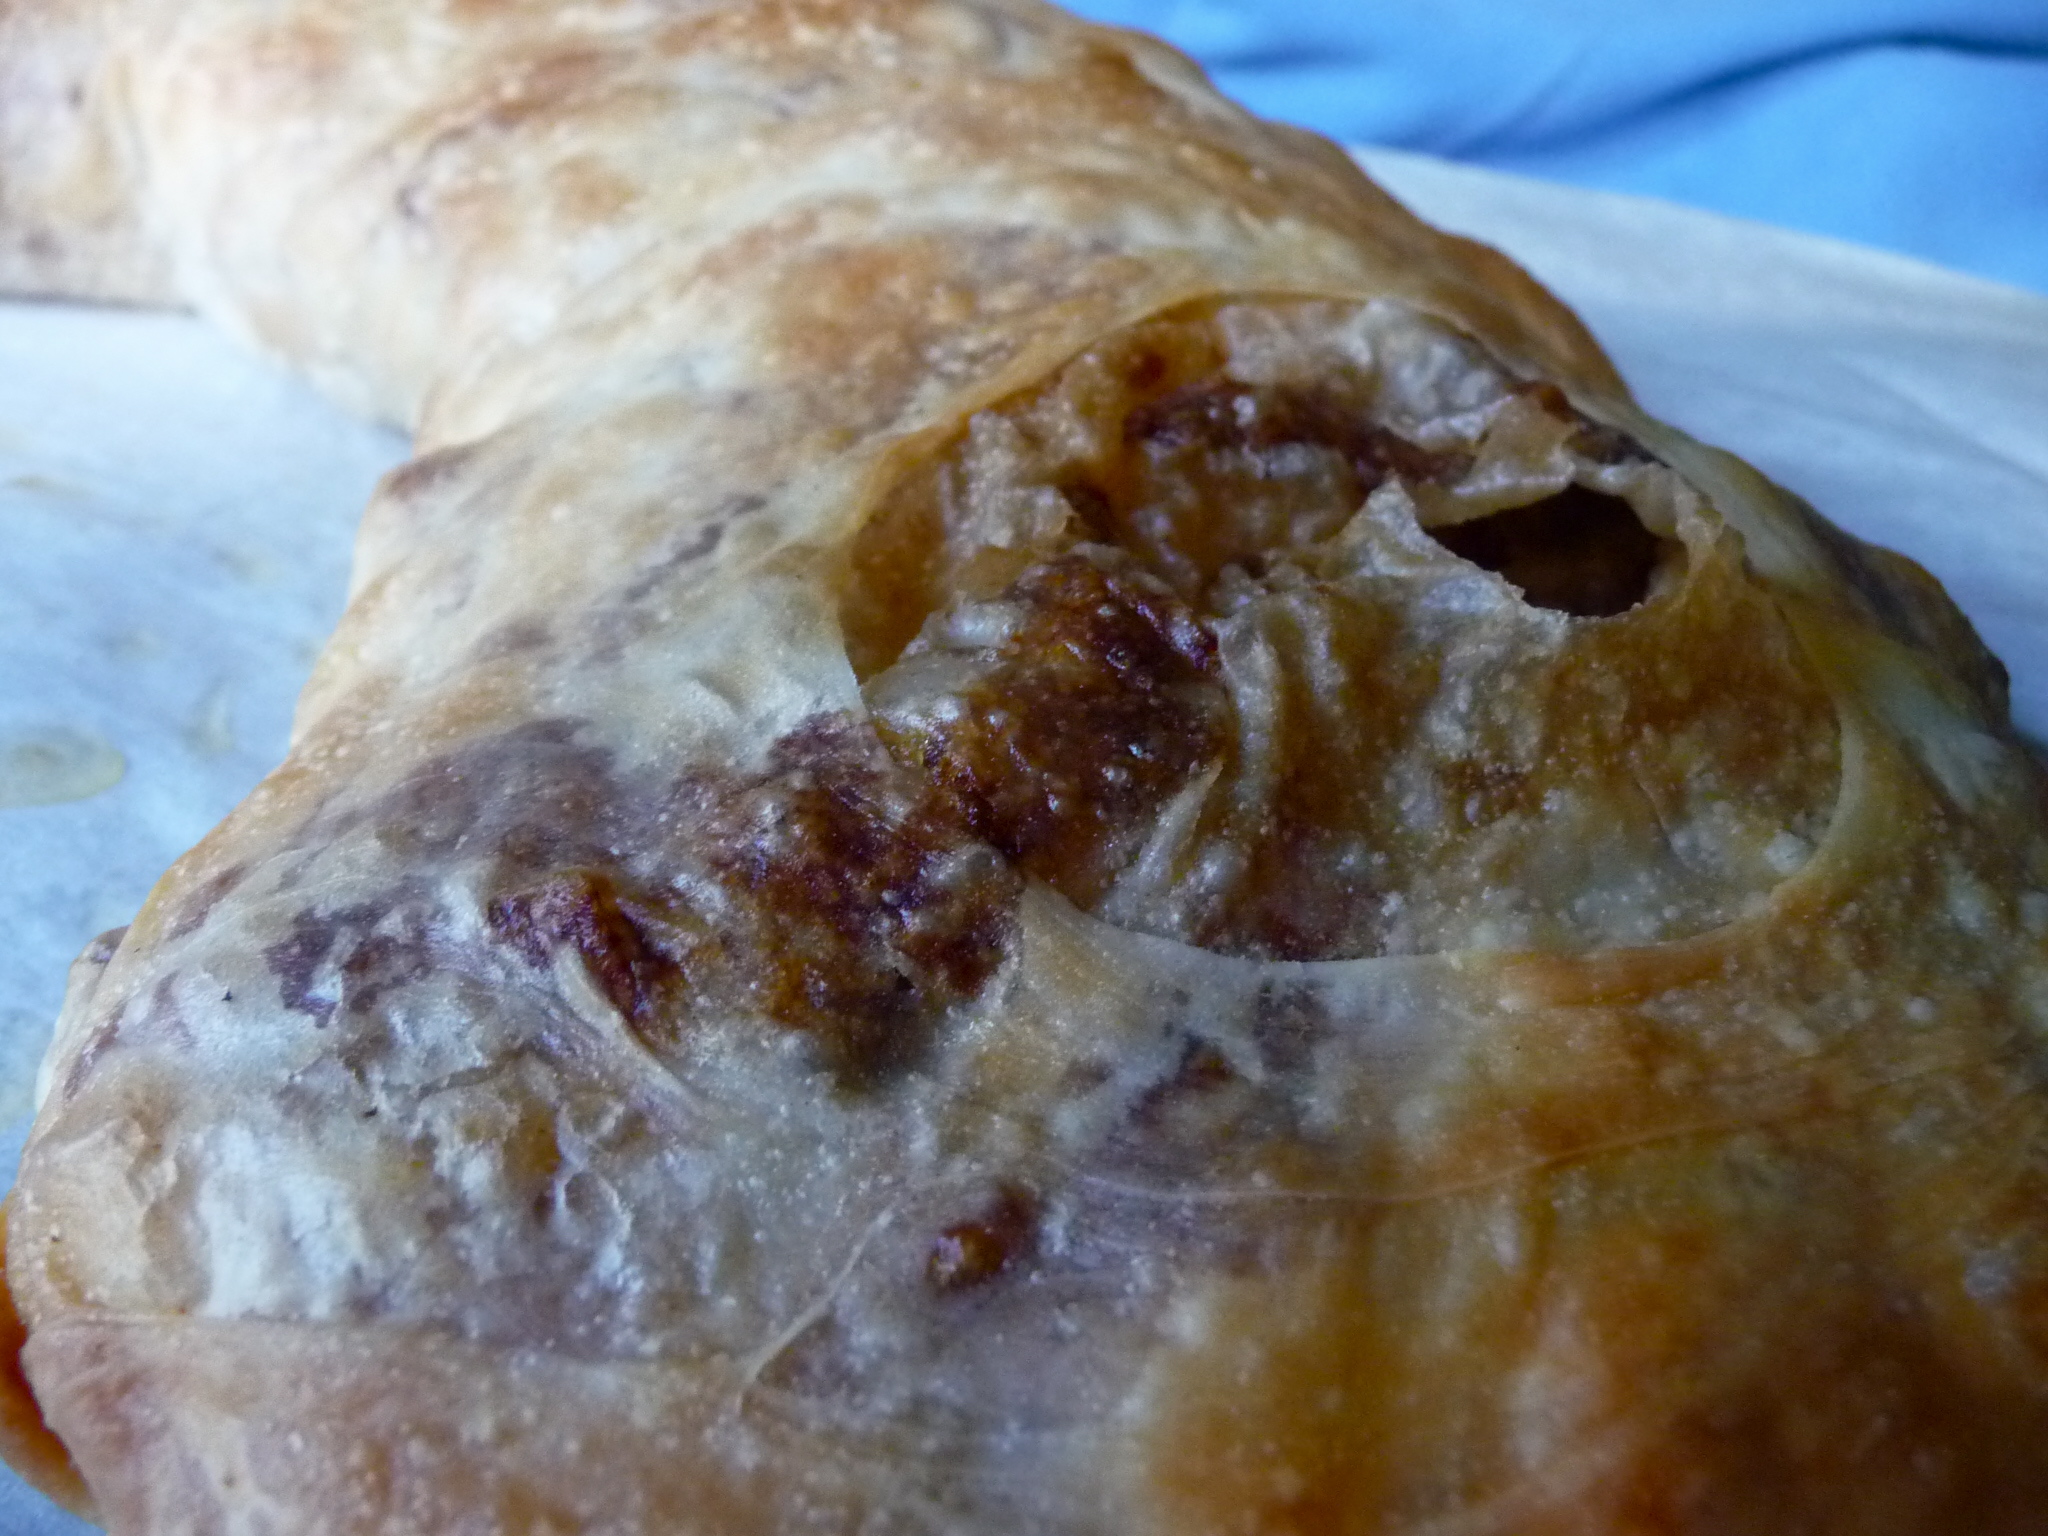
I thought it was about time #2 Son got to take part in one of these posts, so I let him make the filling. He decided on a mix of ground lamb, mashed potatoes, and onions, which was odd because he has always been a bit uncomfortable about lamb in the past. We went to the farmers market together to get the ingredients, but he did the rest alone. He made the mashed potatoes. He browned the lamb. He chopped and sautéed the onions. It’s so nice having kids who can cook.

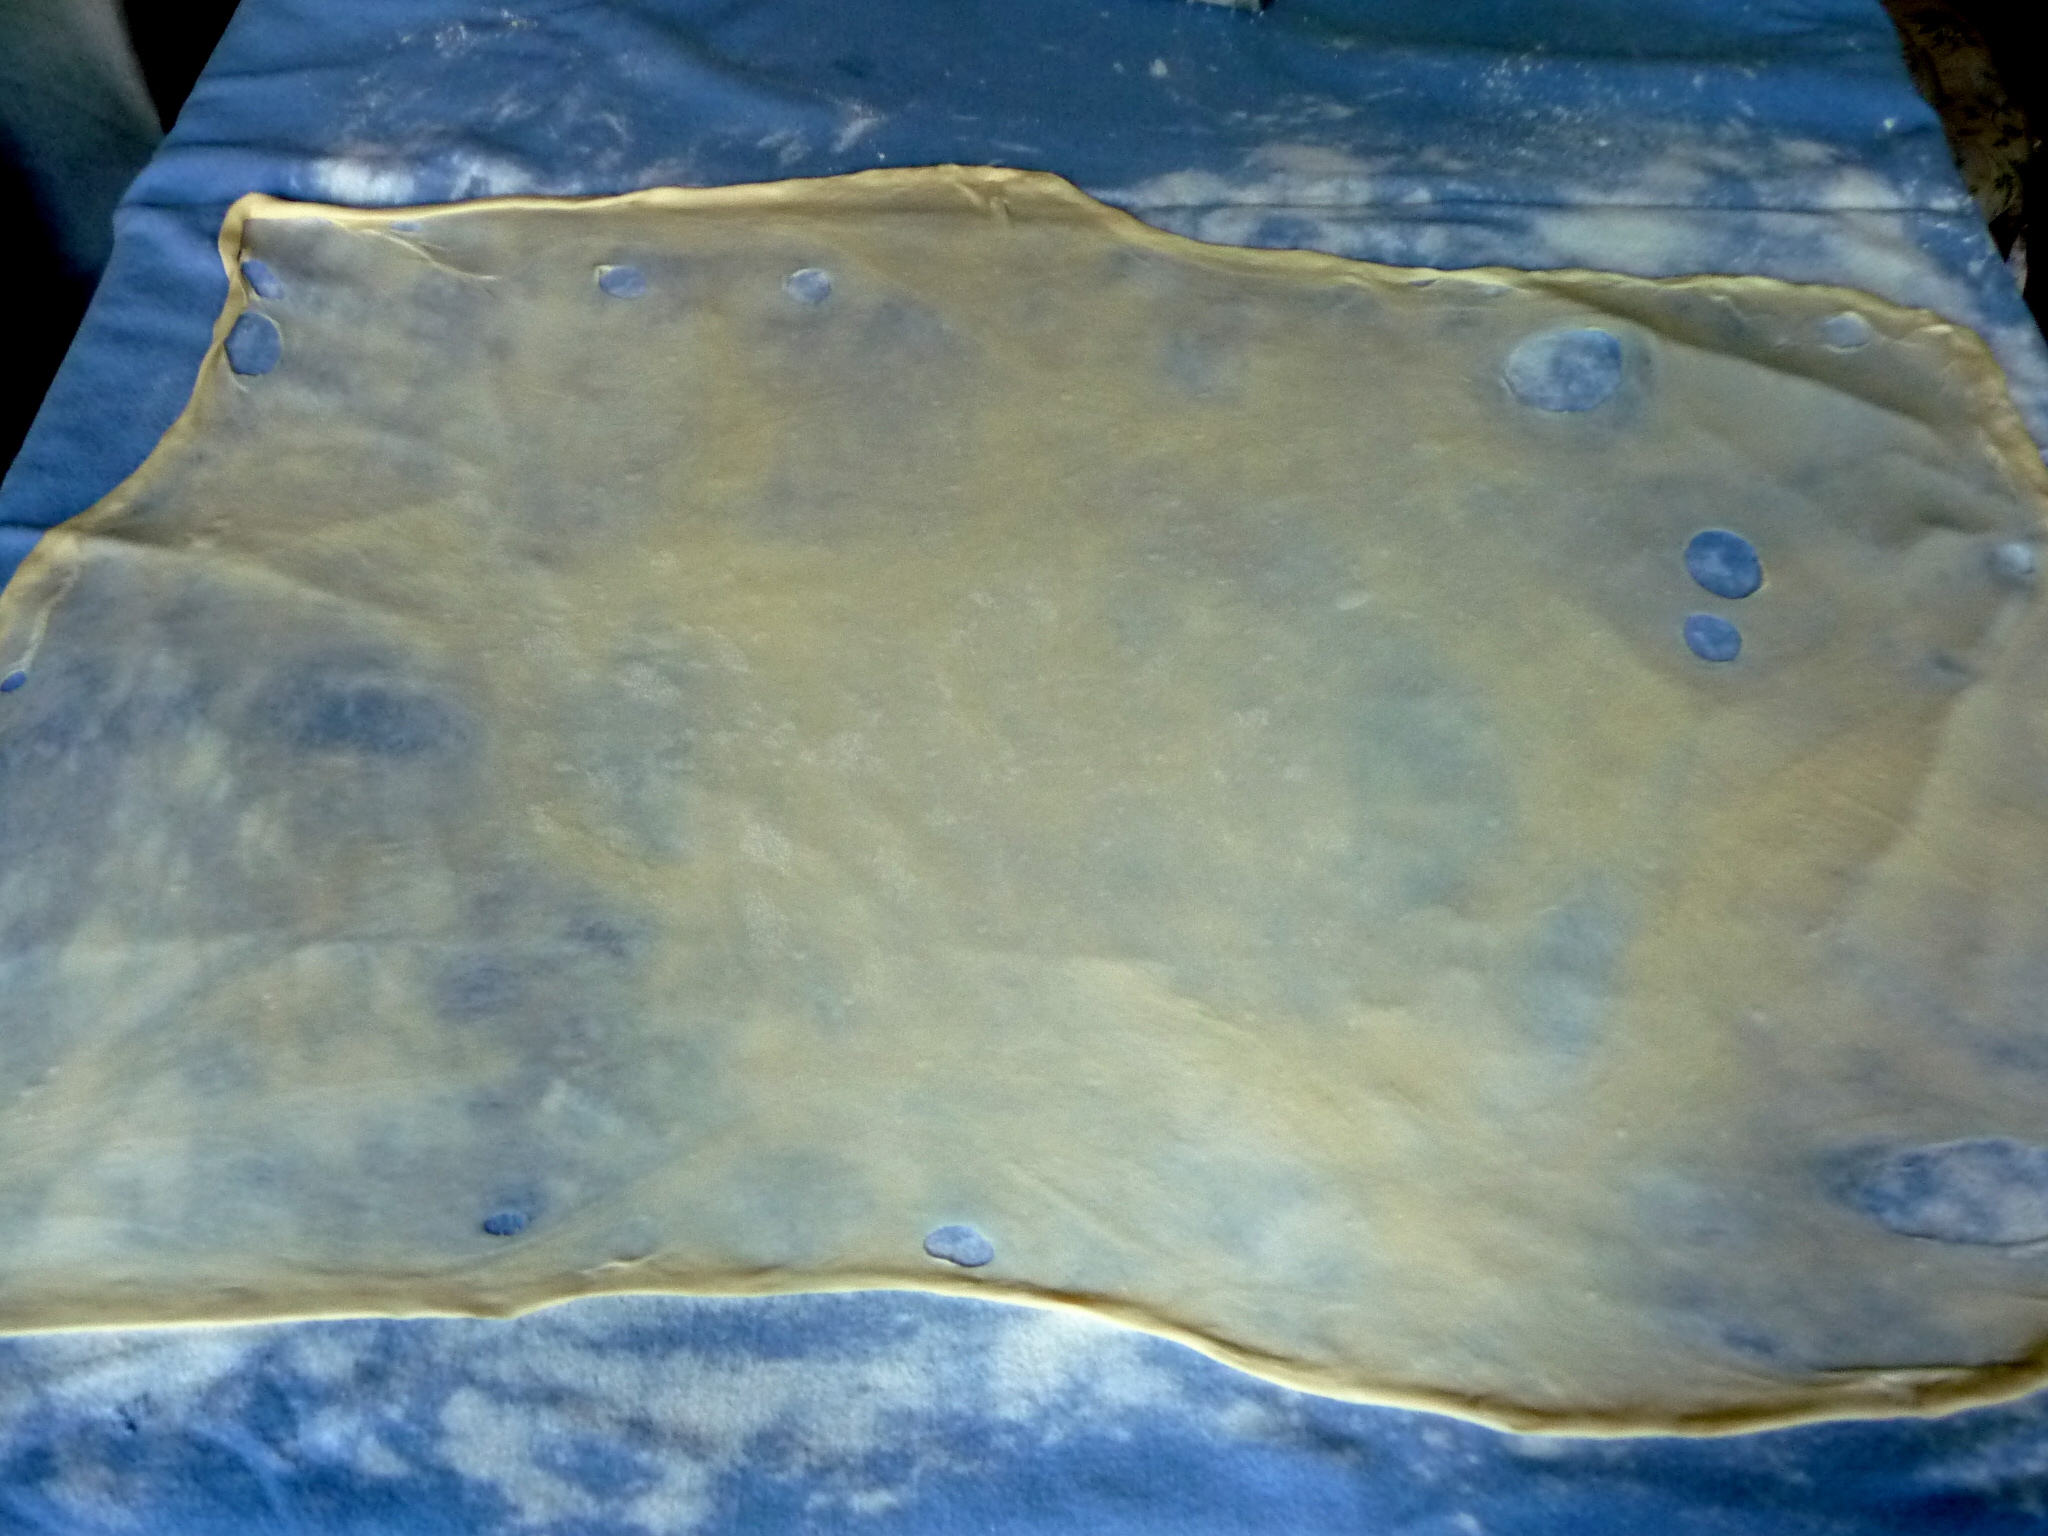
I made the dough, and it was much easier than I anticipated. I hate rolling out dough (as I may have mentioned once or a hundred times before), and #1 Son is away for the weekend, so I couldn’t even push it off on him. And this dough has to be stretched tissue-thin, to about 2 feet by 3 feet. Feet! Directly on a tablecloth!

strudel1

strudel2

The dough was just a simple bread dough, sans yeast, and after resting for 90 minutes it was silky smooth and handled like a dream. Following the hostesses’ advice, I made a double batch, and it’s a good thing I did: My first attempt wasn’t quite as successful as I’d hoped. I crumpled it up and started again, and I did much better the second time. There were a few holes, but it didn’t matter.

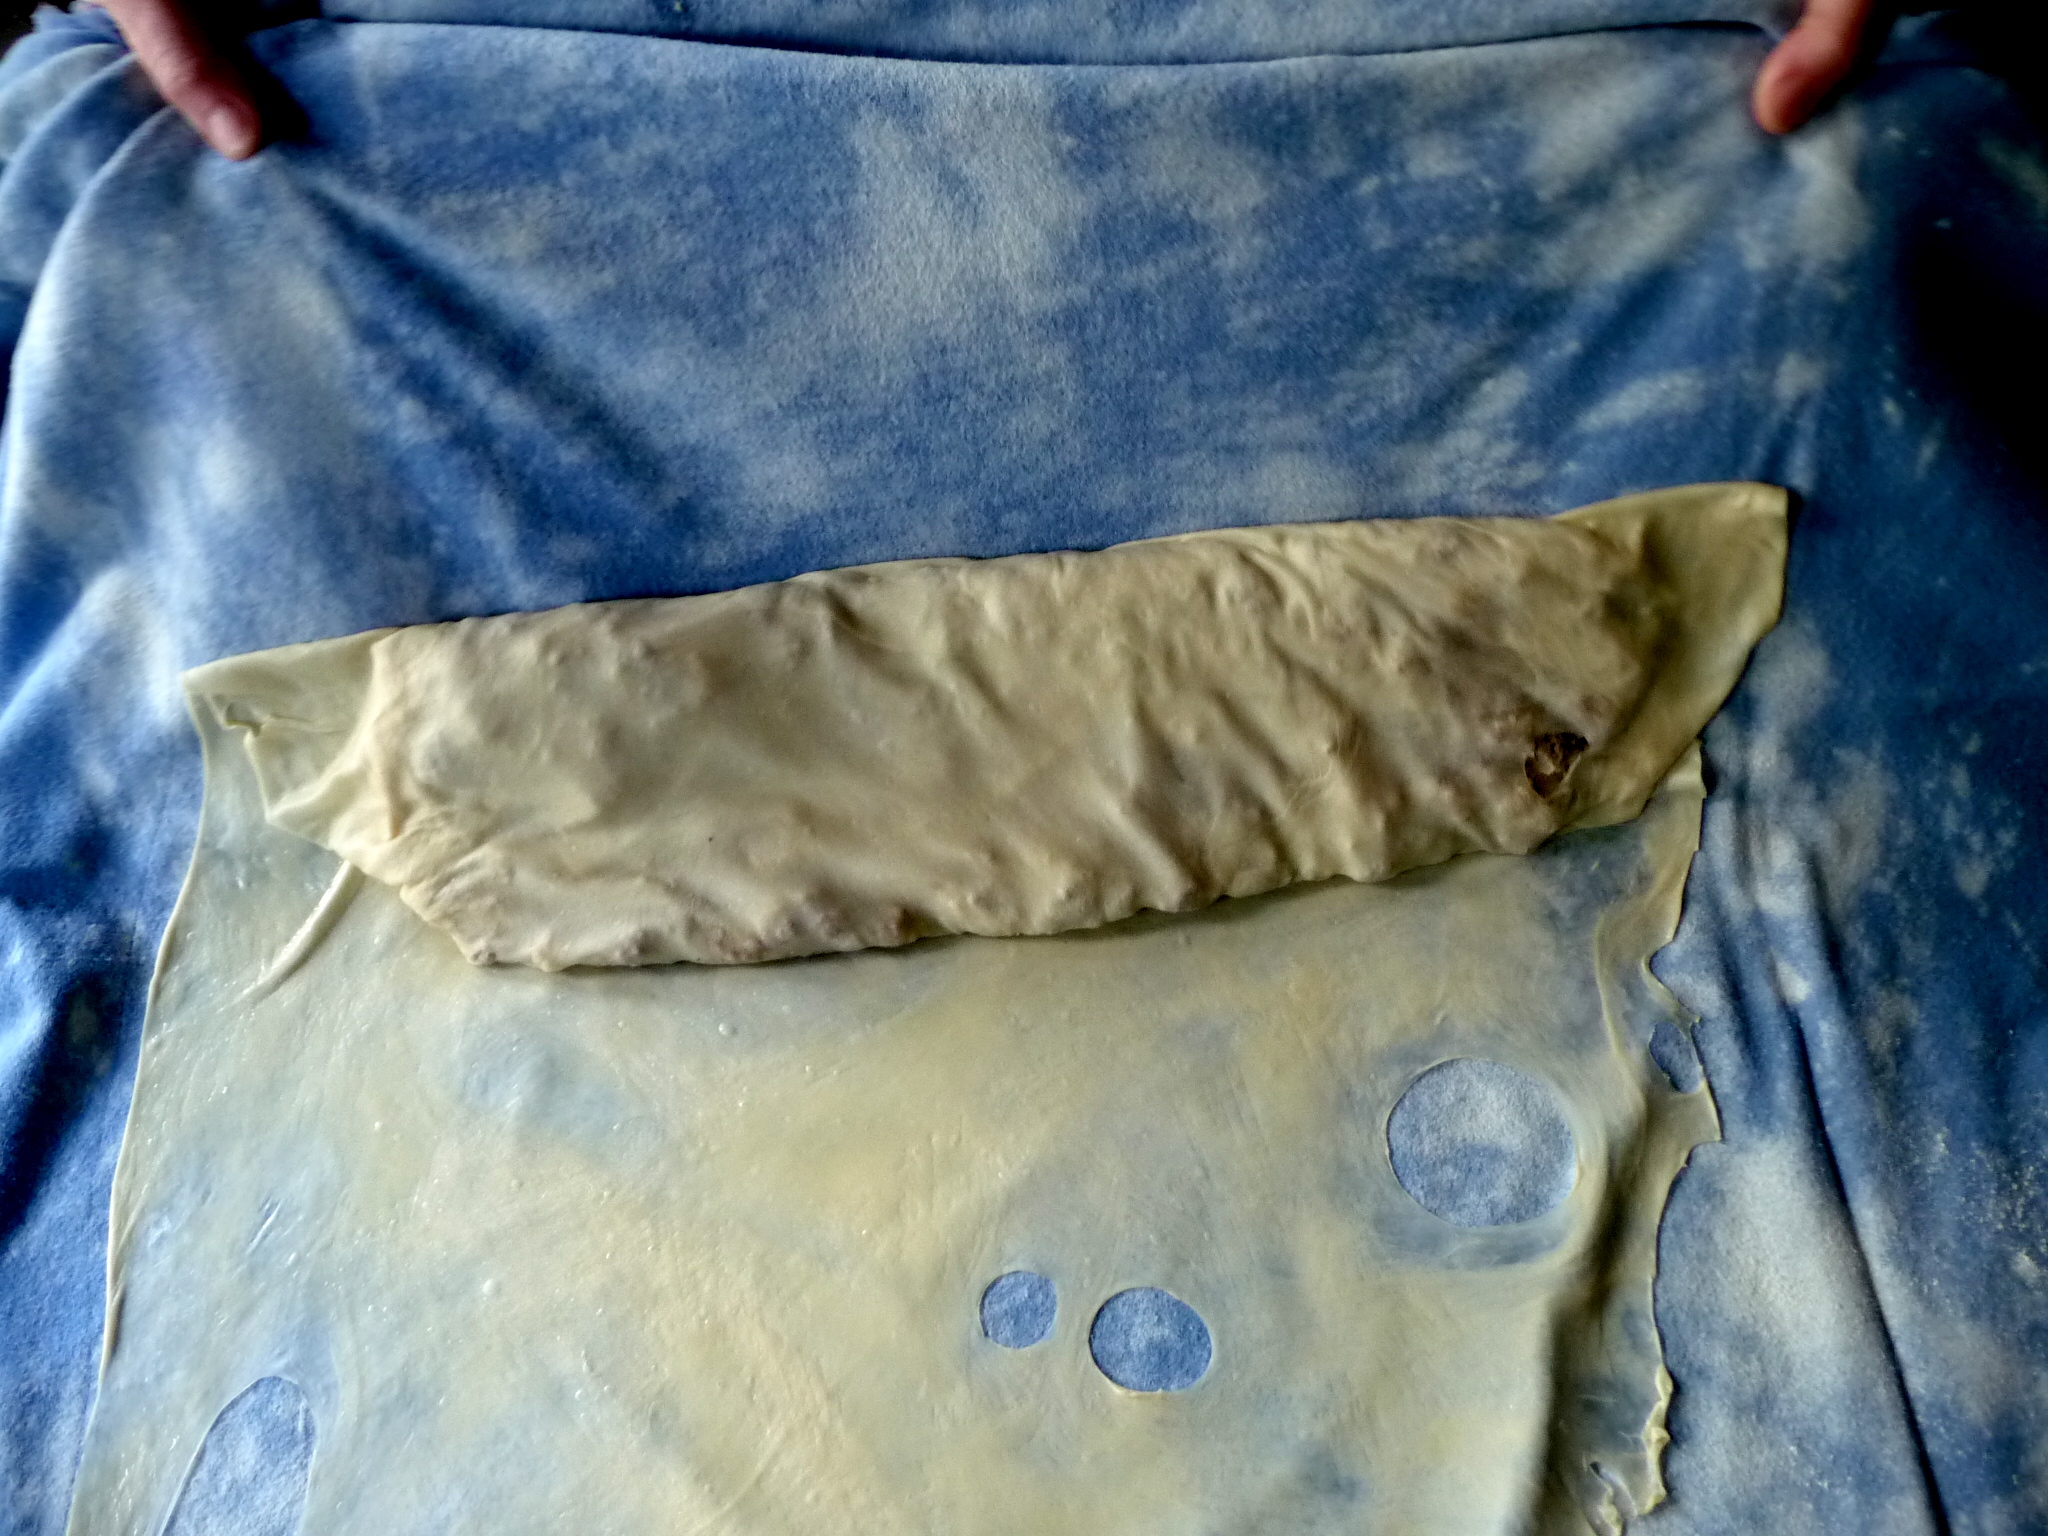
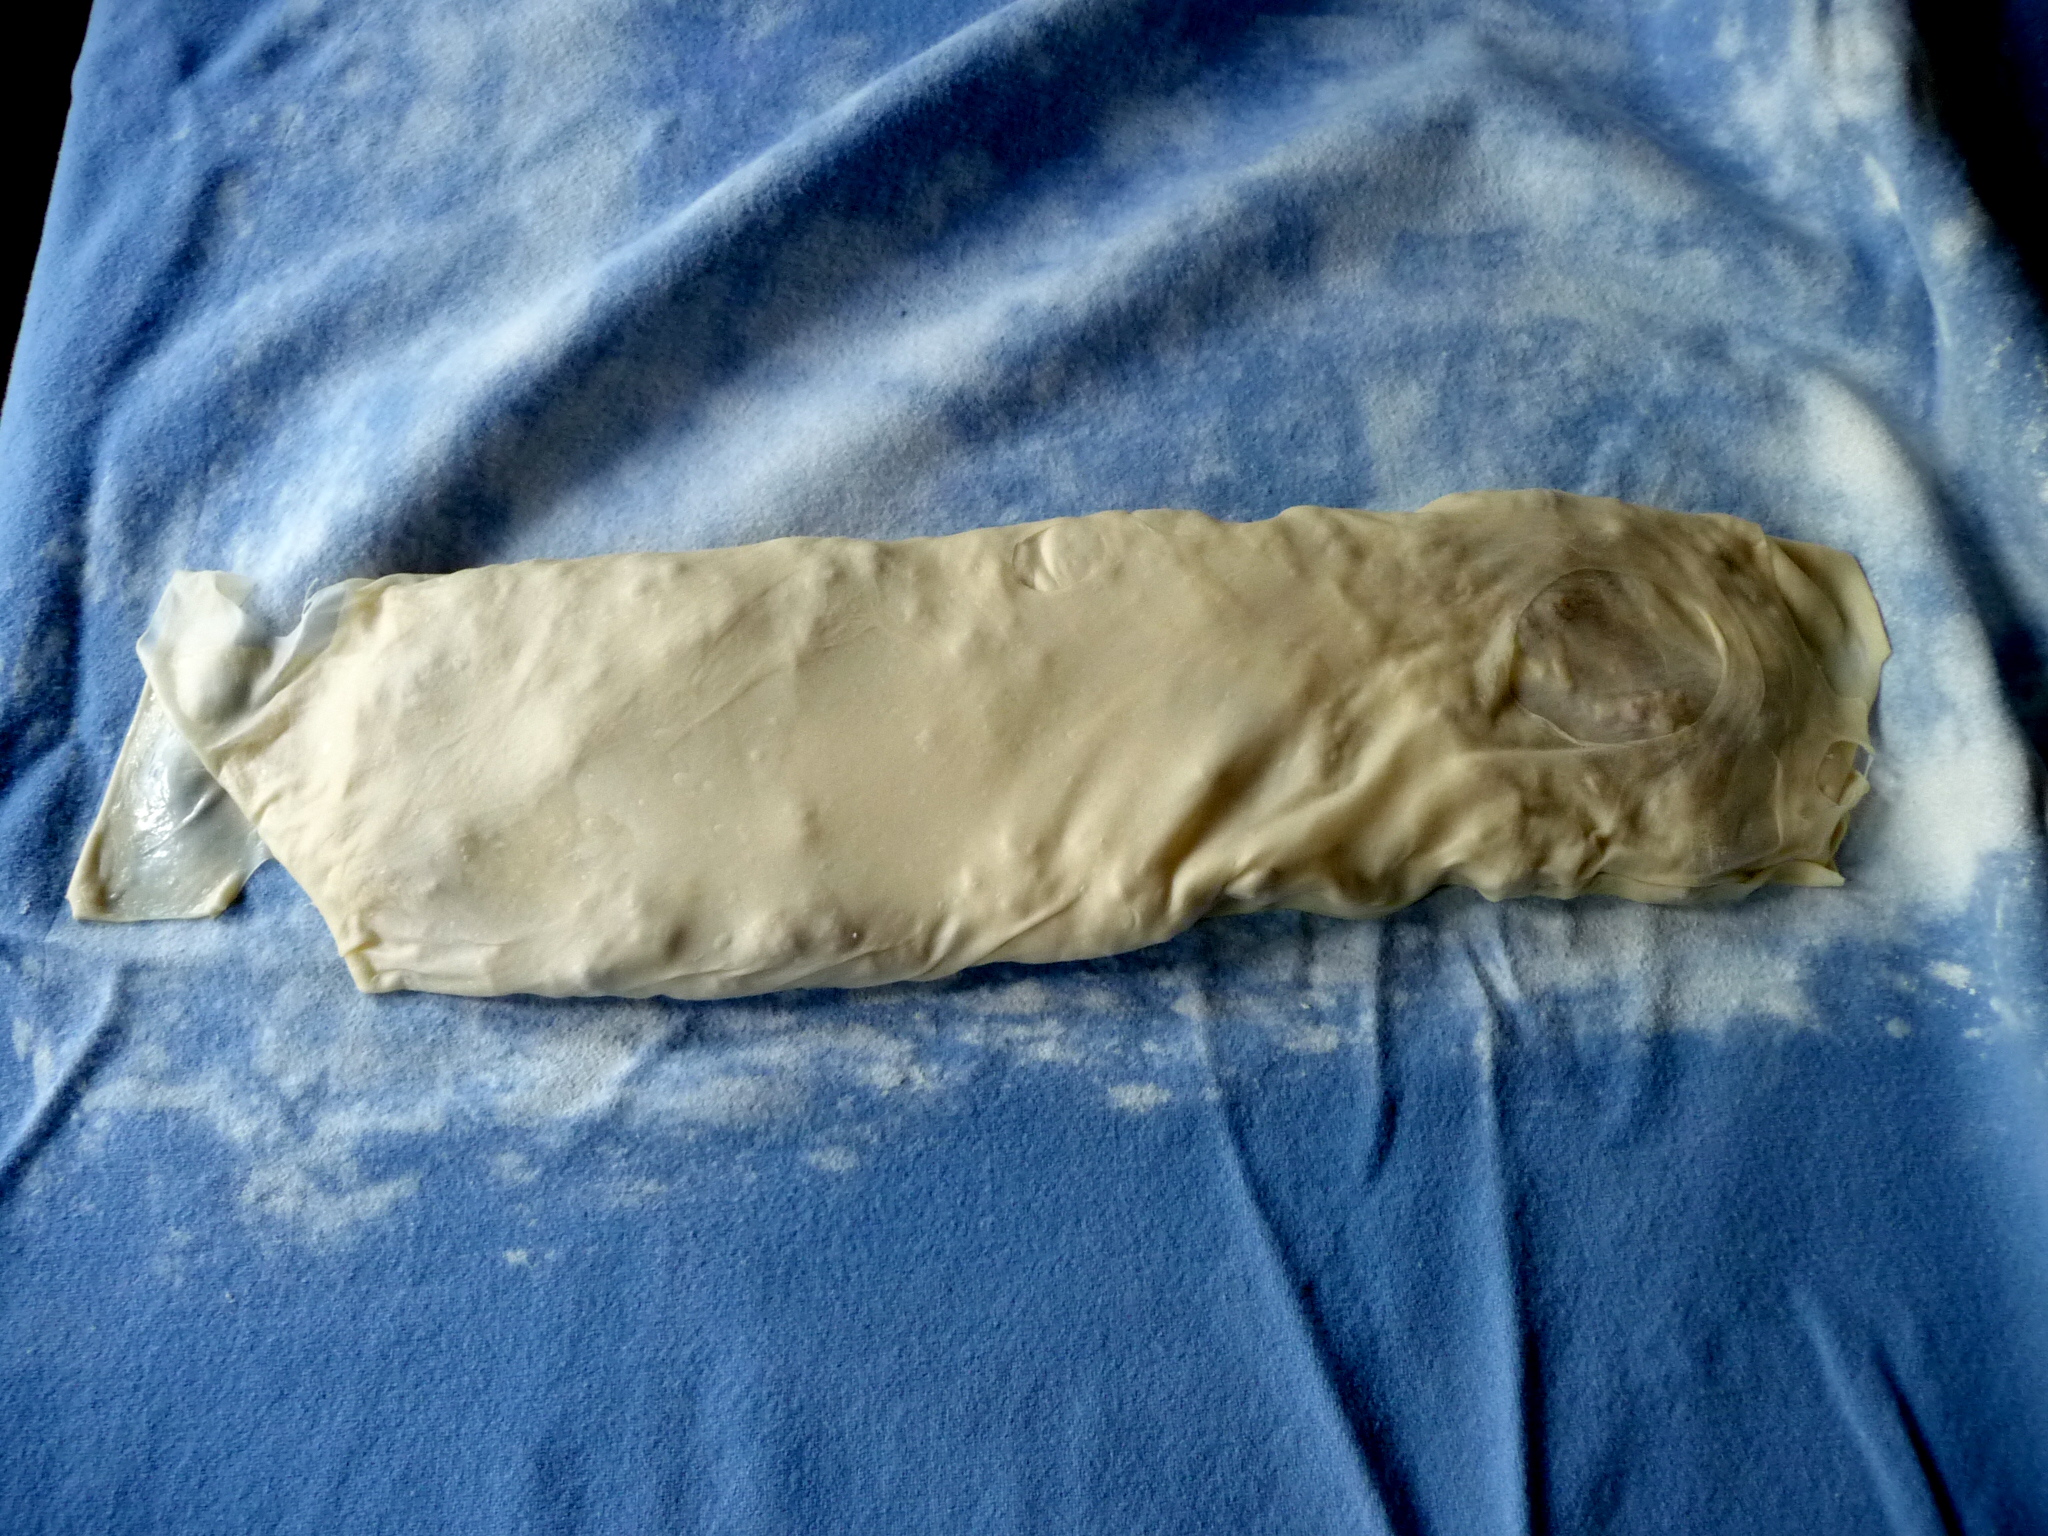
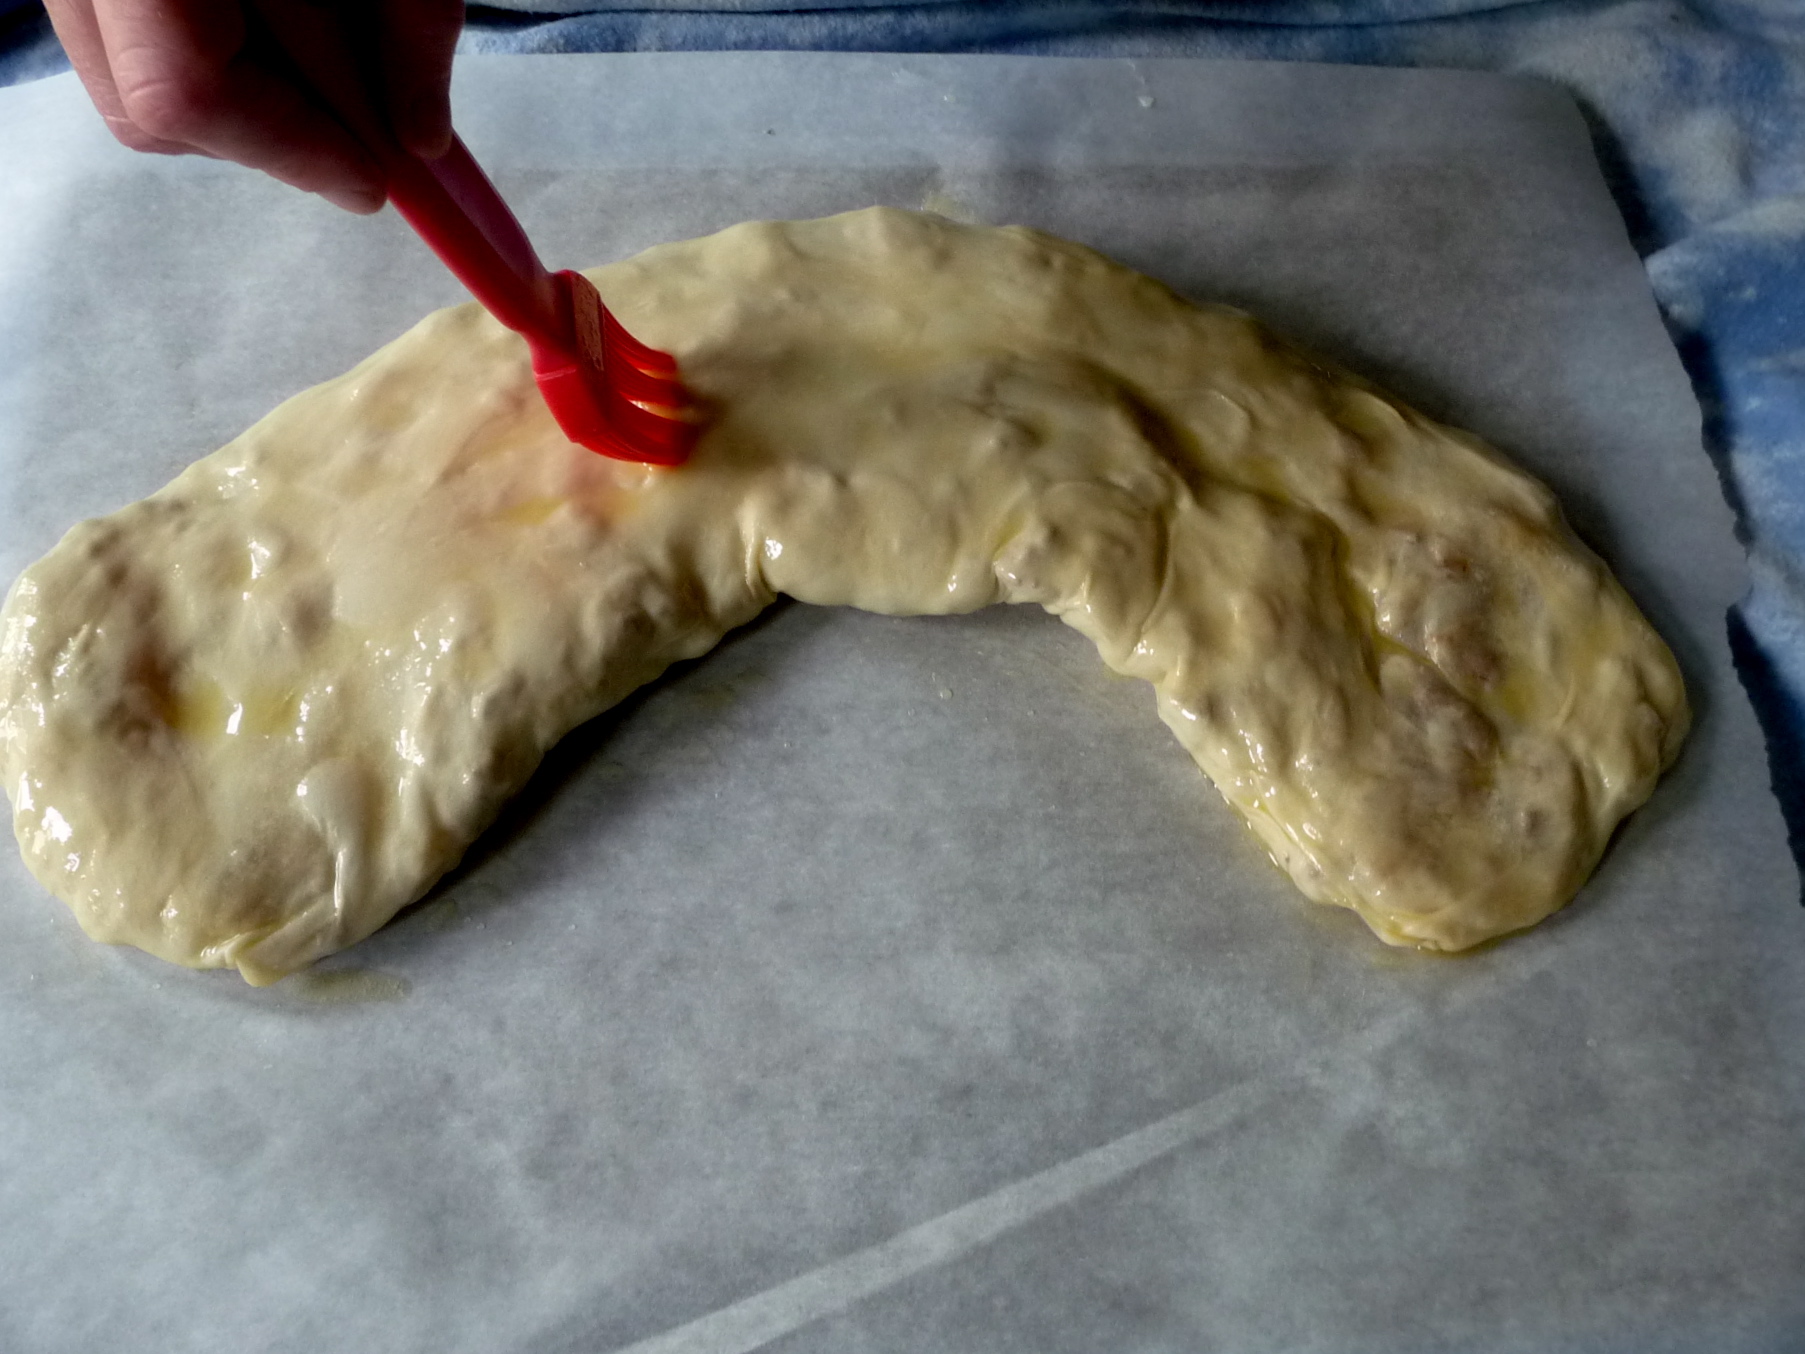
Then I brushed the dough with butter and added #2 Son’s filling (in the size and shape called for in the recipe), then rolled it up. It was so cool — it worked exactly as it was supposed to! That so rarely happens in my kitchen (or, in this case, in my dining room). The dough didn’t stick to the tablecloth even a little. Brushed it with butter again.

strudel3

strudel5

strudel6

strudel8

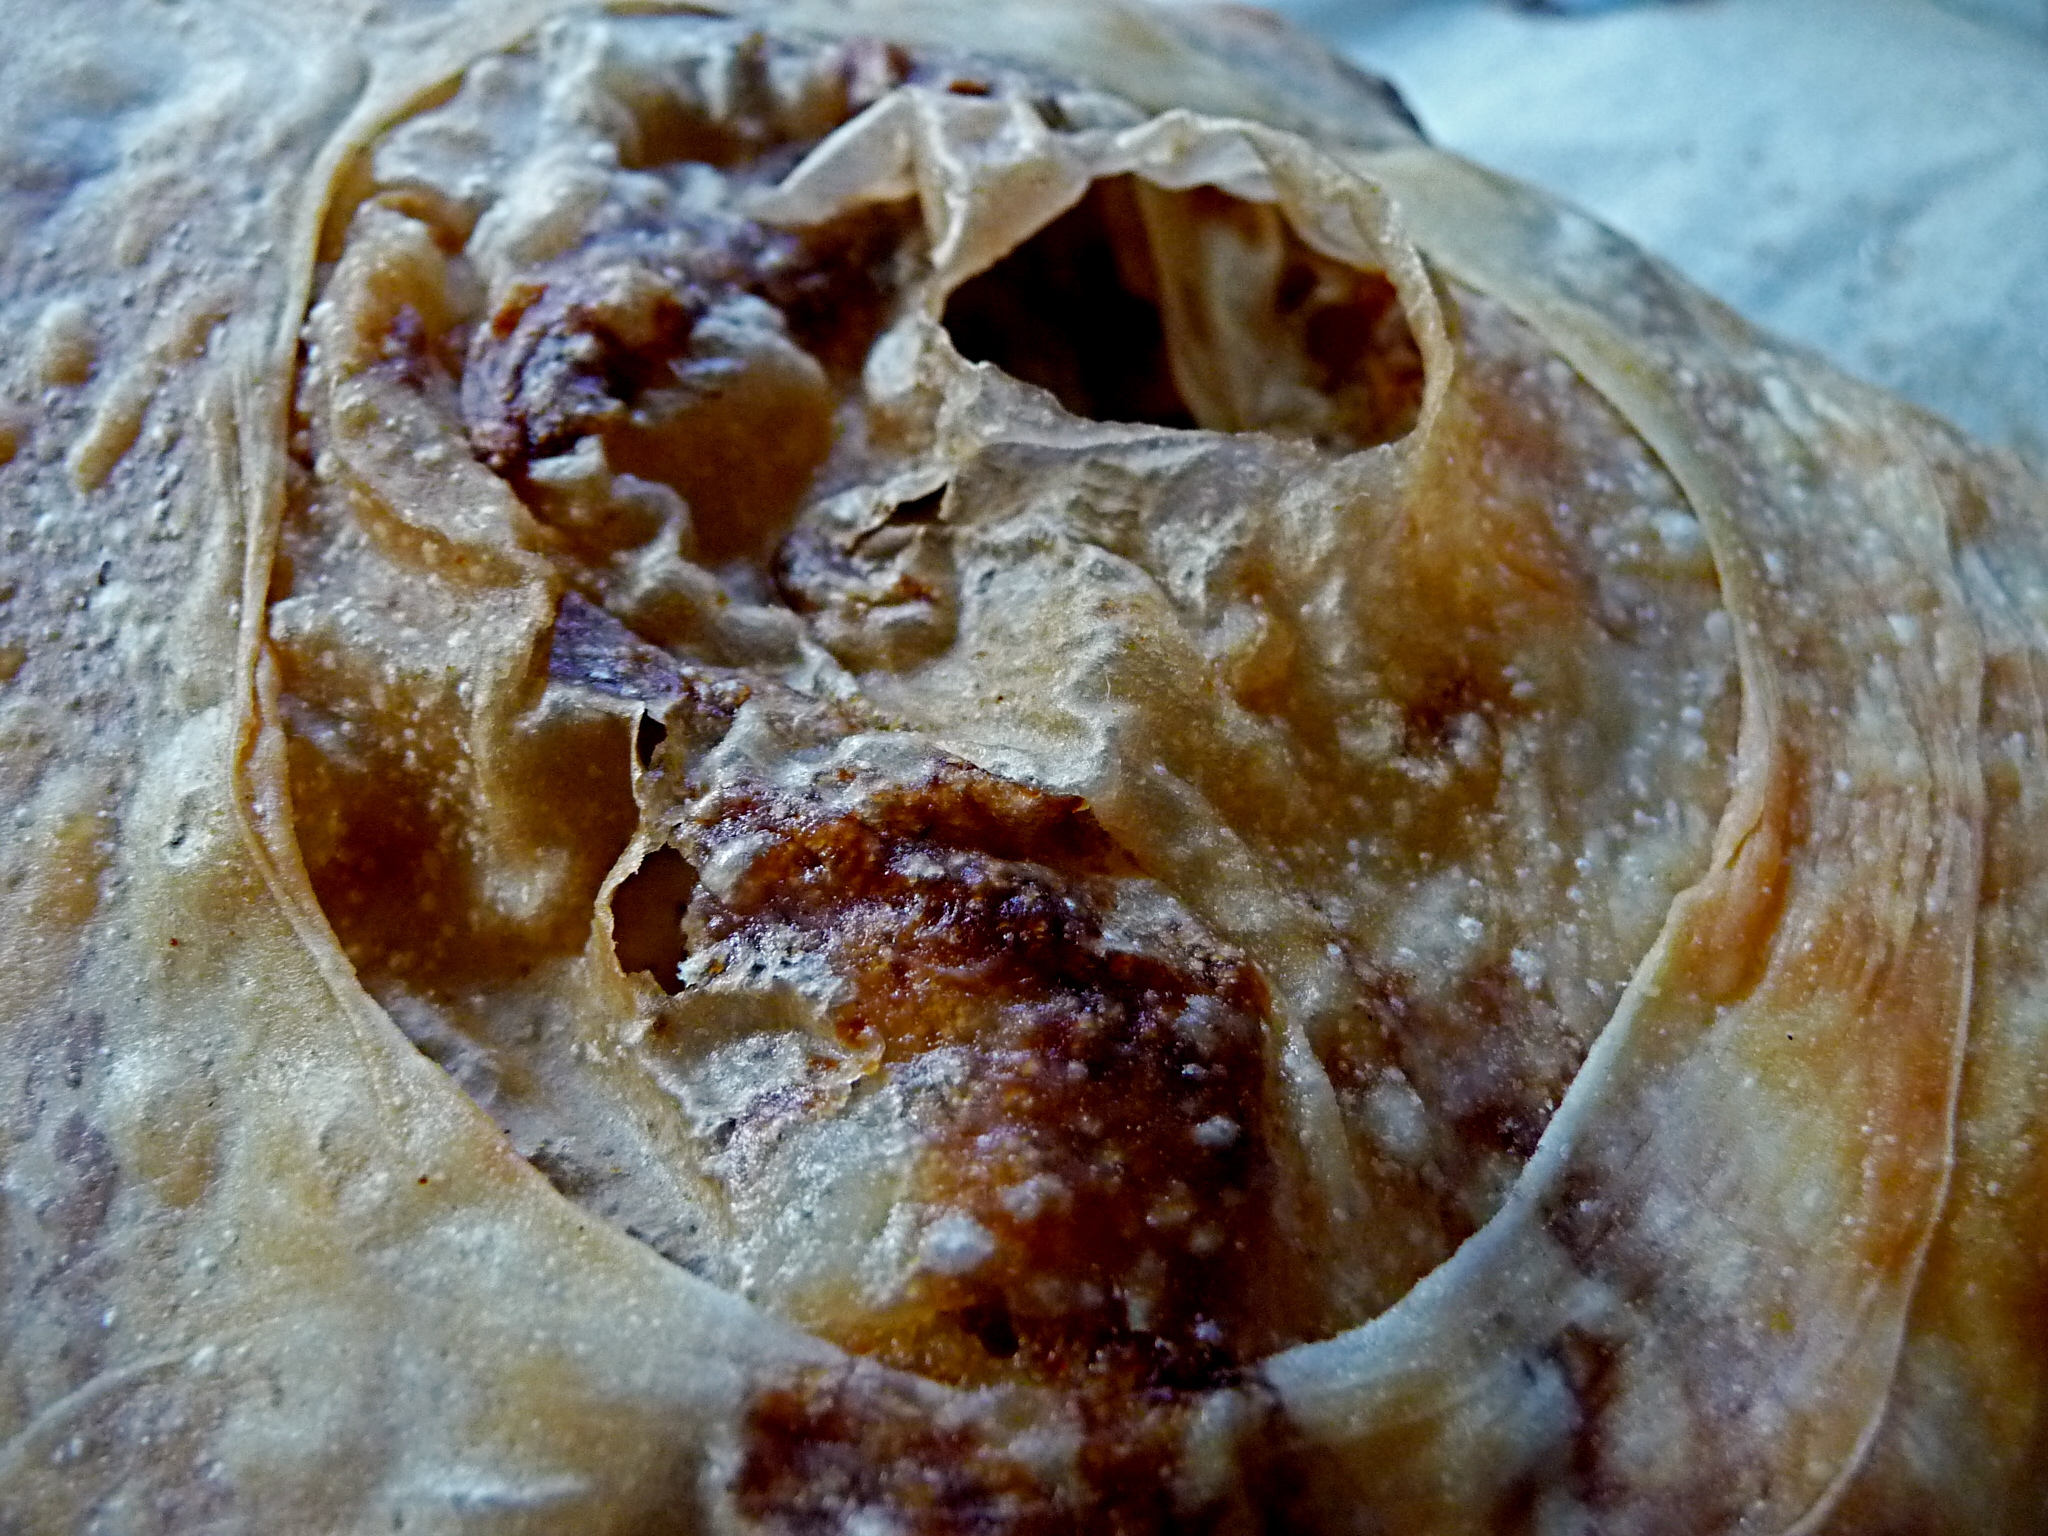
Baked it for a bit longer than the recipe said, about 35 minutes. Did not wait the specified 30 minutes before cutting, because after all, that was for apple filling. Should have waited a bit longer. Very hot.

strudel9

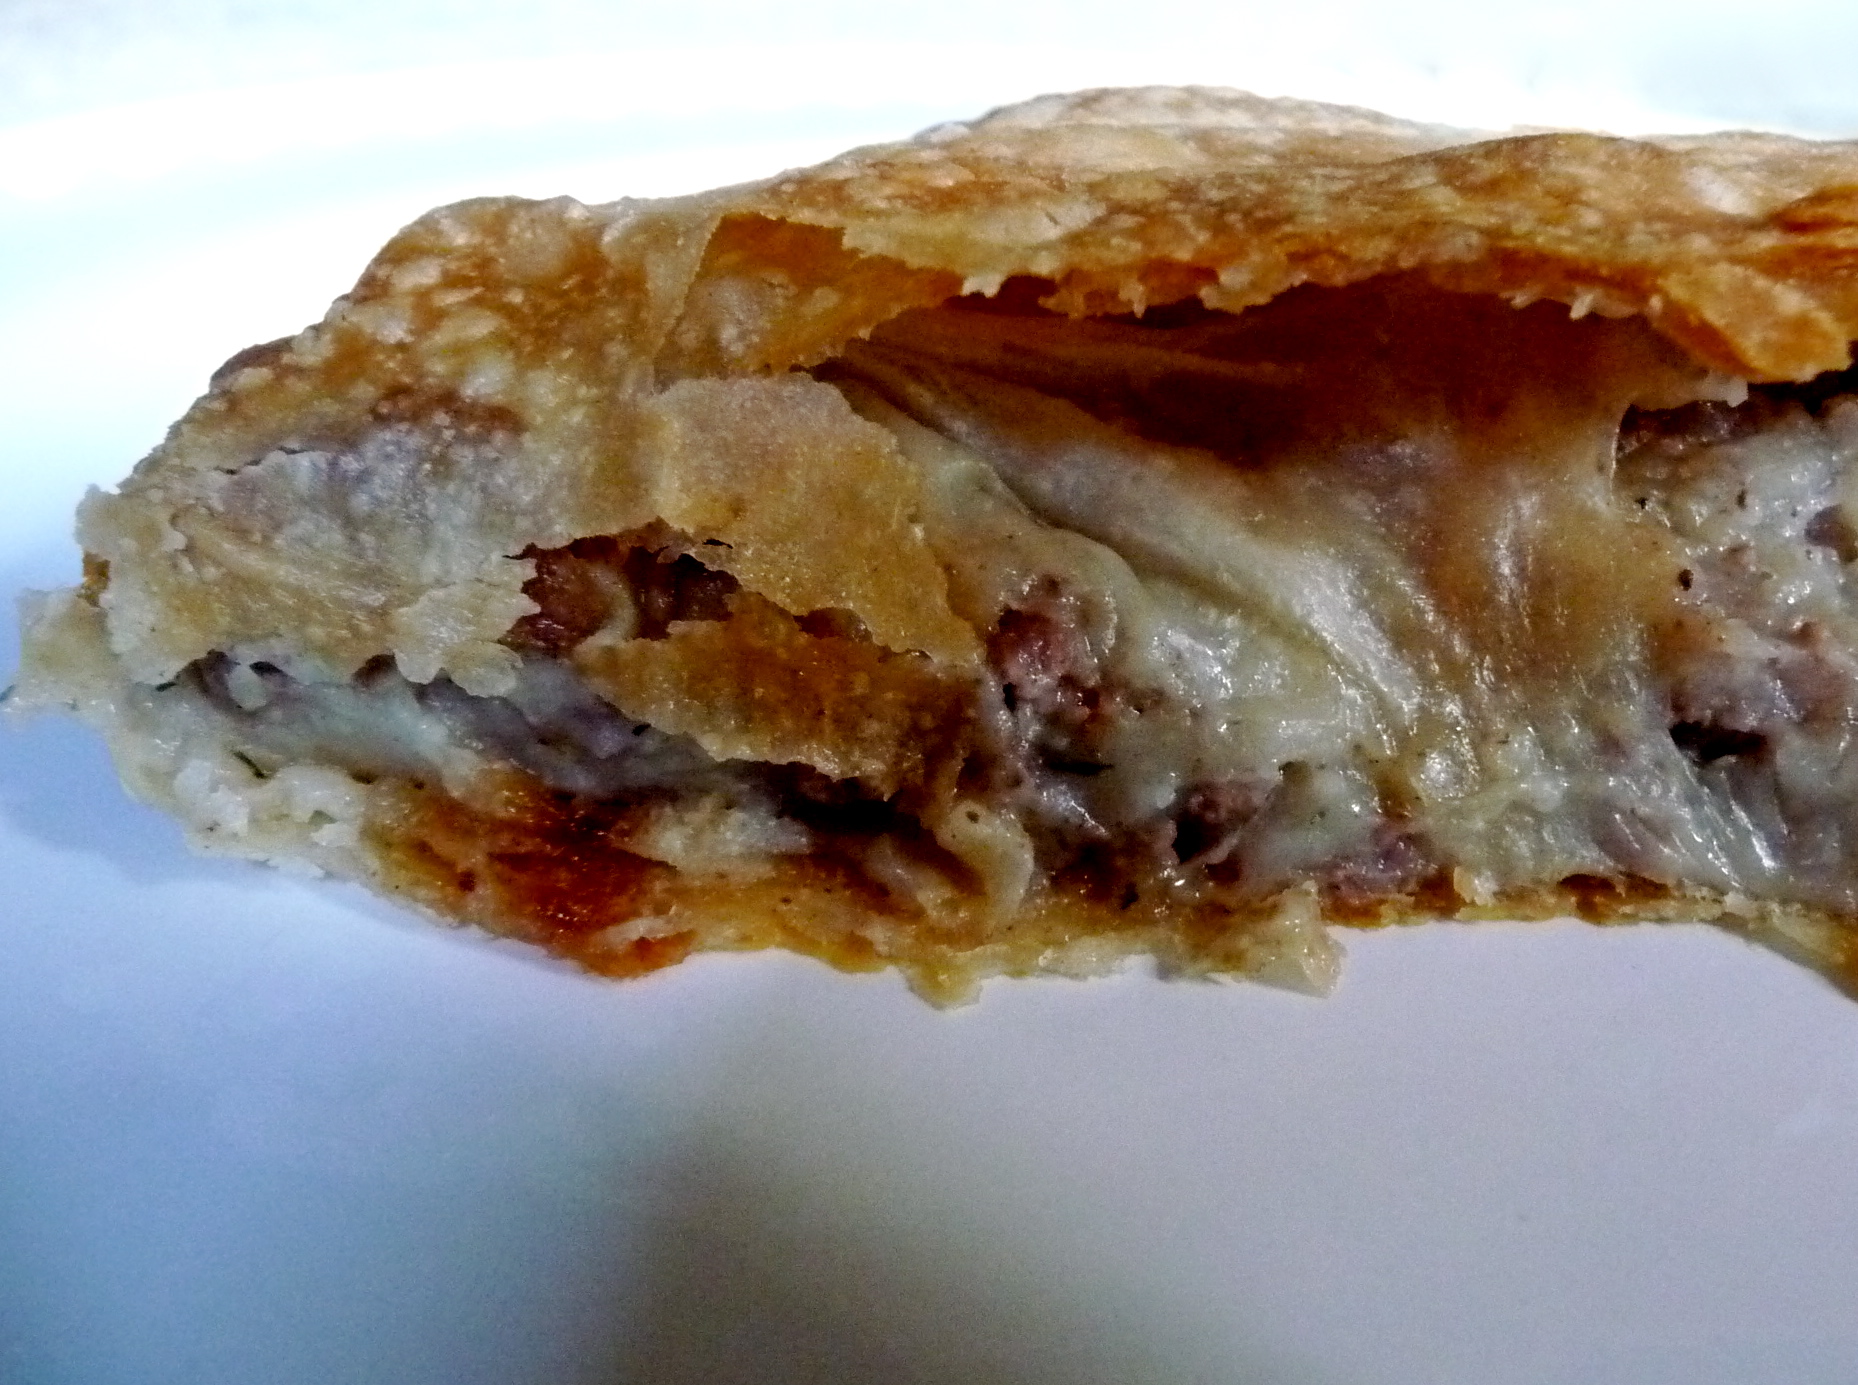
But once we could get it into our waiting maws, it was worth the wait. It was essentially shepherd’s pie in a flaky, flaky crust, but that description doesn’t do it justice. I don’t write well enough to do it justice. Even my usually reliable husband is at a loss for words. But it was really good.

strudel11

#2 Son: I found my filling quite good. You couldn’t really taste the lamb or the onion over the potato [editor’s note: I didn’t notice that], but the potato was delicious. I think the crust was really good.

Update: Husband ate the leftovers two days later, cold. He called it shepherd’s strudel, and he was pleased.

strudel10

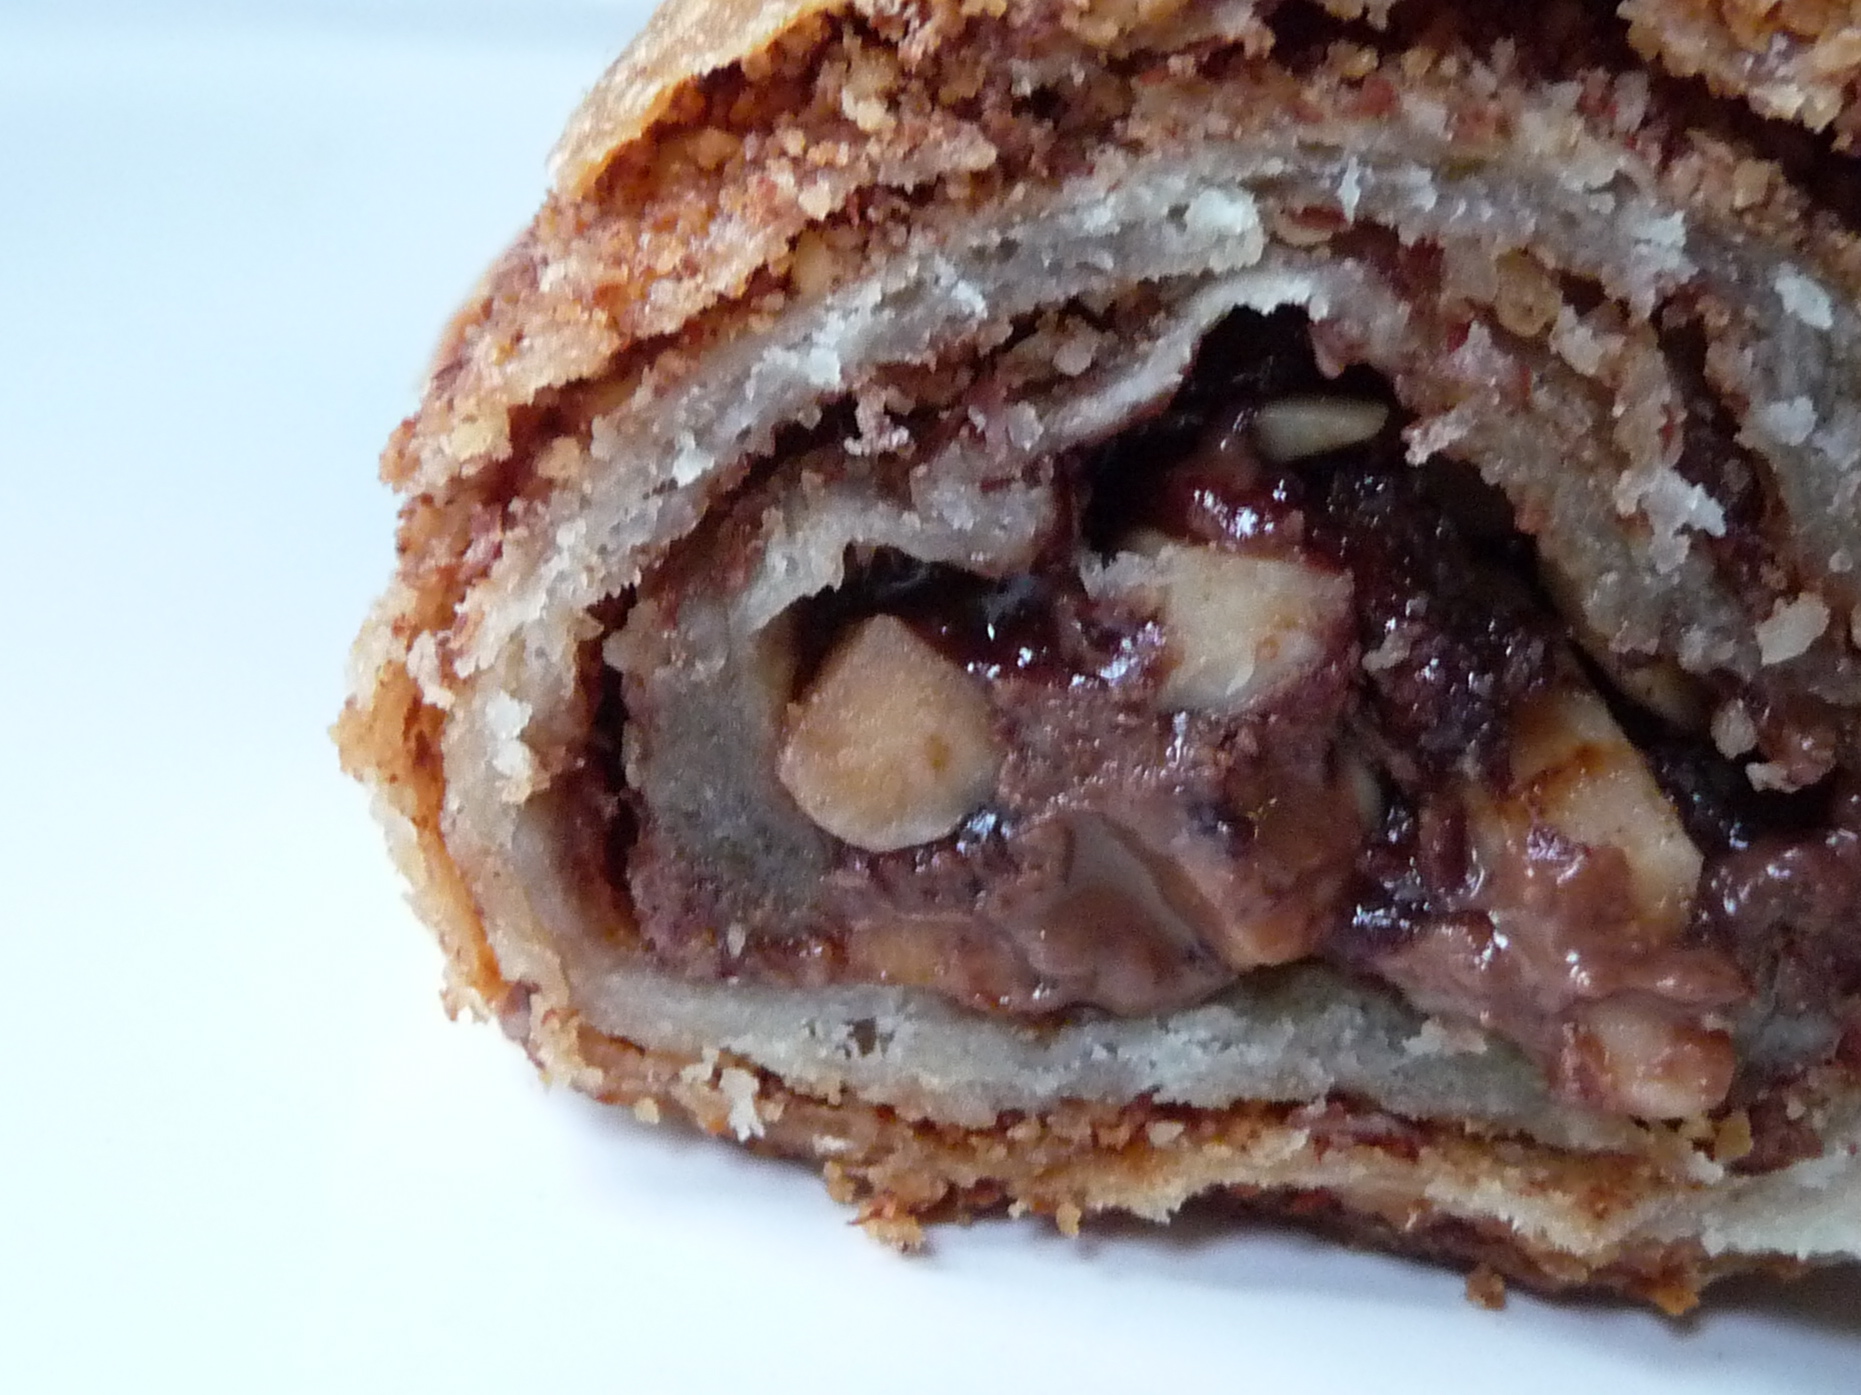
And then I had that sad crumpled ball of dough, and I couldn’t just throw it away. That would have been wrong. So I rolled it out again; I couldn’t get it nearly as big as the other half. I think it wound up about 12 inches by 18 inches. I brushed it with butter, sprinkled it with a mixture of ground almonds, dark brown sugar, and cinnamon, and filled it with chopped milk chocolate and toasted slivered almonds.

That one didn’t come out as pretty, and the crust was much tougher. Guess you can’t roll the dough more than once. But the chocolate was all melty and good. Really, it reminded us all of those lovely rugelach we made last fall. No one minded eating the strudel, tough crust or no.

strudel13

Check out what all the other Daring Bakers did with the strudel — there are sure to be some amazing variations. And if you want to try it yourself (go ahead — it’s easier than you think!), here’s the recipe:

Apple Strudel
from Kaffeehaus: Exquisite Desserts from the Classic Cafés of Vienna, Budapest and Prague by Rick Rodgers

Preparation time: 2 hours 15 minutes to 3 hours 30 minutes

2 tablespoons (30 ml) golden rum
3 tablespoons (45 ml) raisins
¼ teaspoon ground cinnamon
â…“ cup plus 1 tablespoon (80 g) sugar
½ cup (1 stick / 115 g) unsalted butter, melted, divided
1½ cups (350 ml) fresh bread crumbs
strudel dough (recipe below)
½ cup (120 ml, about 60 g) coarsely chopped walnuts
2 pounds (900 g) tart cooking apples, peeled, cored and cut into ¼-inch-thick slices (use apples that hold their shape during baking)

1. Mix the rum and raisins in a bowl. Mix the cinnamon and sugar in another bowl.

2. Heat 3 tablespoons of the butter in a large skillet over medium-high. Add the breadcrumbs and cook whilst stirring until golden and toasted. This will take about 3 minutes. Let it cool completely.

3. Put the rack in the upper third of the oven and preheat the oven to 400°F (200°C). Line a large baking sheet with baking paper (parchment paper). Make the strudel dough as described below. Spread about 3 tablespoons of the remaining melted butter over the dough using your hands (a bristle brush could tear the dough, you could use a special feather pastry brush instead of your hands). Sprinkle the buttered dough with the bread crumbs. Spread the walnuts about 3 inches (8 cm) from the short edge of the dough in a 6-inch-(15cm)-wide strip. Mix the apples with the raisins (including the rum), and the cinnamon sugar. Spread the mixture over the walnuts.

4. Fold the short end of the dough onto the filling. Lift the tablecloth at the short end of the dough so that the strudel rolls onto itself. Transfer the strudel to the prepared baking sheet by lifting it. Curve it into a horseshoe to fit. Tuck the ends under the strudel. Brush the top with the remaining melted butter.

5. Bake the strudel for about 30 minutes or until it is deep golden brown. Cool for at least 30 minutes before slicing. Use a serrated knife and serve either warm or at room temperature. It is best on the day it is baked.

Strudel dough

1â…“ cups (200 g) unbleached flour
â…› teaspoon salt
7 tablespoons (105 ml) water, plus more if needed
2 tablespoons (30 ml) vegetable oil, plus additional for coating the dough
½ teaspoon cider vinegar

1. Combine the flour and salt in a stand-mixer fitted with the paddle attachment. Mix the water, oil and vinegar in a measuring cup. Add the water/oil mixture to the flour with the mixer on low speed. You will get a soft dough. Make sure it is not too dry, add a little more water if necessary. Take the dough out of the mixer. Change to the dough hook. Put the dough ball back in the mixer. Let the dough knead on medium until you get a soft dough ball with a somewhat rough surface.

2. Take the dough out of the mixer and continue kneading by hand on an unfloured work surface. Knead for about 2 minutes. Pick up the dough and throw it down hard onto your working surface occasionally.
Shape the dough into a ball and transfer it to a plate. Oil the top of the dough ball lightly. Cover the ball tightly with plastic wrap. Allow to stand for 30-90 minutes (longer is better).

3. It would be best if you have a work area that you can walk around on all sides like a 36 inch (90 cm) round table or a work surface of 23 x 38 inches (60 x 100 cm). Cover your working area with table cloth, dust it with flour and rub it into the fabric. Put your dough ball in the middle and roll it out as much as you can. Pick the dough up by holding it by an edge. This way the weight of the dough and gravity can help stretching it as it hangs. Using the back of your hands to gently stretch and pull the dough. You can use your forearms to support it.

4. The dough will become too large to hold. Put it on your work surface. Leave the thicker edge of the dough to hang over the edge of the table. Place your hands underneath the dough and stretch and pull the dough thinner using the backs of your hands. Stretch and pull the dough until it’s about 2 feet (60 cm) wide and 3 feet (90 cm) long, it will be tissue-thin by this time. Cut away the thick dough around the edges with scissors. The dough is now ready to be filled.

Tips

  • The ingredients are cheap, so we would recommend making a double batch of the dough. That way you can practice the pulling and stretching of the dough with the first batch and if it doesn’t come out like it should you can use the second batch to give it another try.
  • The tablecloth can be cotton or polyster.
  • Before pulling and stretching the dough, remove your jewelry from hands and wrists, and wear short sleeves.
  • To make it easier to pull the dough, you can use your hip to secure the dough against the edge of the table.
  • A few small holes in the dough is not a problem as the dough will be rolled, making (most of) the holes invisible.
Categories
baking boys Daring Bakers

Daring Bakers: Cheesecake, and It Sure Is Daring

The April 2009 challenge is hosted by Jenny from Jenny Bakes. She has chosen Abbey’s Infamous Cheesecake as the challenge.

I don’t like cheesecake. And I forgot to check this month’s recipe till the middle of last week. And I was away all weekend.

So my entry in this month’s Daring Bakers challenge has been farmed out to the ever-daring #1 Son. Take it away, #1:

__________________________________

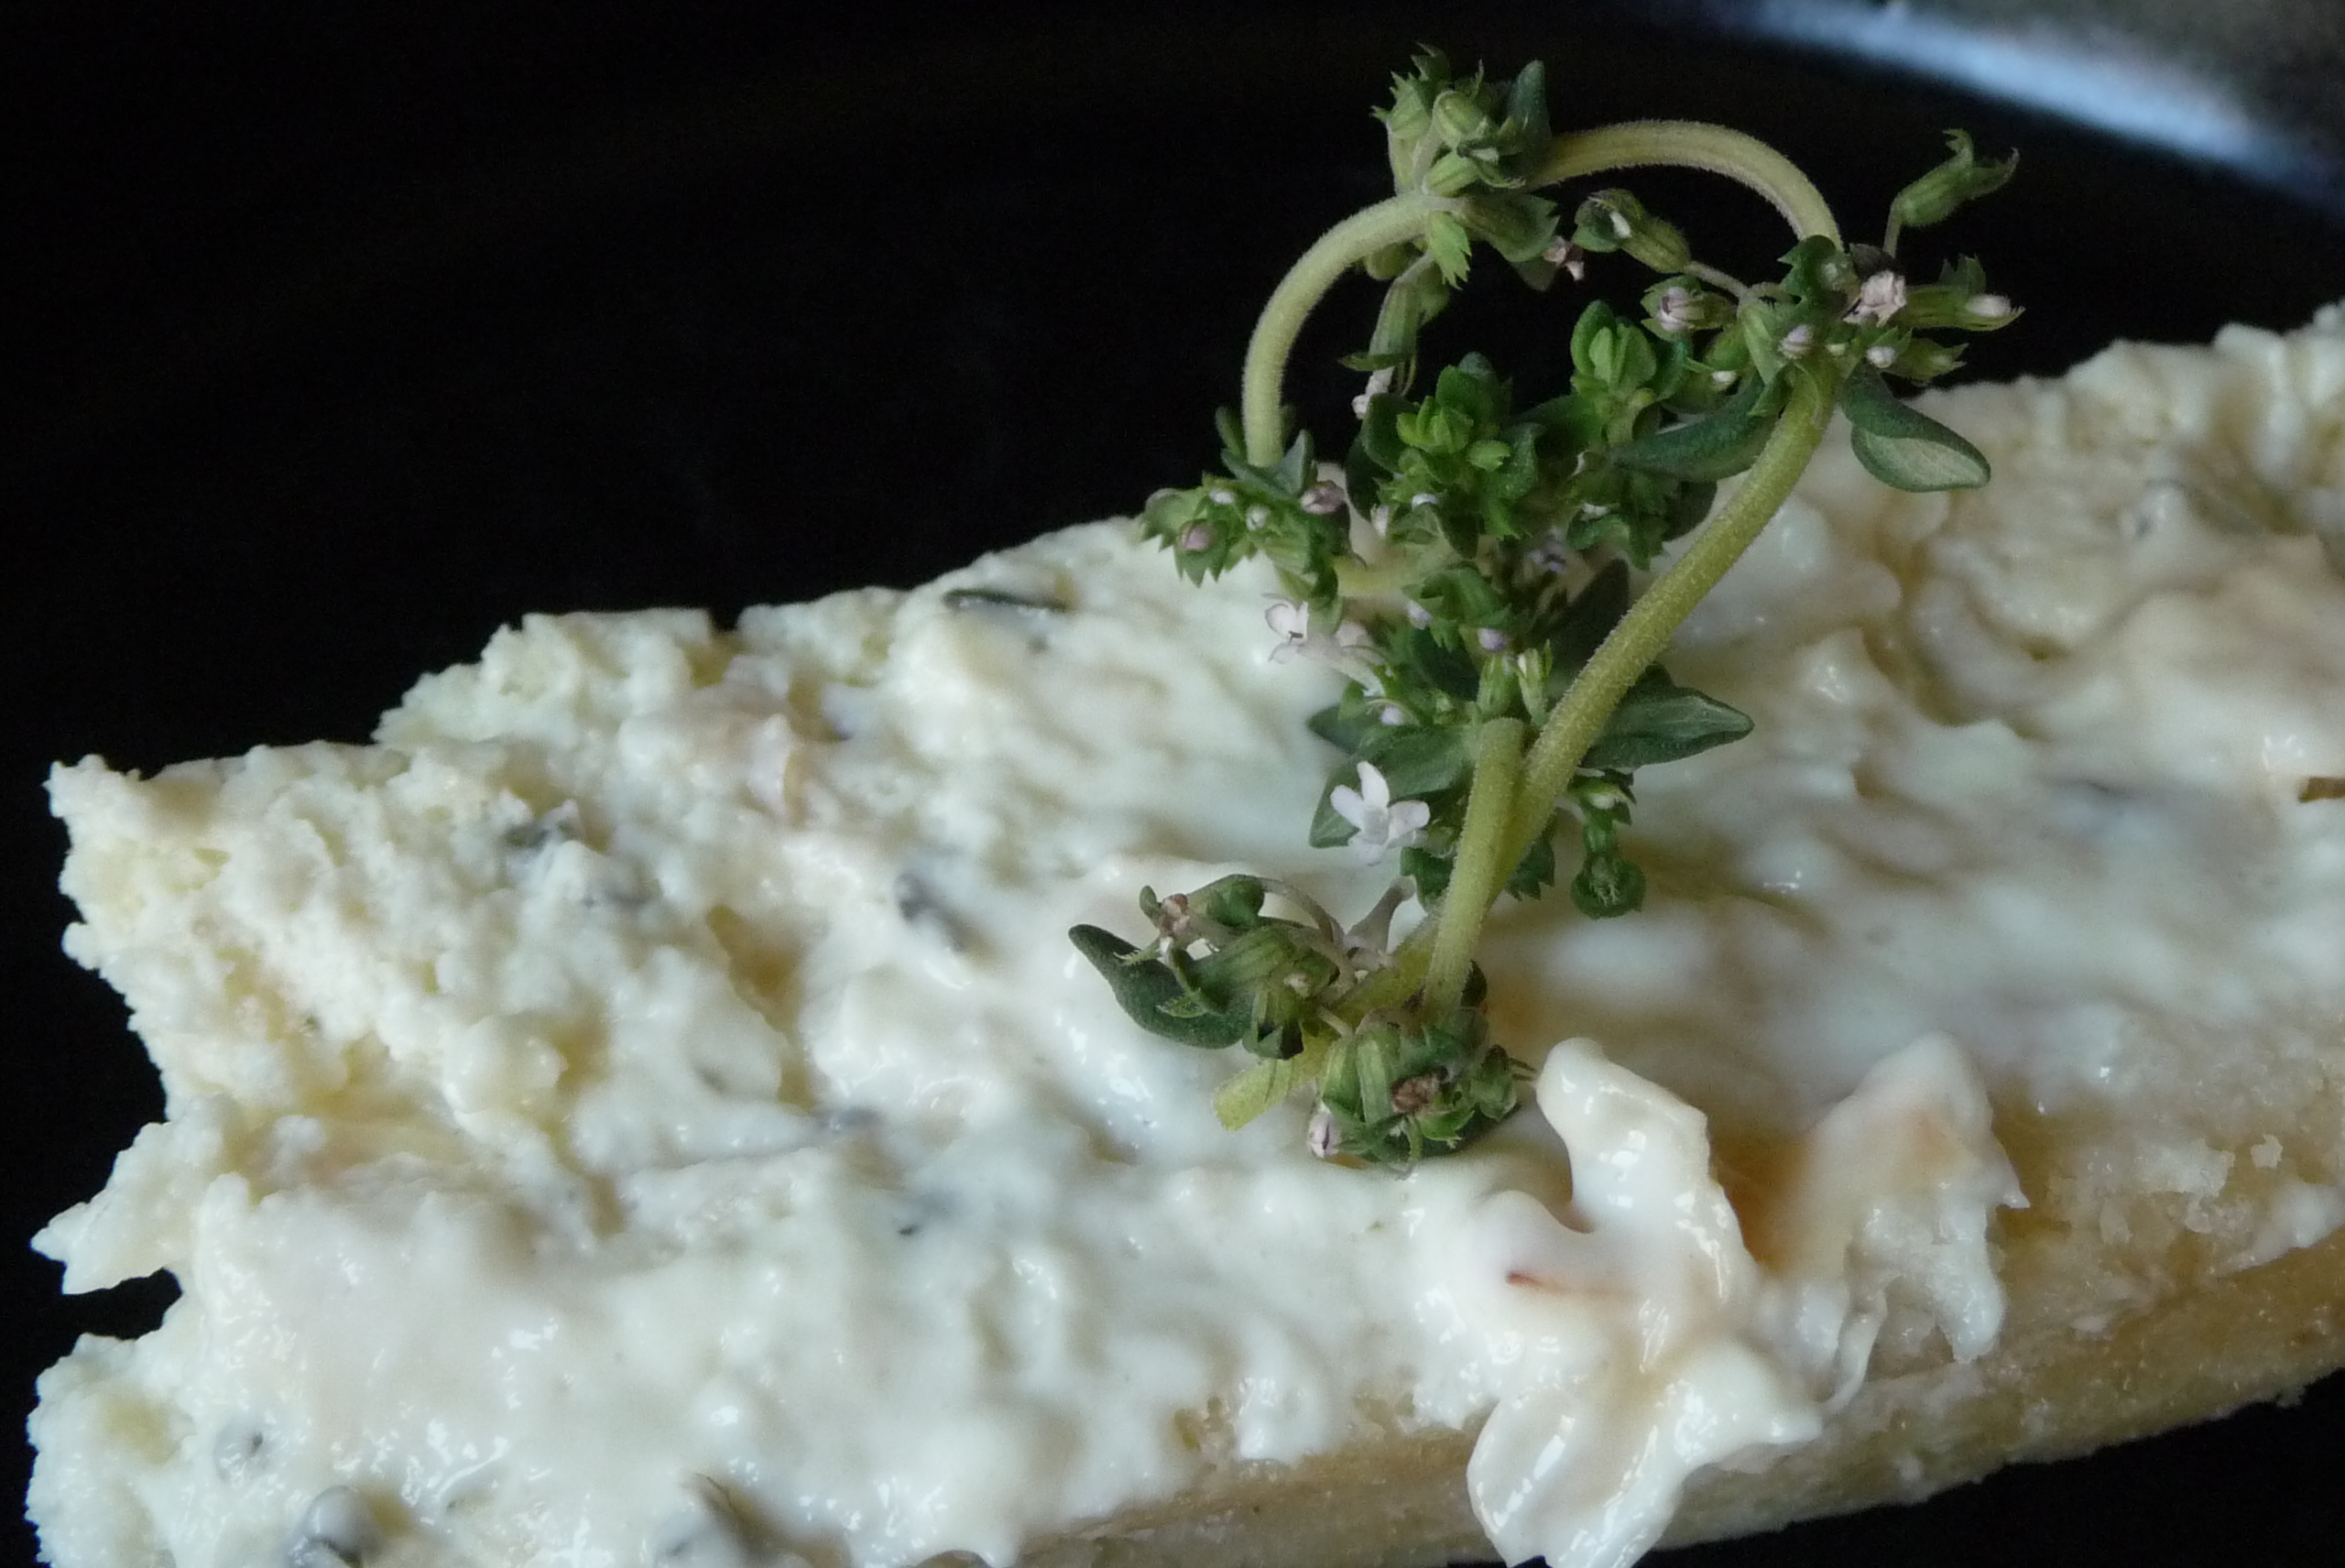
I love cheesecake. It’s my favorite baked good, no contest. I’ve never found a flavor variation I’ve truly liked, always preferring the pure taste. Chocolate was too rich, coconut ruined the texture, and the maple I tried once was just strange. So when my mother shunted the Daring Bakers challenge onto me, I was determined to find some change that would be palatable, nay, delicious. I ran through a number of possibilities before landing on one I thought would be both tasty and inventive: lychee-thyme cheesecake loaf.

cheesecake-1

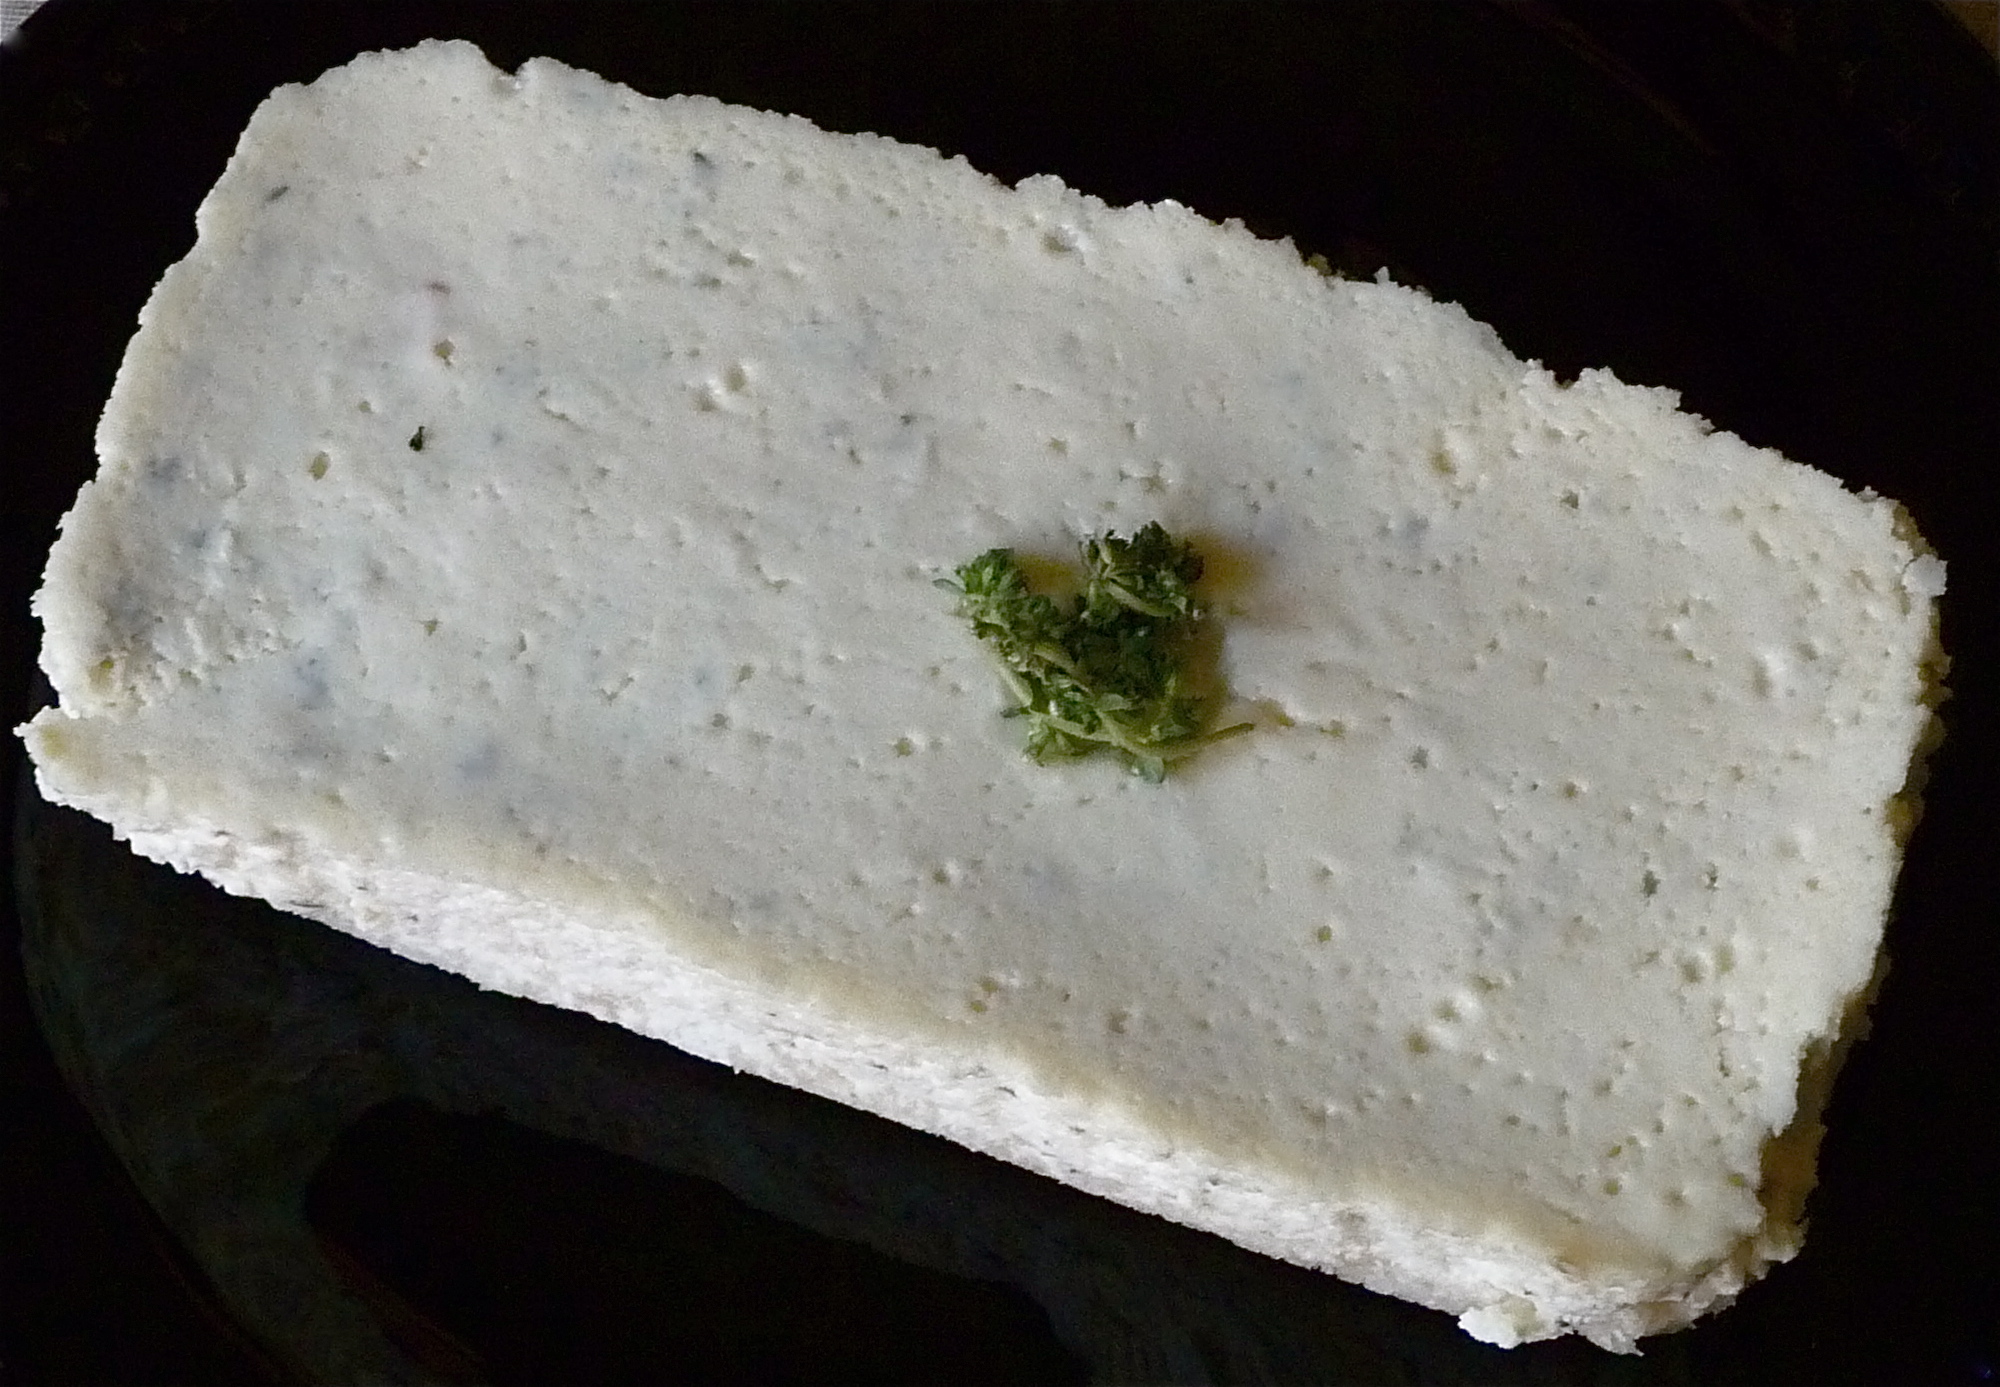
Inspired by a Susanna Foo sorbet I made a few months back, I decided to riff on the standard lemon cheesecake, adding the mild tang of lychees and the herbal warmth of thyme. In the absence of a watertight springform or circular metal pan, I was forced to use a foil mini-loaf pan. The cheesecake cooked evenly, somehow, though it lacked the browned sides I usually see.

cheesecake-2

As far as the recipe goes, I was a little less precise than perhaps behooved me as a guest blogger. I took the standard recipe, cut it down to a third, and took out the flavorings, then added a 15-ounce can of lychees (half diced, half pureed), four or five sprigs of thyme (pureed with the lychees), and two splashes of lemon juice. I used half-and-half instead of cream, because that’s what was in the fridge. Also, partly to keep the Eastern theme going and partly for silliness, I used panko for the crust.

cheesecake-3

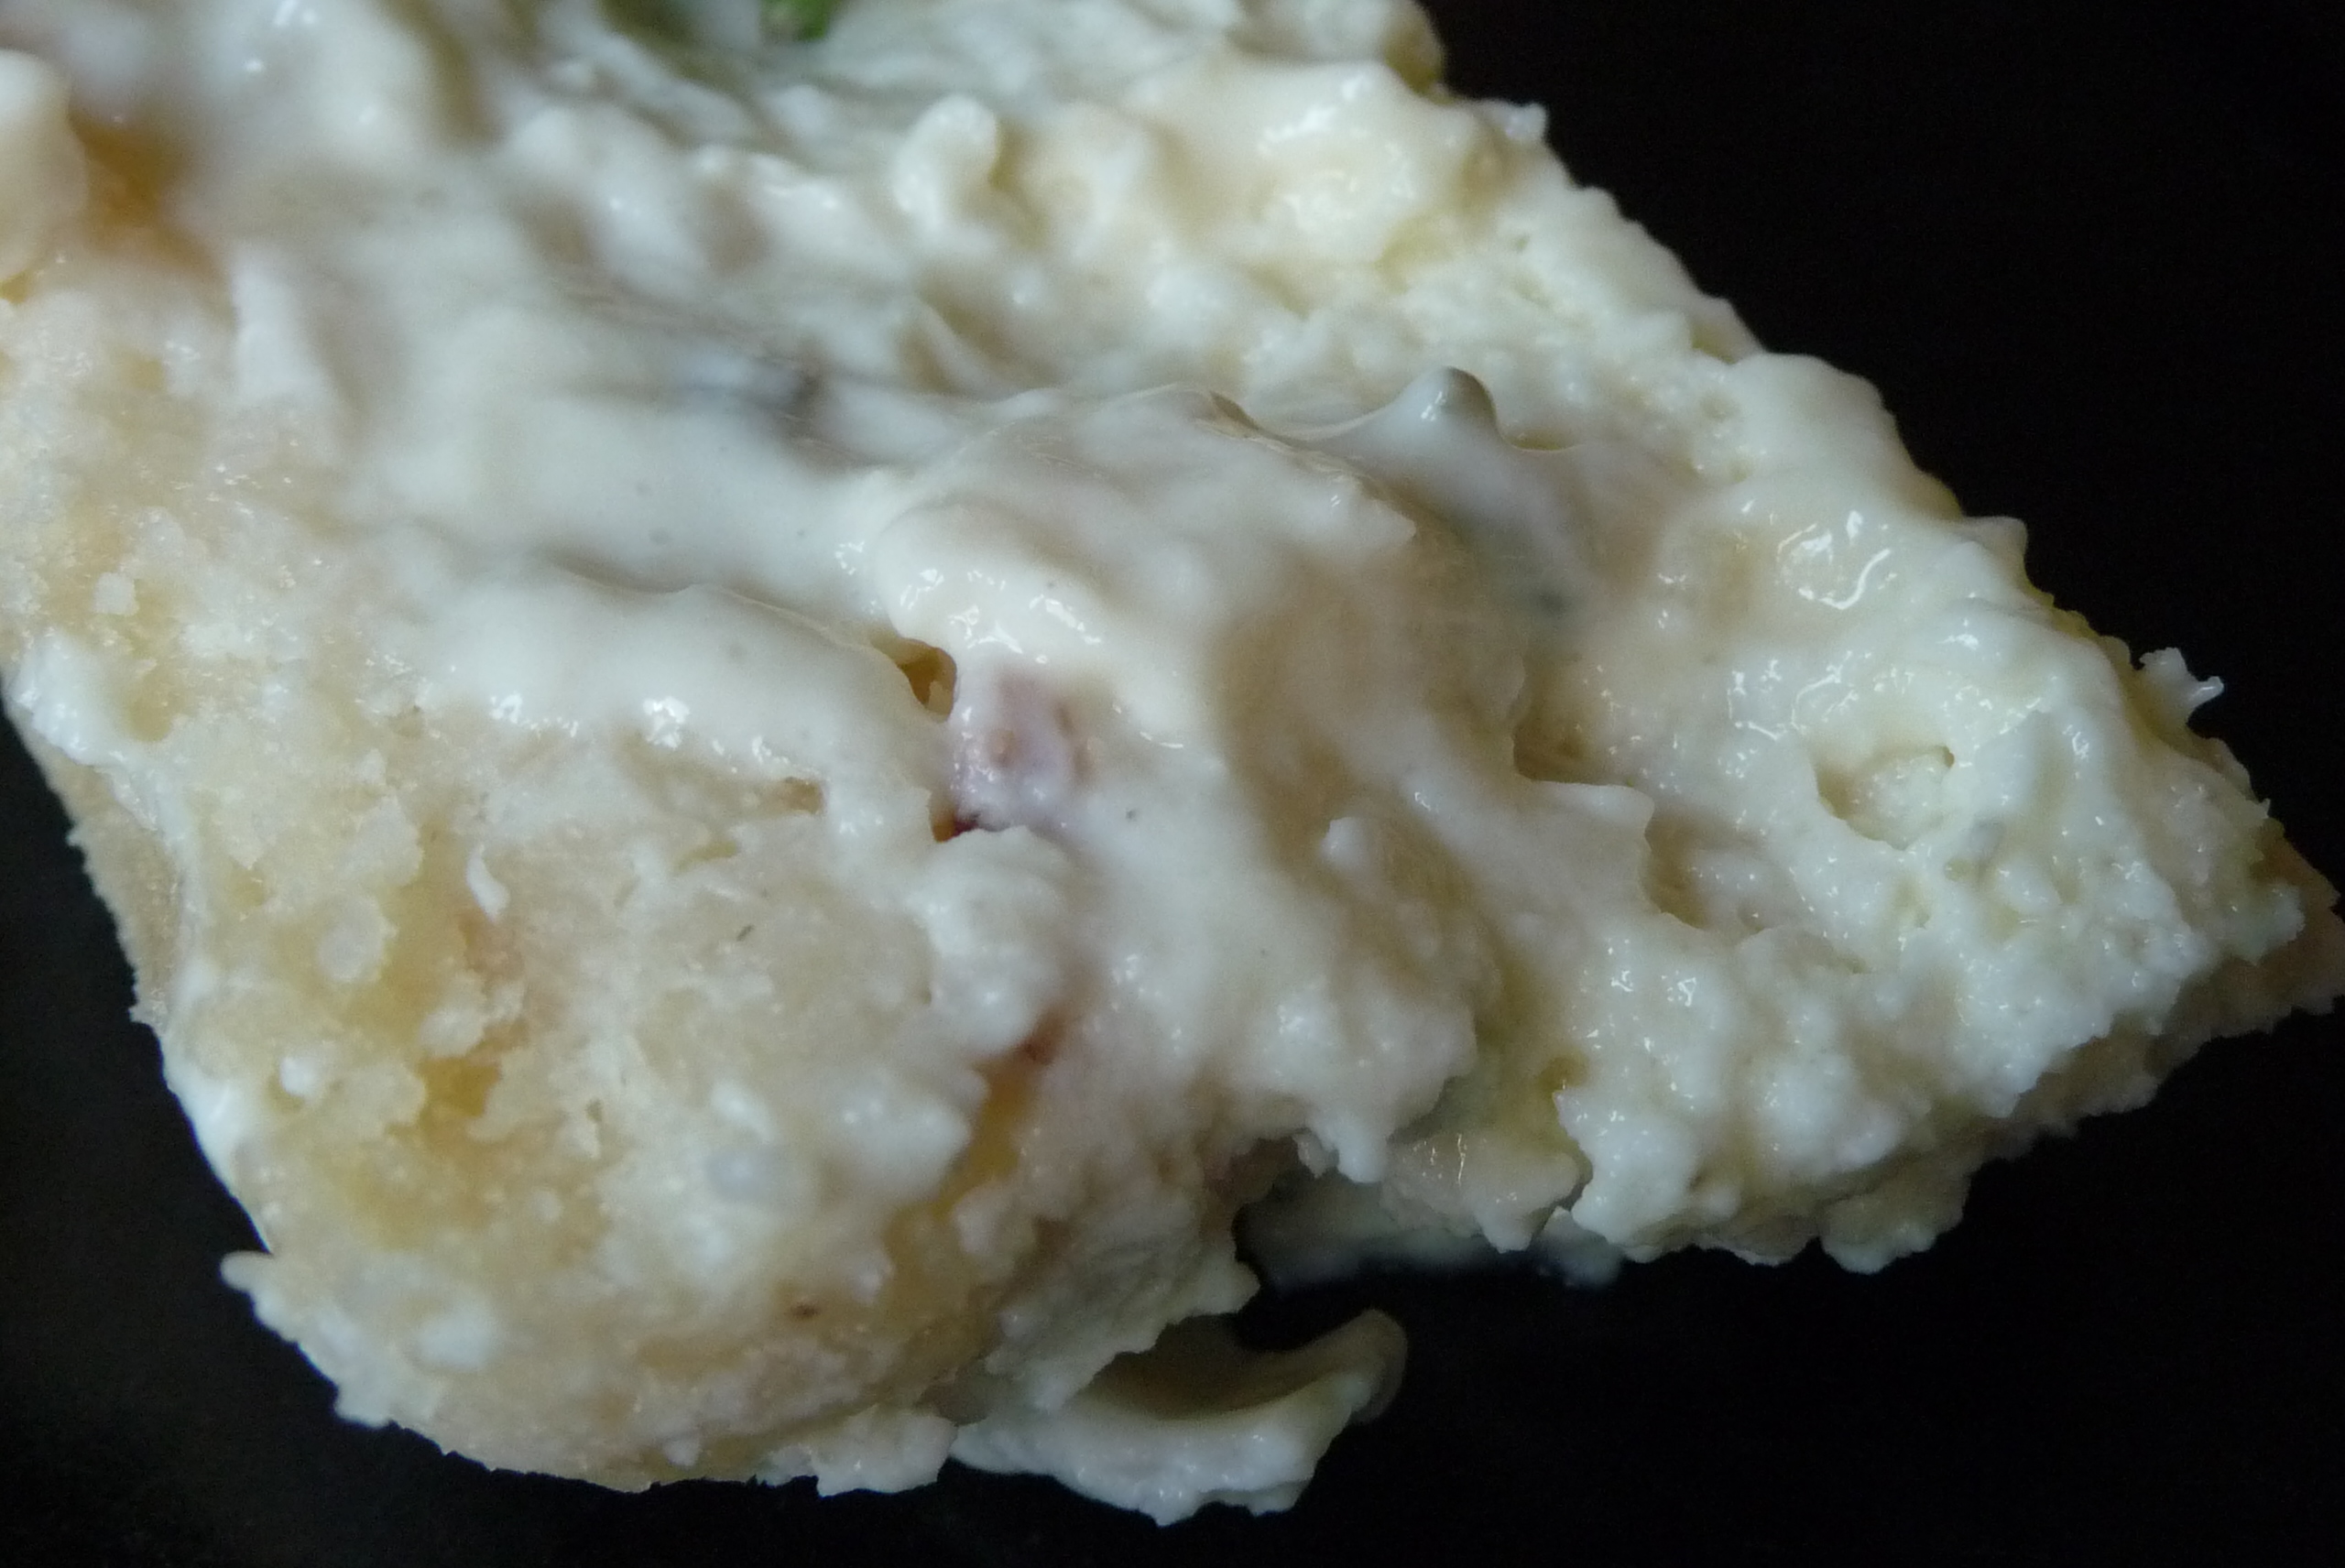
I think it turned out pretty well. Between the half-and-half and the fruit, it ended up very light and summery, and I could eat a lot more of it than a normal cheesecake. Whether this is a good thing or not, I can’t say. The lychees gave it a wonderful fruitiness, and the thyme gave it that earthy finish I was looking for. The panko crust worked well too, with a little more chew than normal crust and some absorbed cheesecake flavor. I think I’d fine-tune this recipe before I made it again, but I certainly would make it many, many more times.

Here’s what my family thought:

Confectiona: I don’t like cheesecake, but this was pretty good. I had two bites!

Father: It tasted like key lime pie. In a good way.

Brother: It started out with a nice cheesecakey beginning, and I got a little bit of that thing you get when you chew cherry skins — but it was lychee skins — in the middle. At the end it leaves a kind of herby aftertaste at the back of your throat. All in all, excellent job.

__________________________________

I’m back. He did a great job with this one, and I’m sure the other Daring Bakers did too. Go check them out!

Categories
baking Daring Bakers

Daring Bakers: For the Love of Chocolate

My first Daring Bakers post! This is so exciting!! I don’t think I’ve ever used so many exclamation points before!!!

chocolatecake1

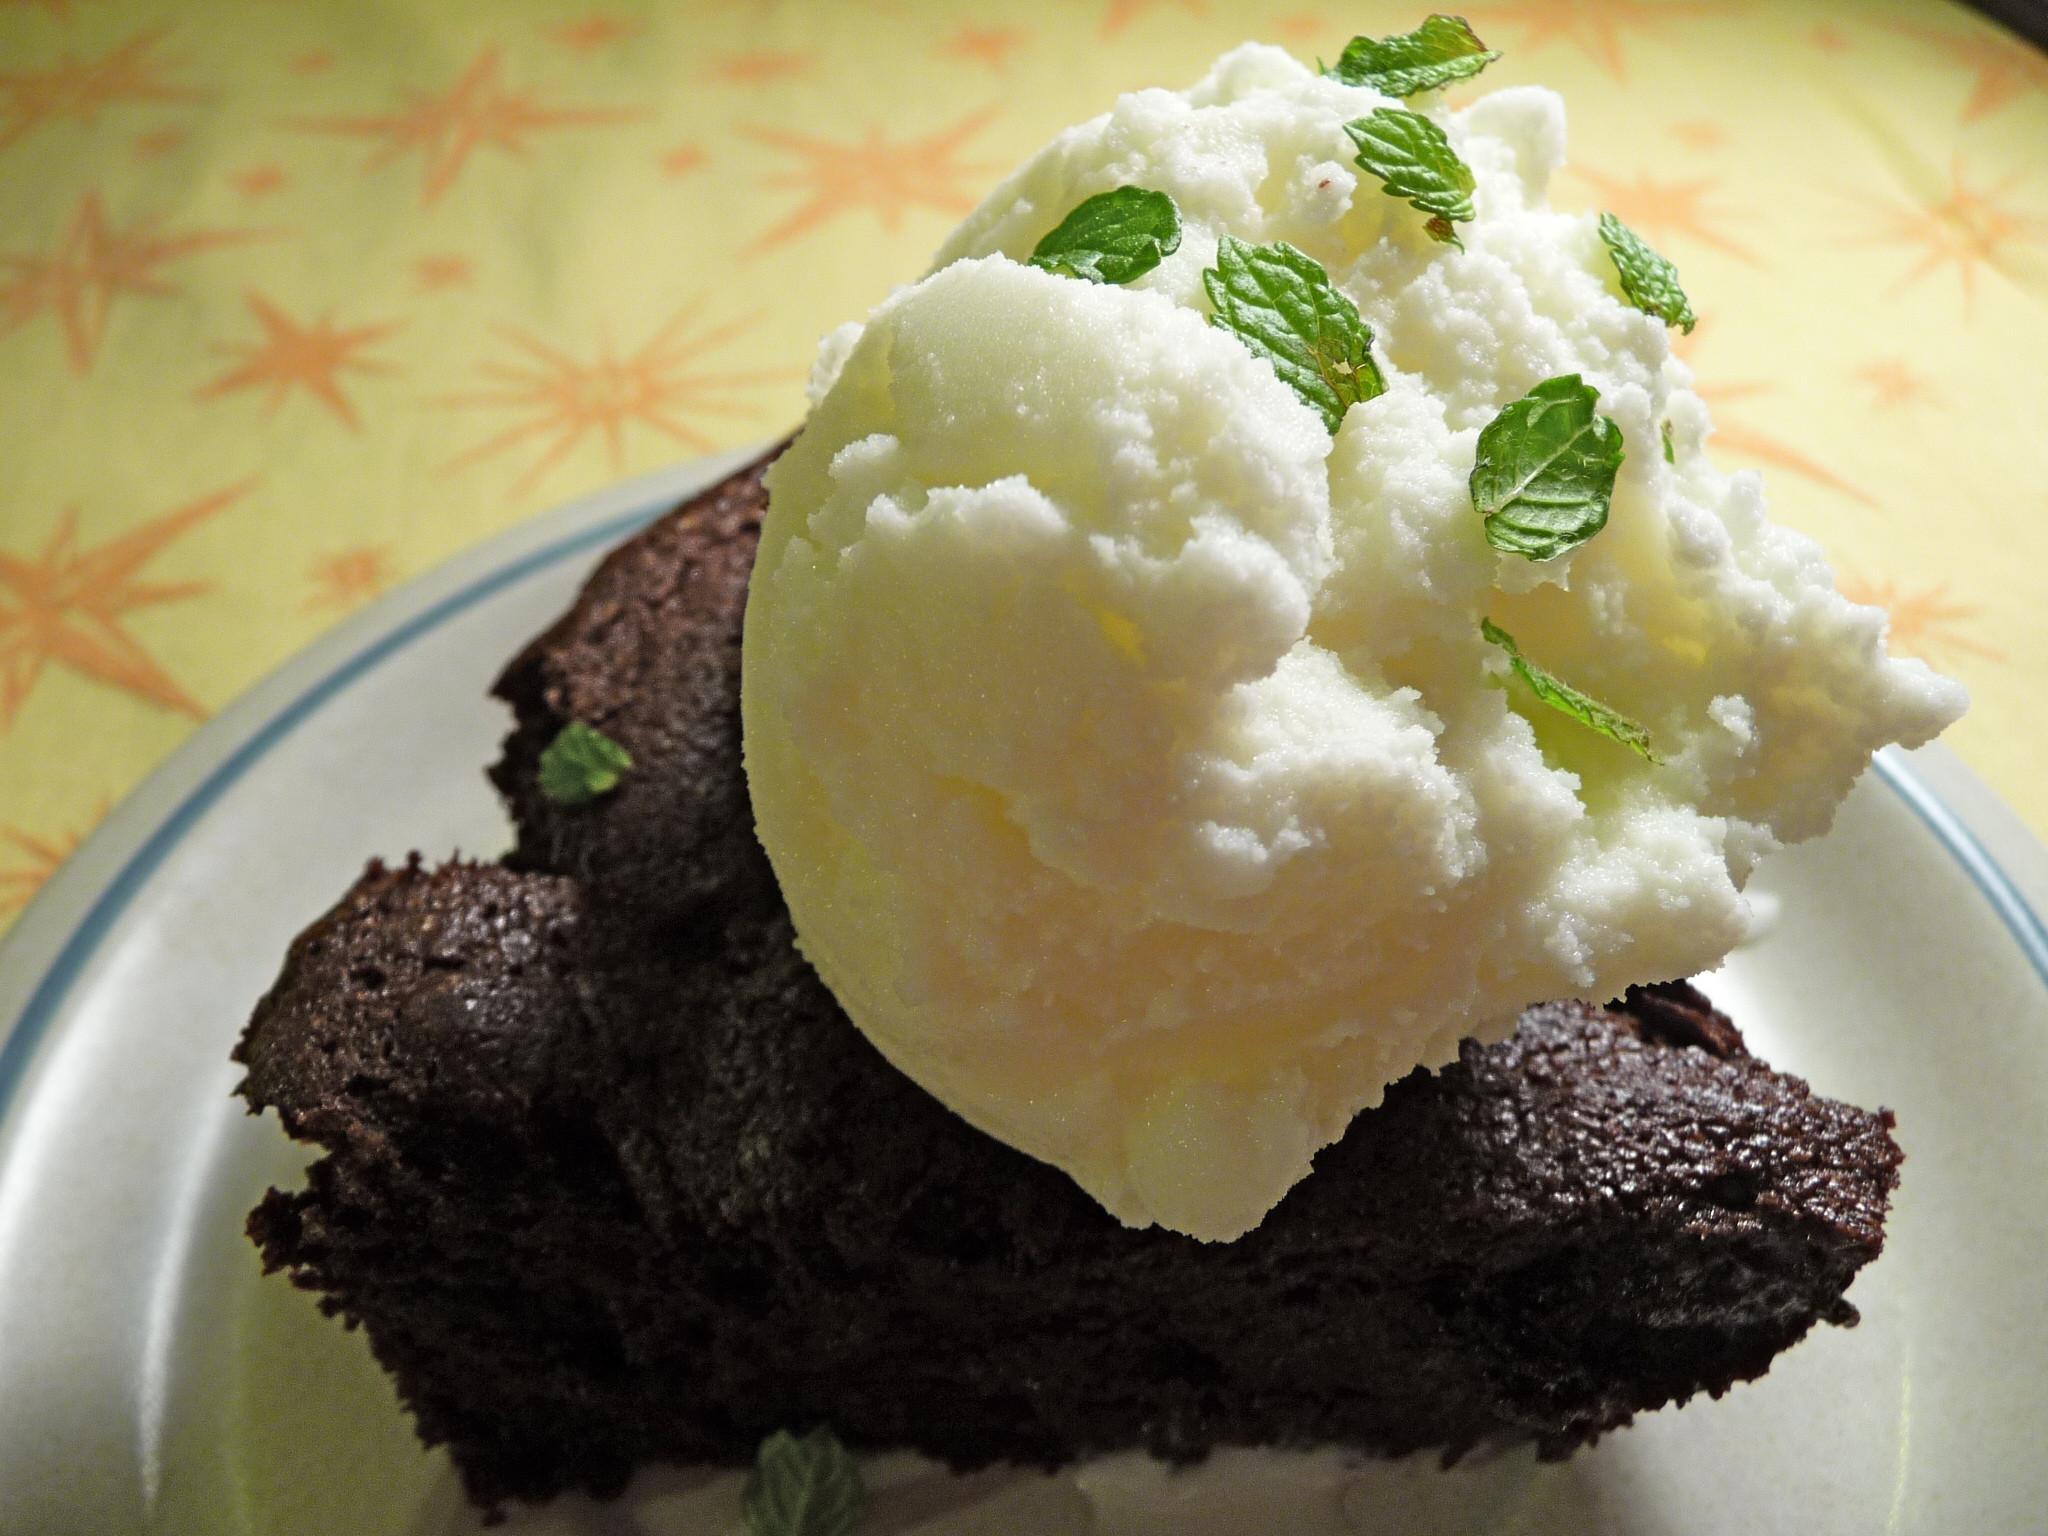
The February 2009 challenge is hosted by Wendy of WMPE’s Blog and Dharm of Dad ~ Baker & Chef. They have chosen a Chocolate Valentino cake by Chef Wan, a Vanilla Ice Cream recipe from Dharm, and a Vanilla Ice Cream recipe from Wendy as the challenge.

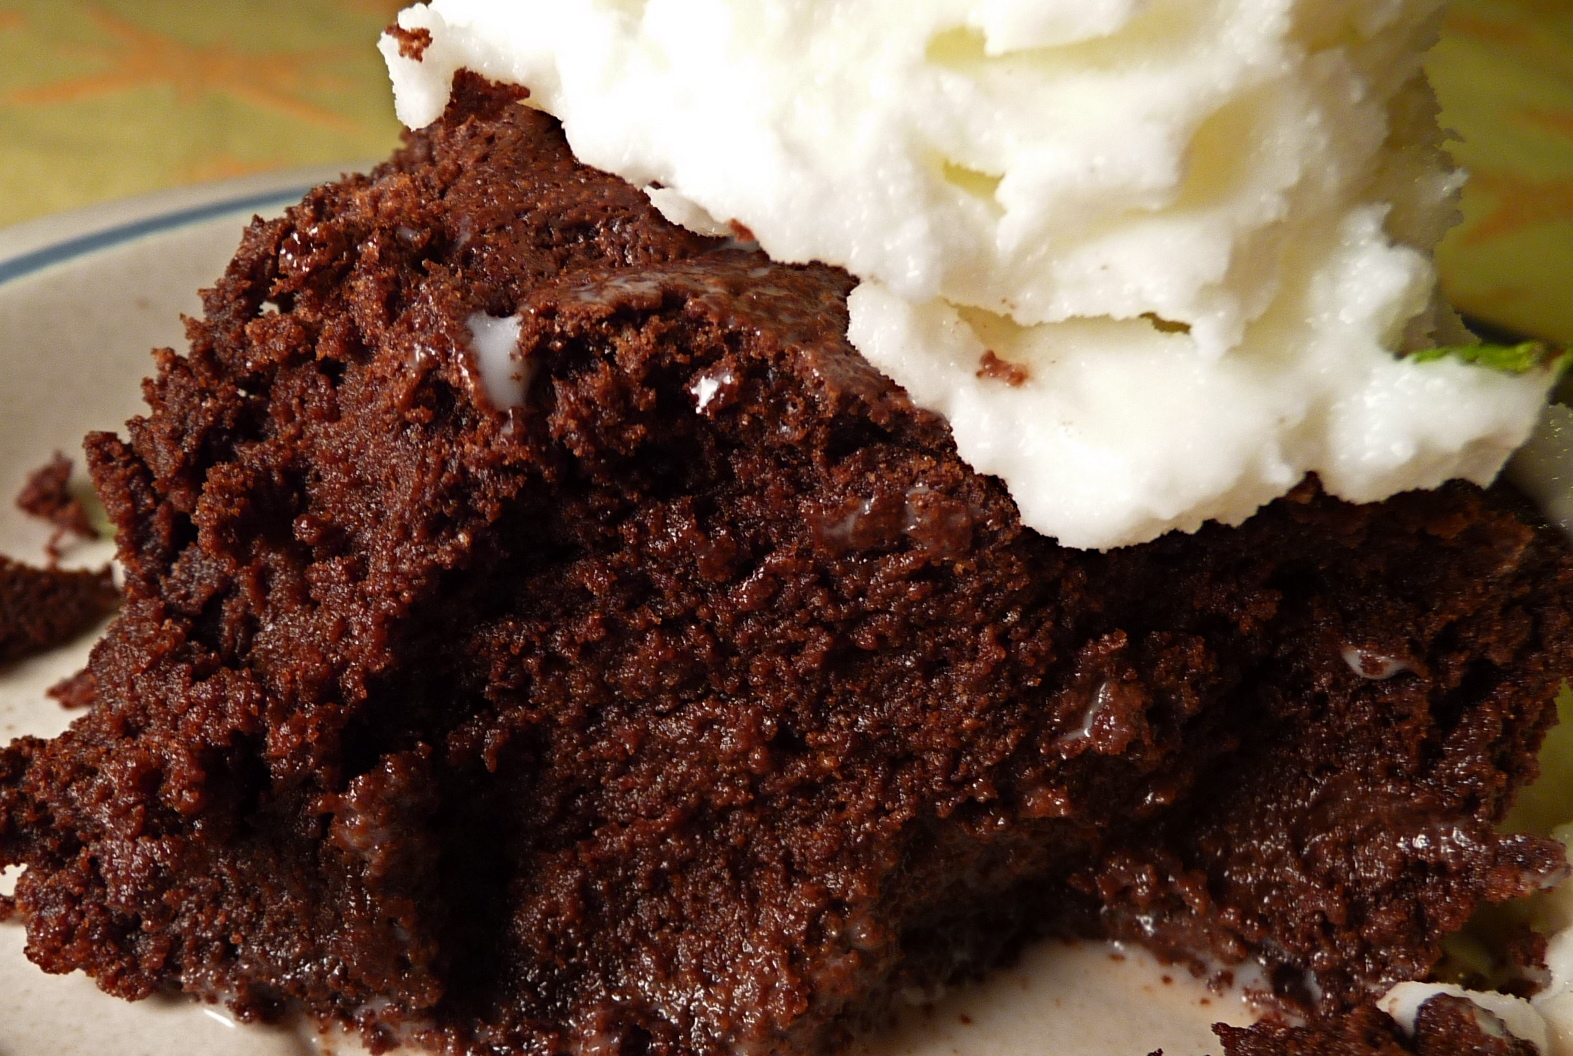
This cake has three ingredients: chocolate, butter, and eggs. With something that basic, quality really matters. I used Trader Joe’s dark chocolate, because that’s what I had in the house, and because three-quarters of my family really likes it. (All three of you loyal readers will know I’m the fourth quarter!) The resulting cake tasted exactly like that chocolate, but warmer and gooier. (That does not look like a word, but it is, according to the fine folks at Merriam-Webster.)

And because it tasted just like the chocolate, I really wasn’t terribly fond of it. It was interesting, and the texture was great. And it melded perfectly with the peppermint ice cream, but the cake on its own, not so much. Had I gone with the Trader Joe’s milk chocolate, or even better the absolutely amazing Icelandic milk chocolate I can get at Whole Foods on the extremely rare occasions that it’s on sale, I’d have loved it.

I was overruled, though. Everyone else loved it, including the four guests we had for dinner and dessert the night I made it. I didn’t interview the guests, but here’s what my people had to say:

Husband: It was semi-jelled pudding, in a good way.

#1 Son: Hugely rich, but gooey and wonderful too. Fantastic with the mint ice cream.

#2 Son: Delish. It was chocolate, but held together by butter and eggs! It was delicious. It was really good with the peppermint ice cream.

chocolatecake2

So there you have it. Chocolate Valentino comes from Chef Wan’s Sweet Treats, which is apparently not easily available in the United States. Here’s your opportunity to try out one of the recipes without spending $55 for the one copy available at Amazon.com.

You can use any shape pan that gives you an area of about 50”; I used an 8-inch cake pan. A lot of people probably used heart-shaped pan, in keeping with the chocolate/Valentine’s Day thing, but I don’t have one.

Chocolate Valentino
Preparation Time:  20 minutes

16 ounces (1 pound) (454 grams) of semisweet chocolate, roughly chopped
½ cup (1 stick) plus 2 tablespoons (146 grams total) of unsalted butter
5 large eggs, separated

  • Preheat the oven to 375F/190C.
  • Put chocolate and butter in a heat-proof bowl and set over a pan of simmering water (the bottom of the bowl should not touch the water) and melt, stirring often.
  • While the chocolate-butter mixture is cooling, butter the pan and line it with a parchment circle, then butter the parchment.
  • Separate the egg yolks from the egg whites and put into two medium/large bowls.
  • Whip the egg whites until stiff peaks are formed (do not over-whip or the cake will be dry). Set aside.
  • Beat the egg yolks.
  • Add the egg yolks to the cooled chocolate.
  • Fold 1/3 of the egg whites into the chocolate mixture, then another 1/3, then the remaining 1/3. Fold until no white remains, being careful not to deflate the batter.
  • Pour batter into prepared pan. The batter should fill the pan 3/4 of the way full.
  • Bake for 25 minutes or until an instant-read thermometer reads 140F/60C. If you do not have an instant-read thermometer, the top of the cake will look similar to a brownie and a cake tester will appear wet.
  • Cool cake on a rack for 10 minutes, then unmold.

The Daring Bakers challenge included ice cream. I love ice cream. I love making ice cream. The challenge provided two recipes for vanilla ice cream, classic (with eggs) and Philadelphia-style (without eggs). Until I discovered David Lebovitz‘s Perfect Scoop I almost always made Philadelphia-style, but he has really converted me to the joys of custard.

This time, though, I thought less rich was the way to go, given the richness of the cake. And I was so right. I made peppermint ice cream using (with slight modification) the recipe in Bruce Weinstein’s Ultimate Ice Cream Book. Lots of good recipes in this one, kids.

Mint Ice Cream, Philadelphia Style

3 cups heavy cream [I used 2 cups whole milk and 1 cup half-and-half]
½ cup sugar
1 tablespoon peppermint extract [the first time I made this, it was hideously strong, so I cut this down to 1 teaspoon; it was still pretty strong]

Heat the cream (or milk, or half-and-half) in a heavy medium saucepan until small bubbles appear around the edge. Do not let the cream boil. Remove from the heat and add the sugar. Stir until the sugar dissolves completely. Cool to room temperature. Stir in the mint extract. You might want to start with ½ teaspoon and taste the result. Refrigerate till cold or overnight. Freeze in your ice cream maker!

Check out what all the other Daring Bakers did — there are sure to be all kinds of interesting ice cream variations. Enjoy!